Final Project: The Picture Glitcher
I now have an actual, finished, working, final project.
I spent New Year's Eve perfecting my code, and building the components into a box file my dad found. Here is the documentation of the final process:
Circuit Construction
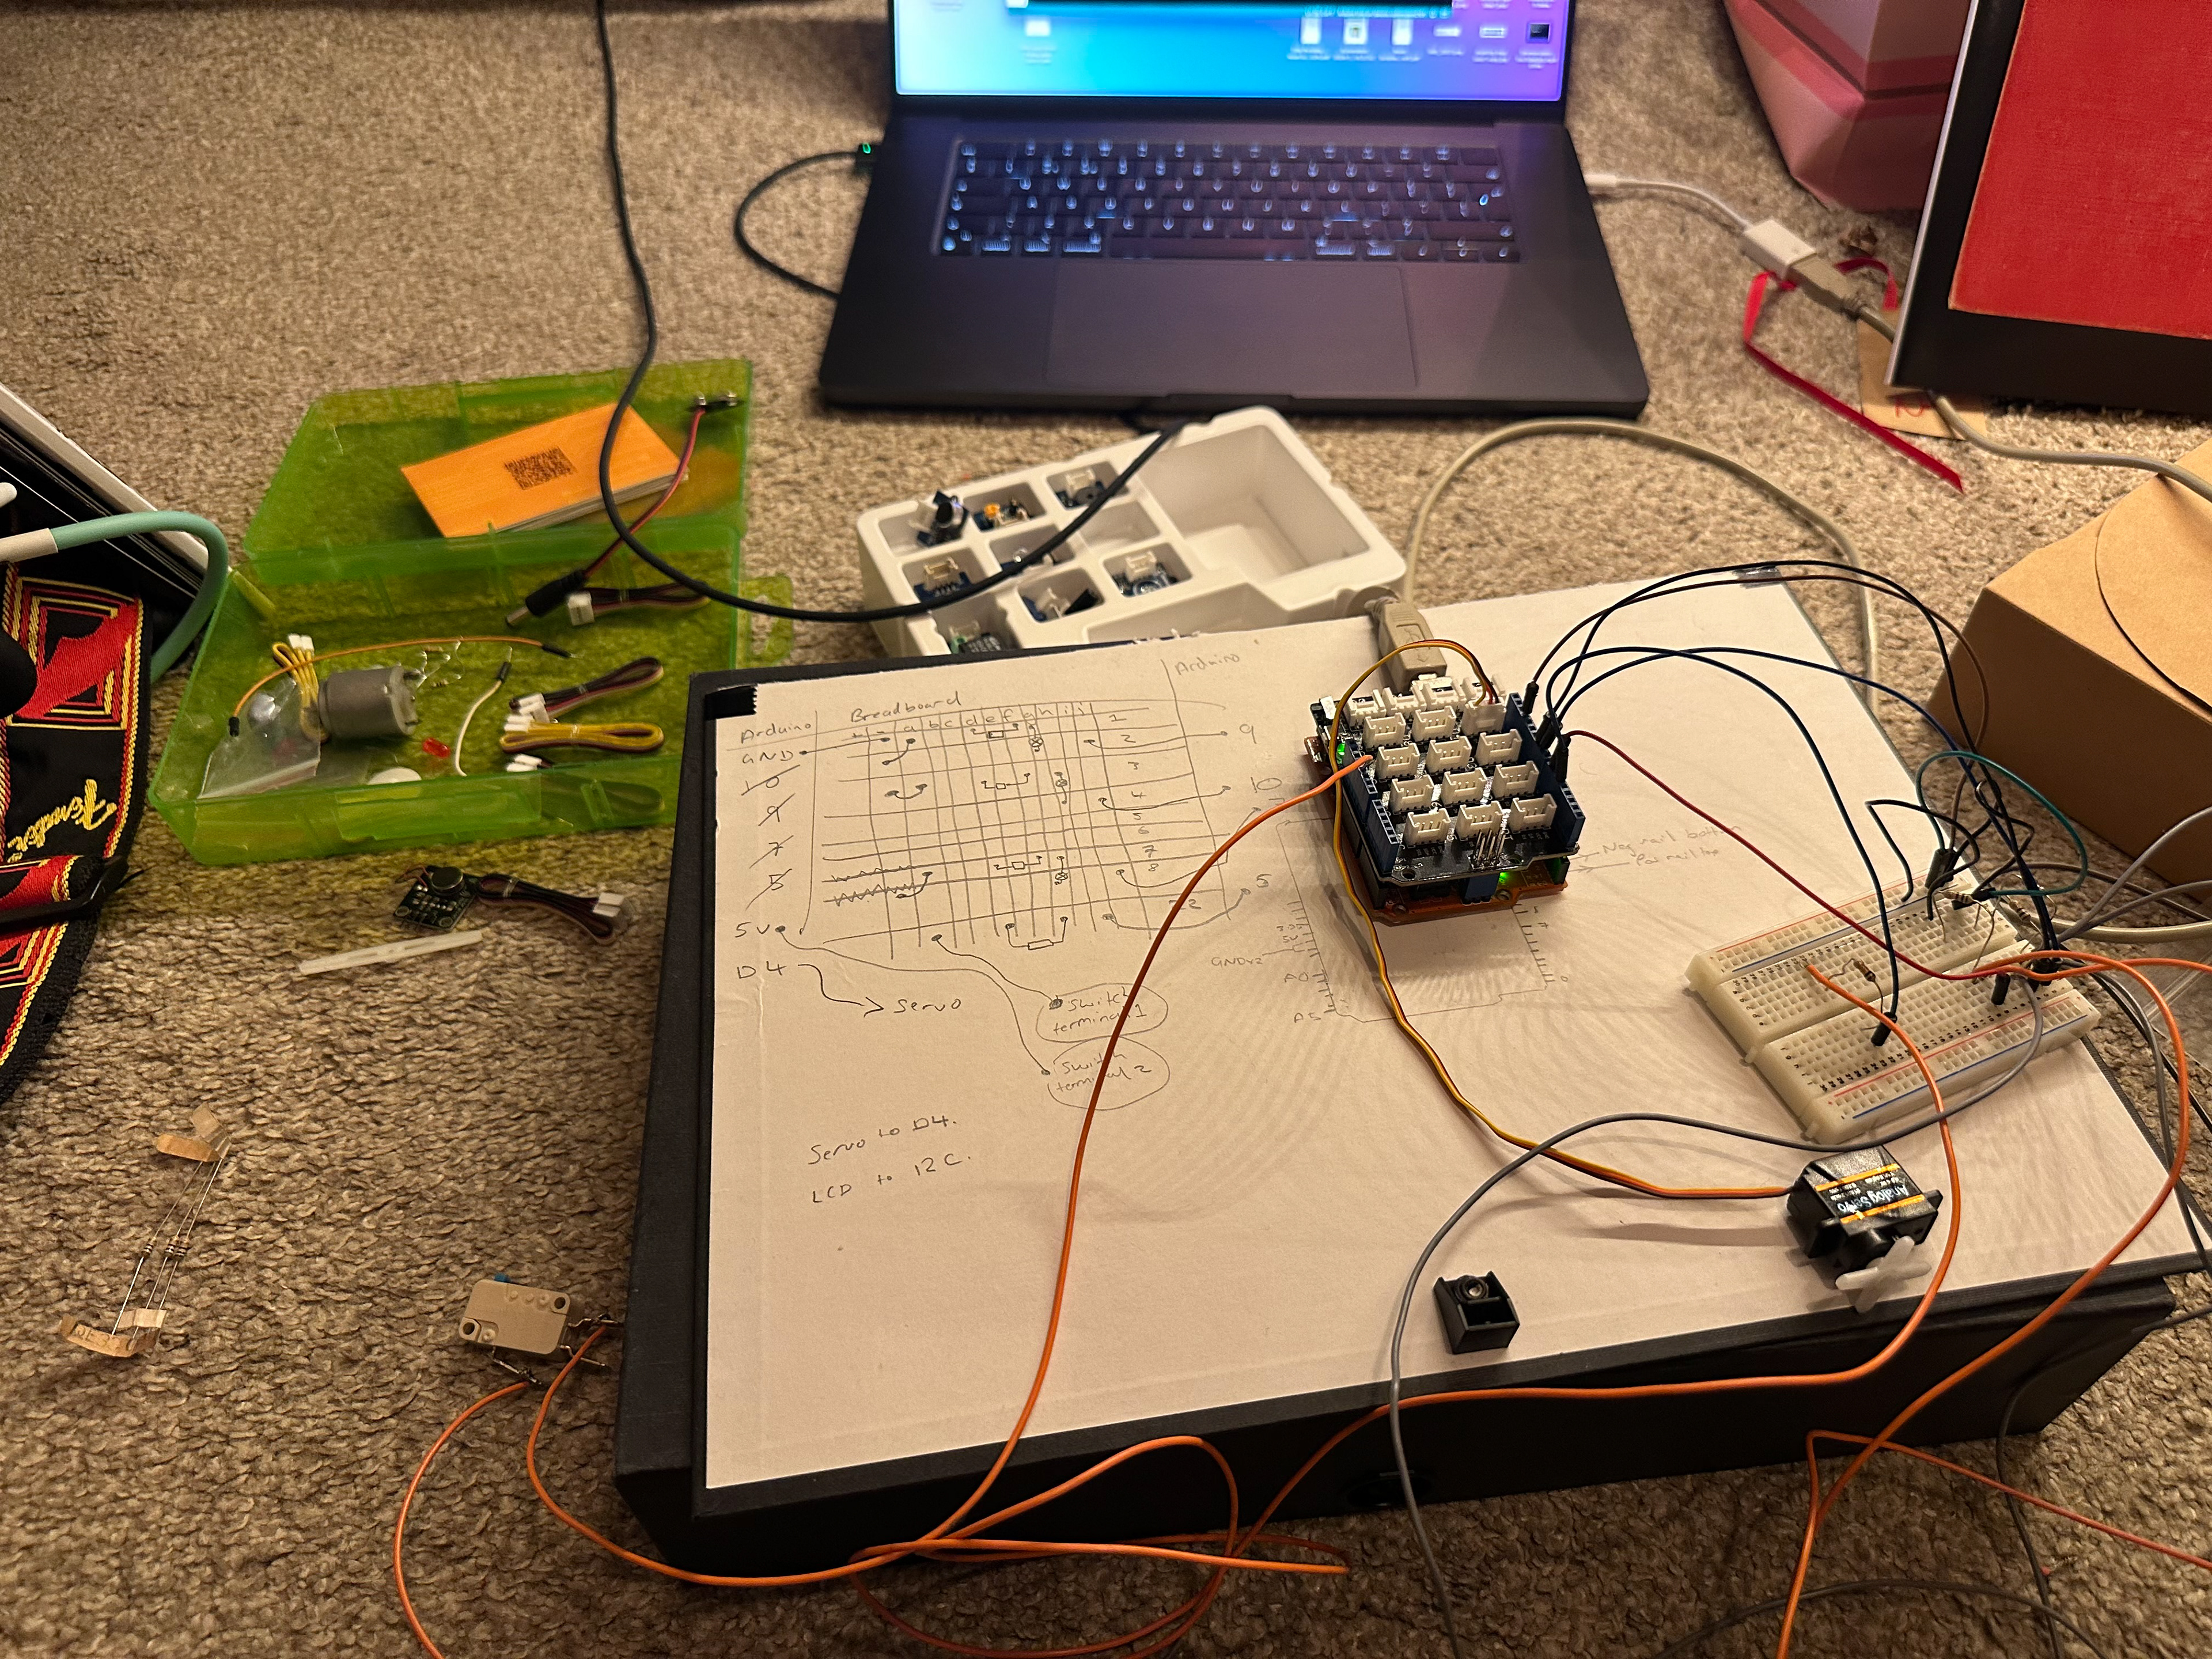
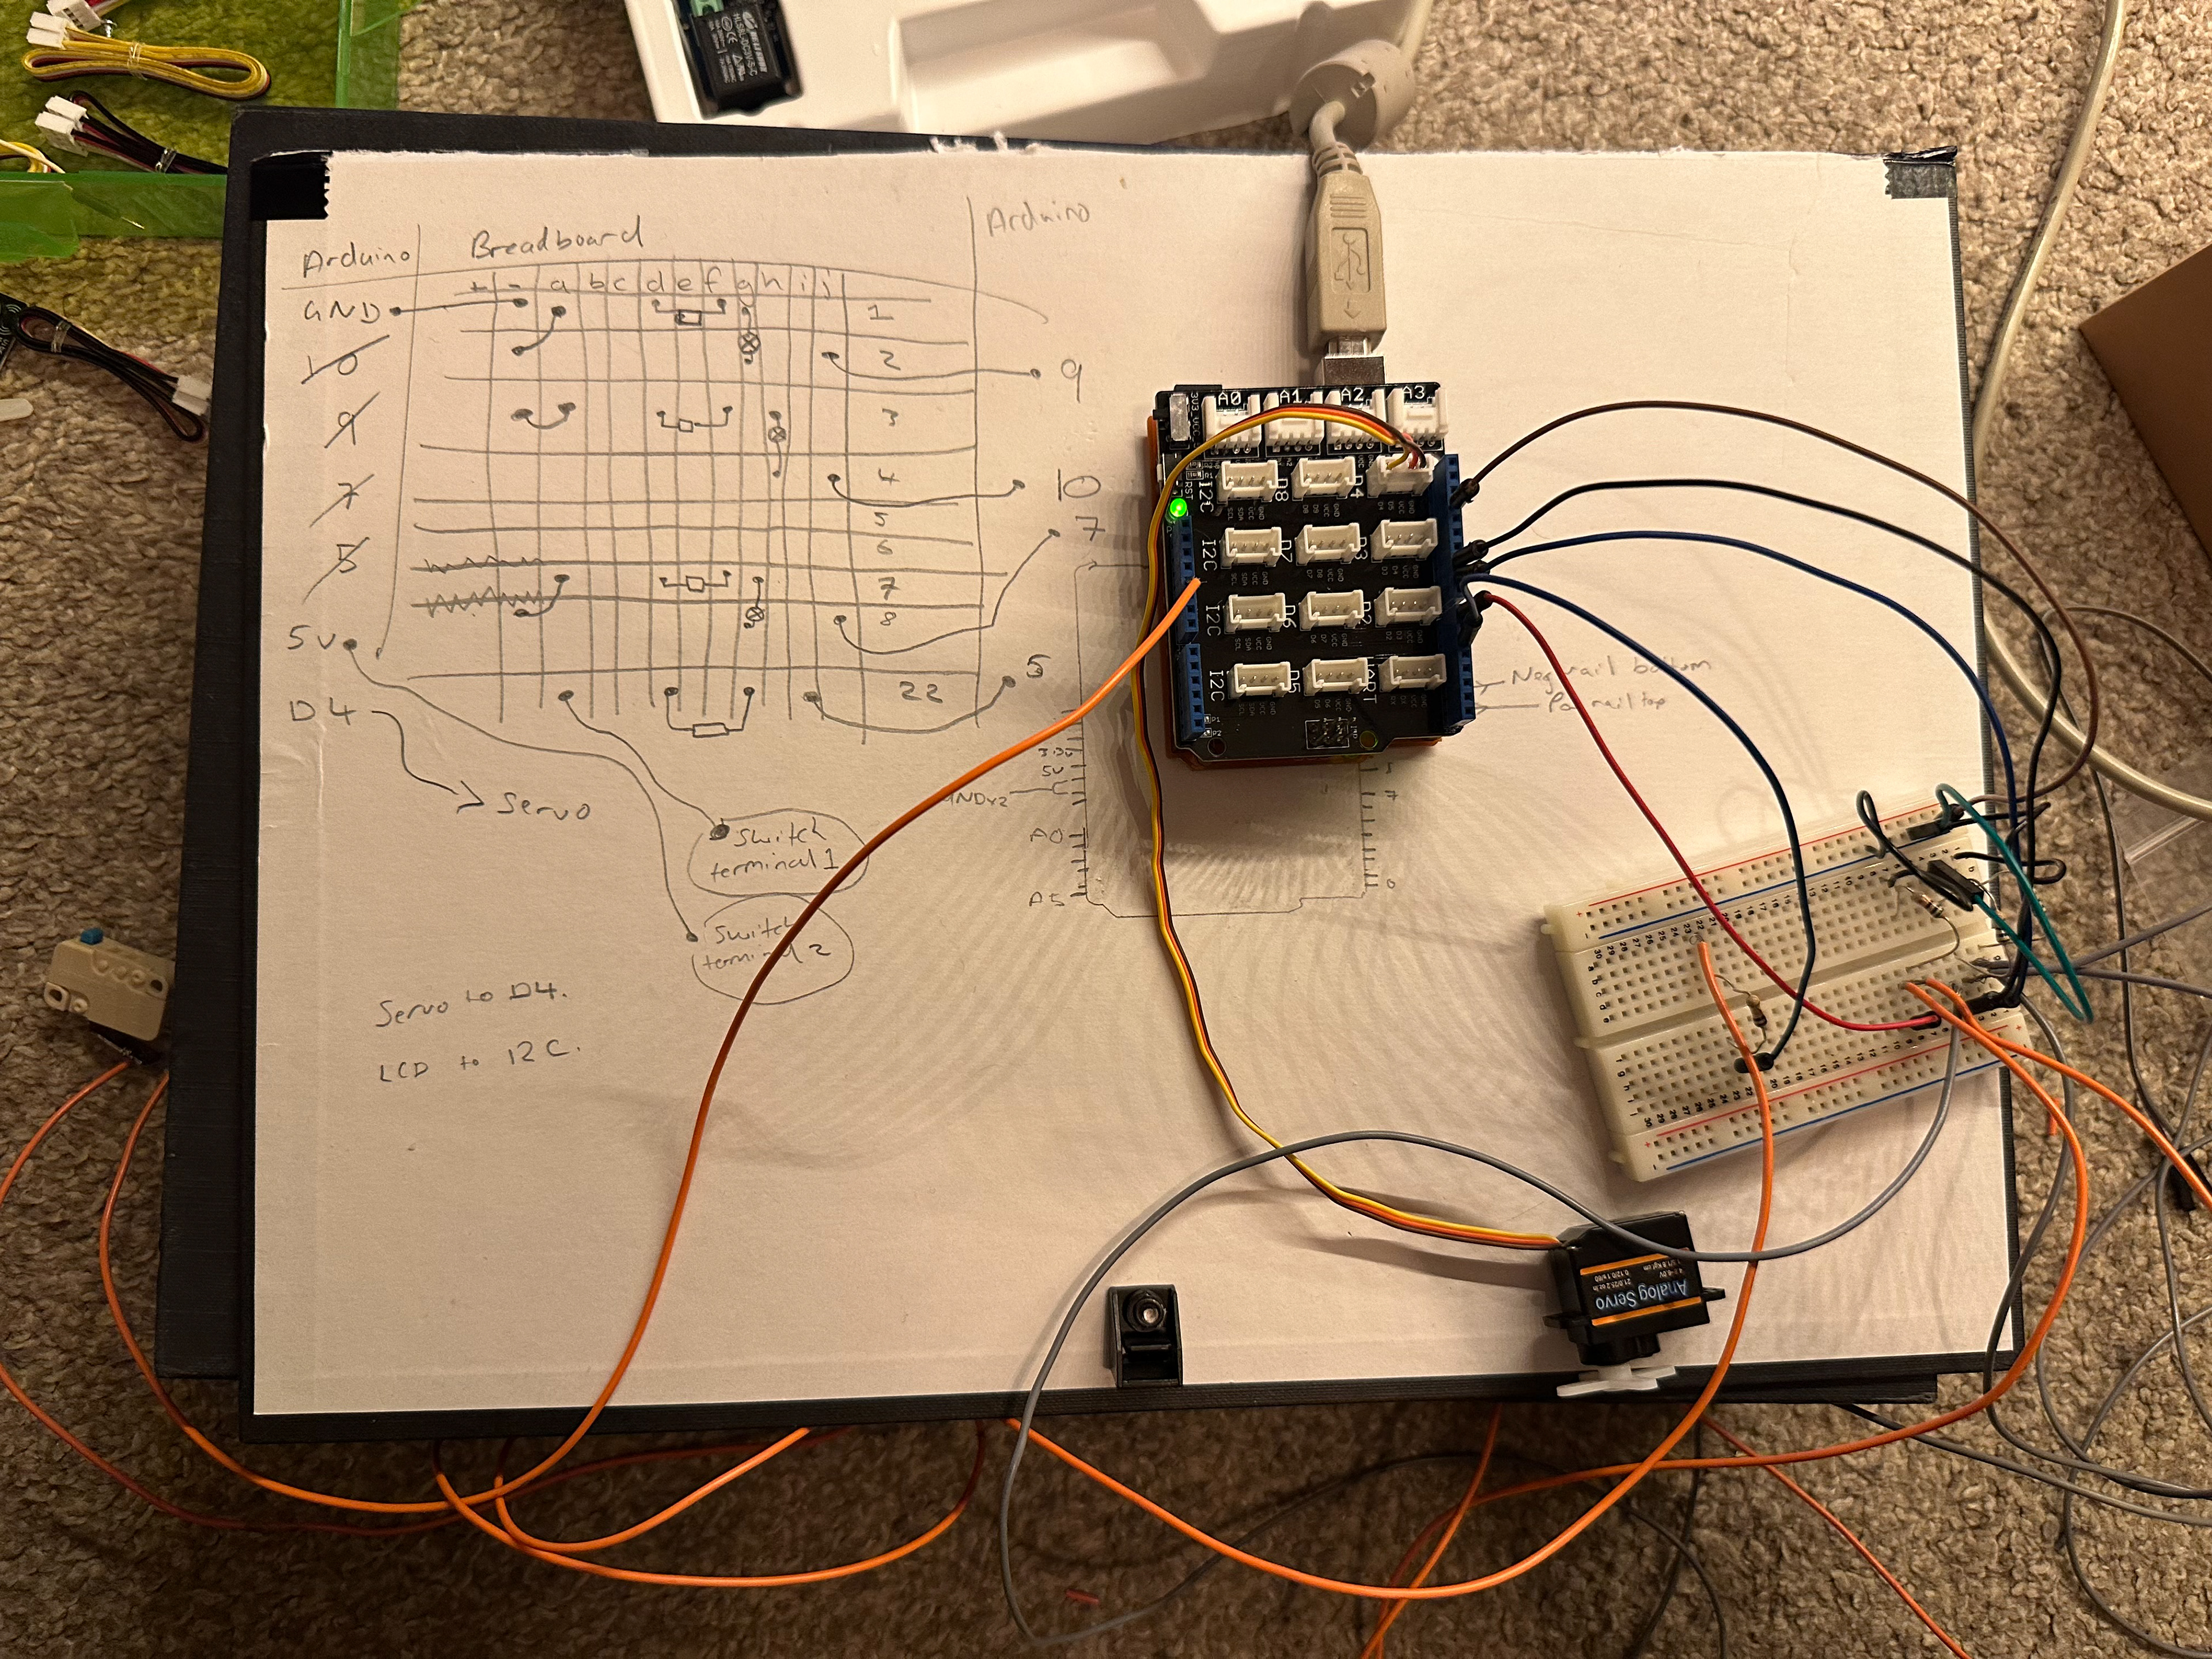
Before packing it al in to the box, I had to make sure it all still worked correctly. When the switch is depressed, the code starts and the machine activates. When it is released, it all stops. When depressed again, it should start running from the beginning.
Box Construction
After completing a working Arduino glitcher and packing it into a box with nothing but gaffa-tape, I am left with a contraption that will glitch any image you put inside it on to a scanner, and which would almost certainly get you pulled out of line at airport security.
(I hope you like my Chrismassy socks!)
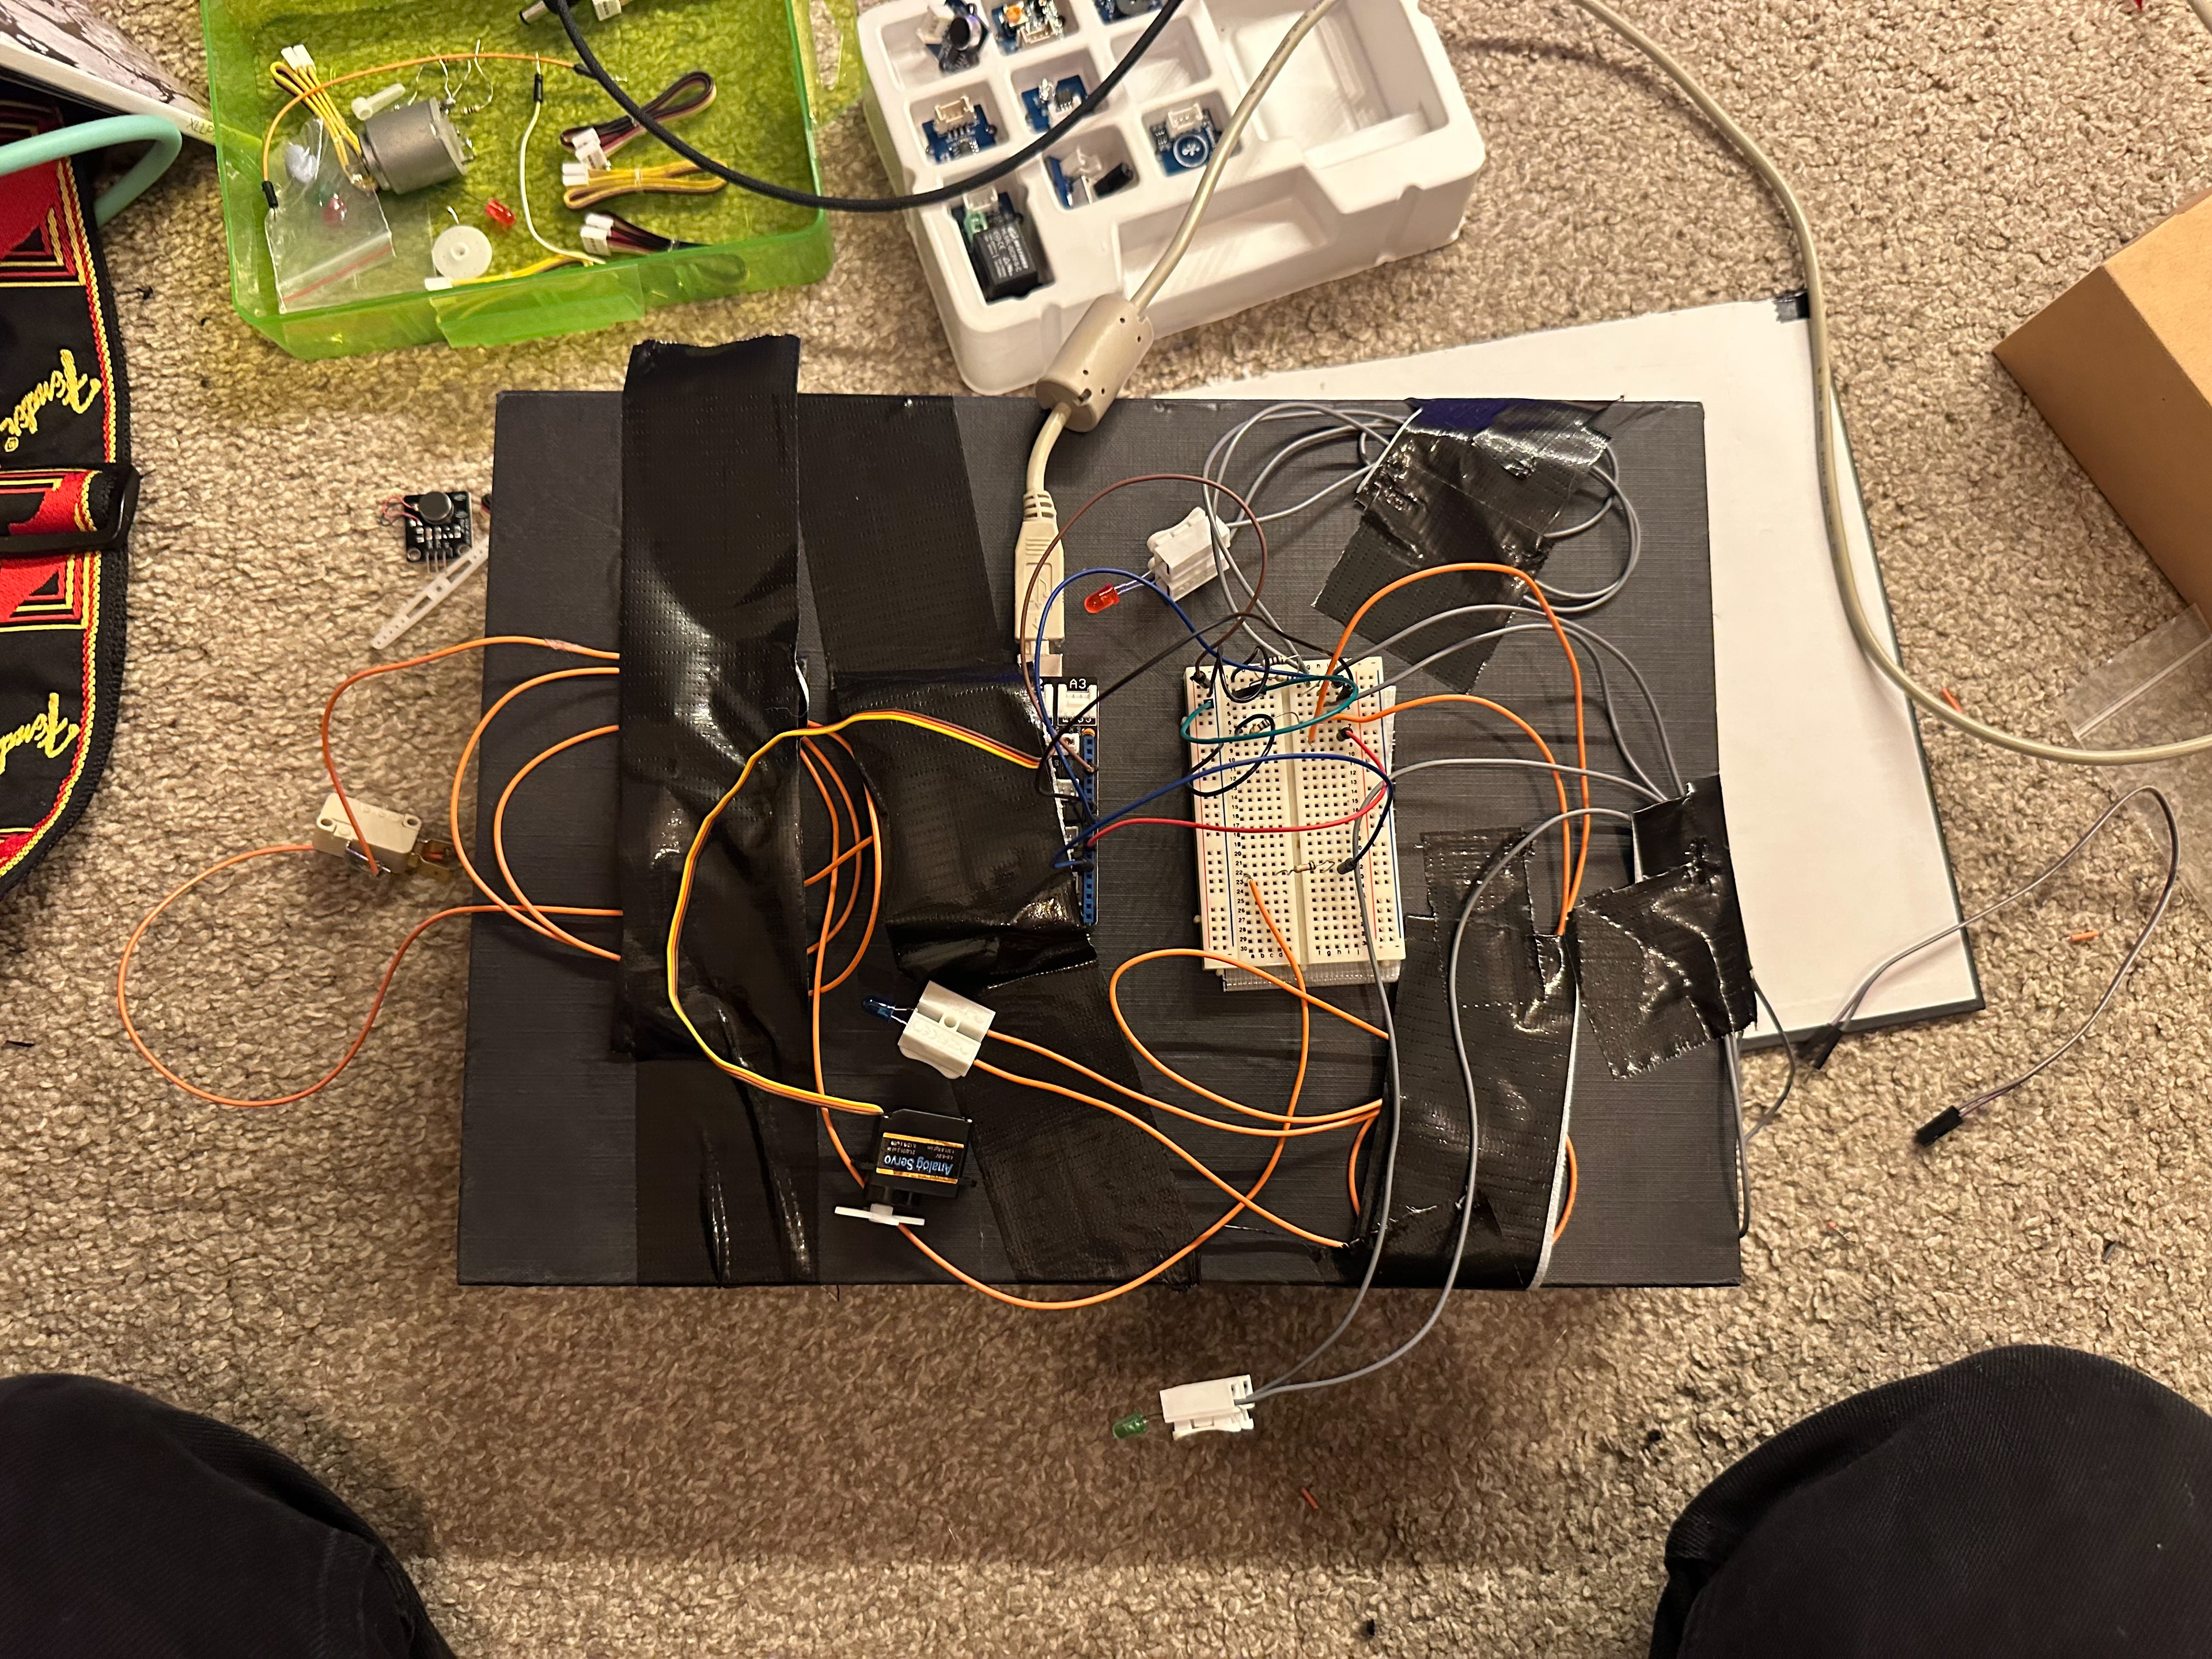
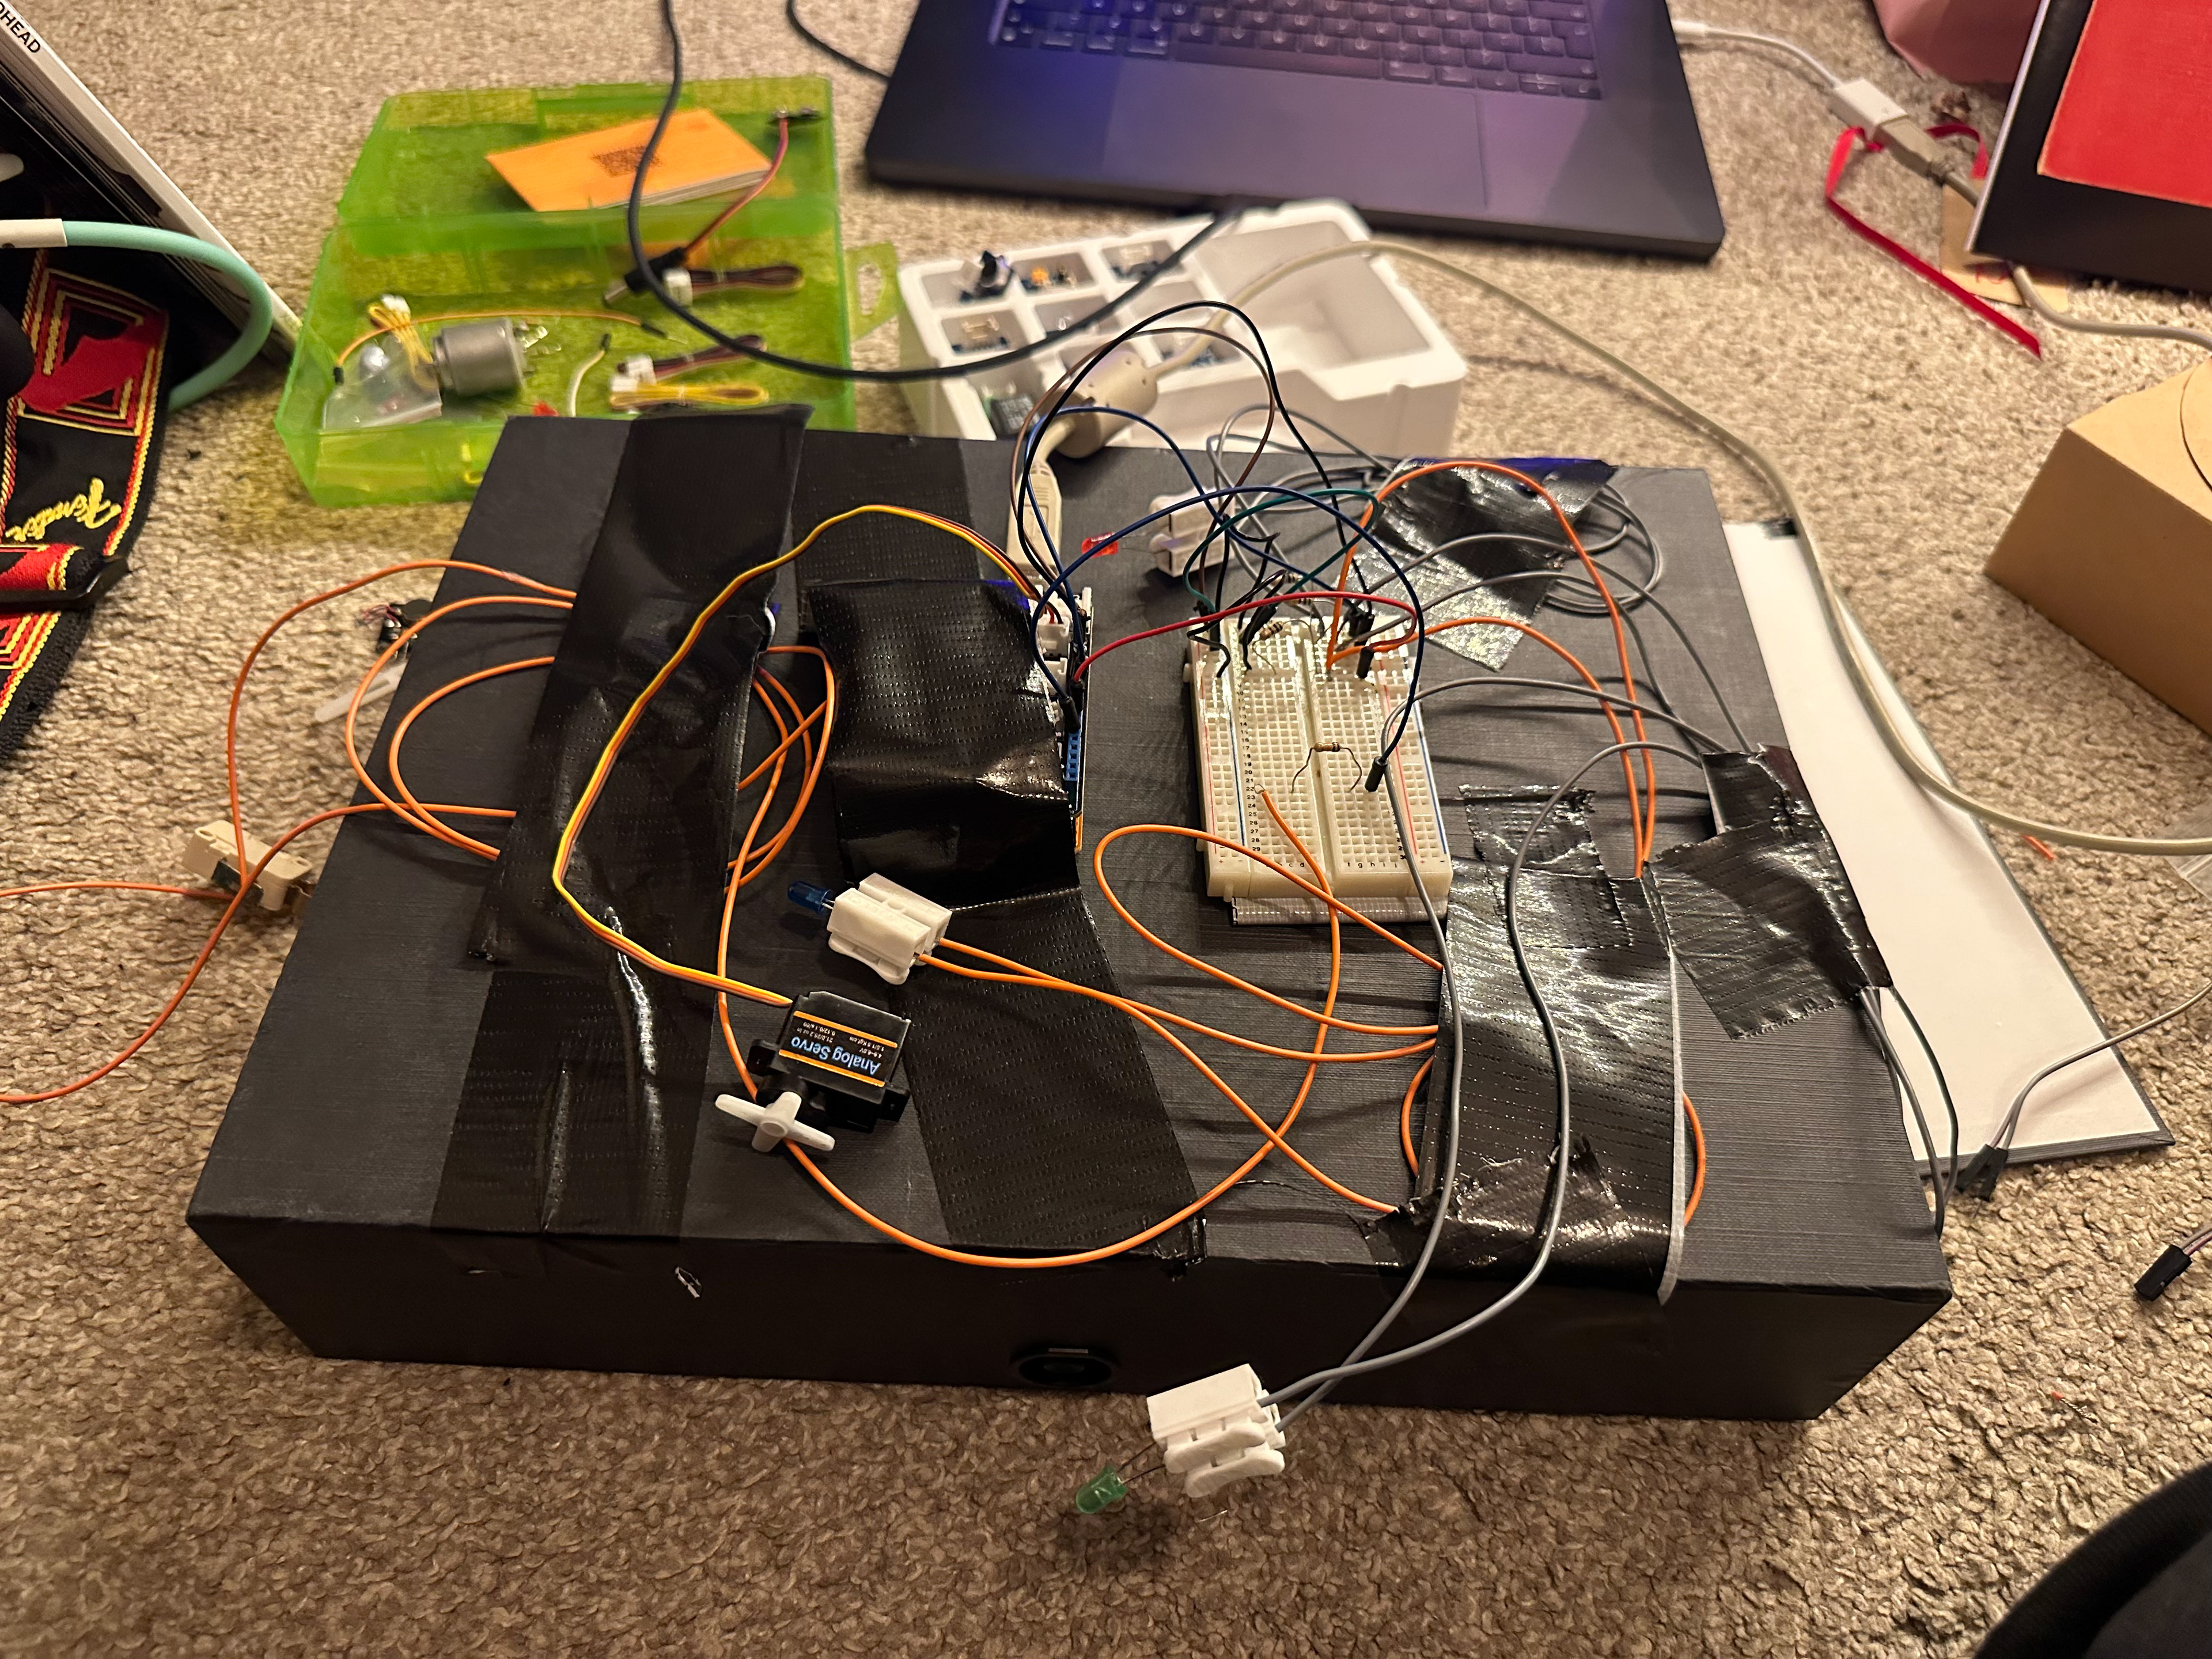
The final step was putting the LEDs inside the box - now I know they actually work!! - and attaching the switch so it is secure enough to reliably be pressed when the box is placed on the scanning bed.
Outside the box...
...inside the box
The Code
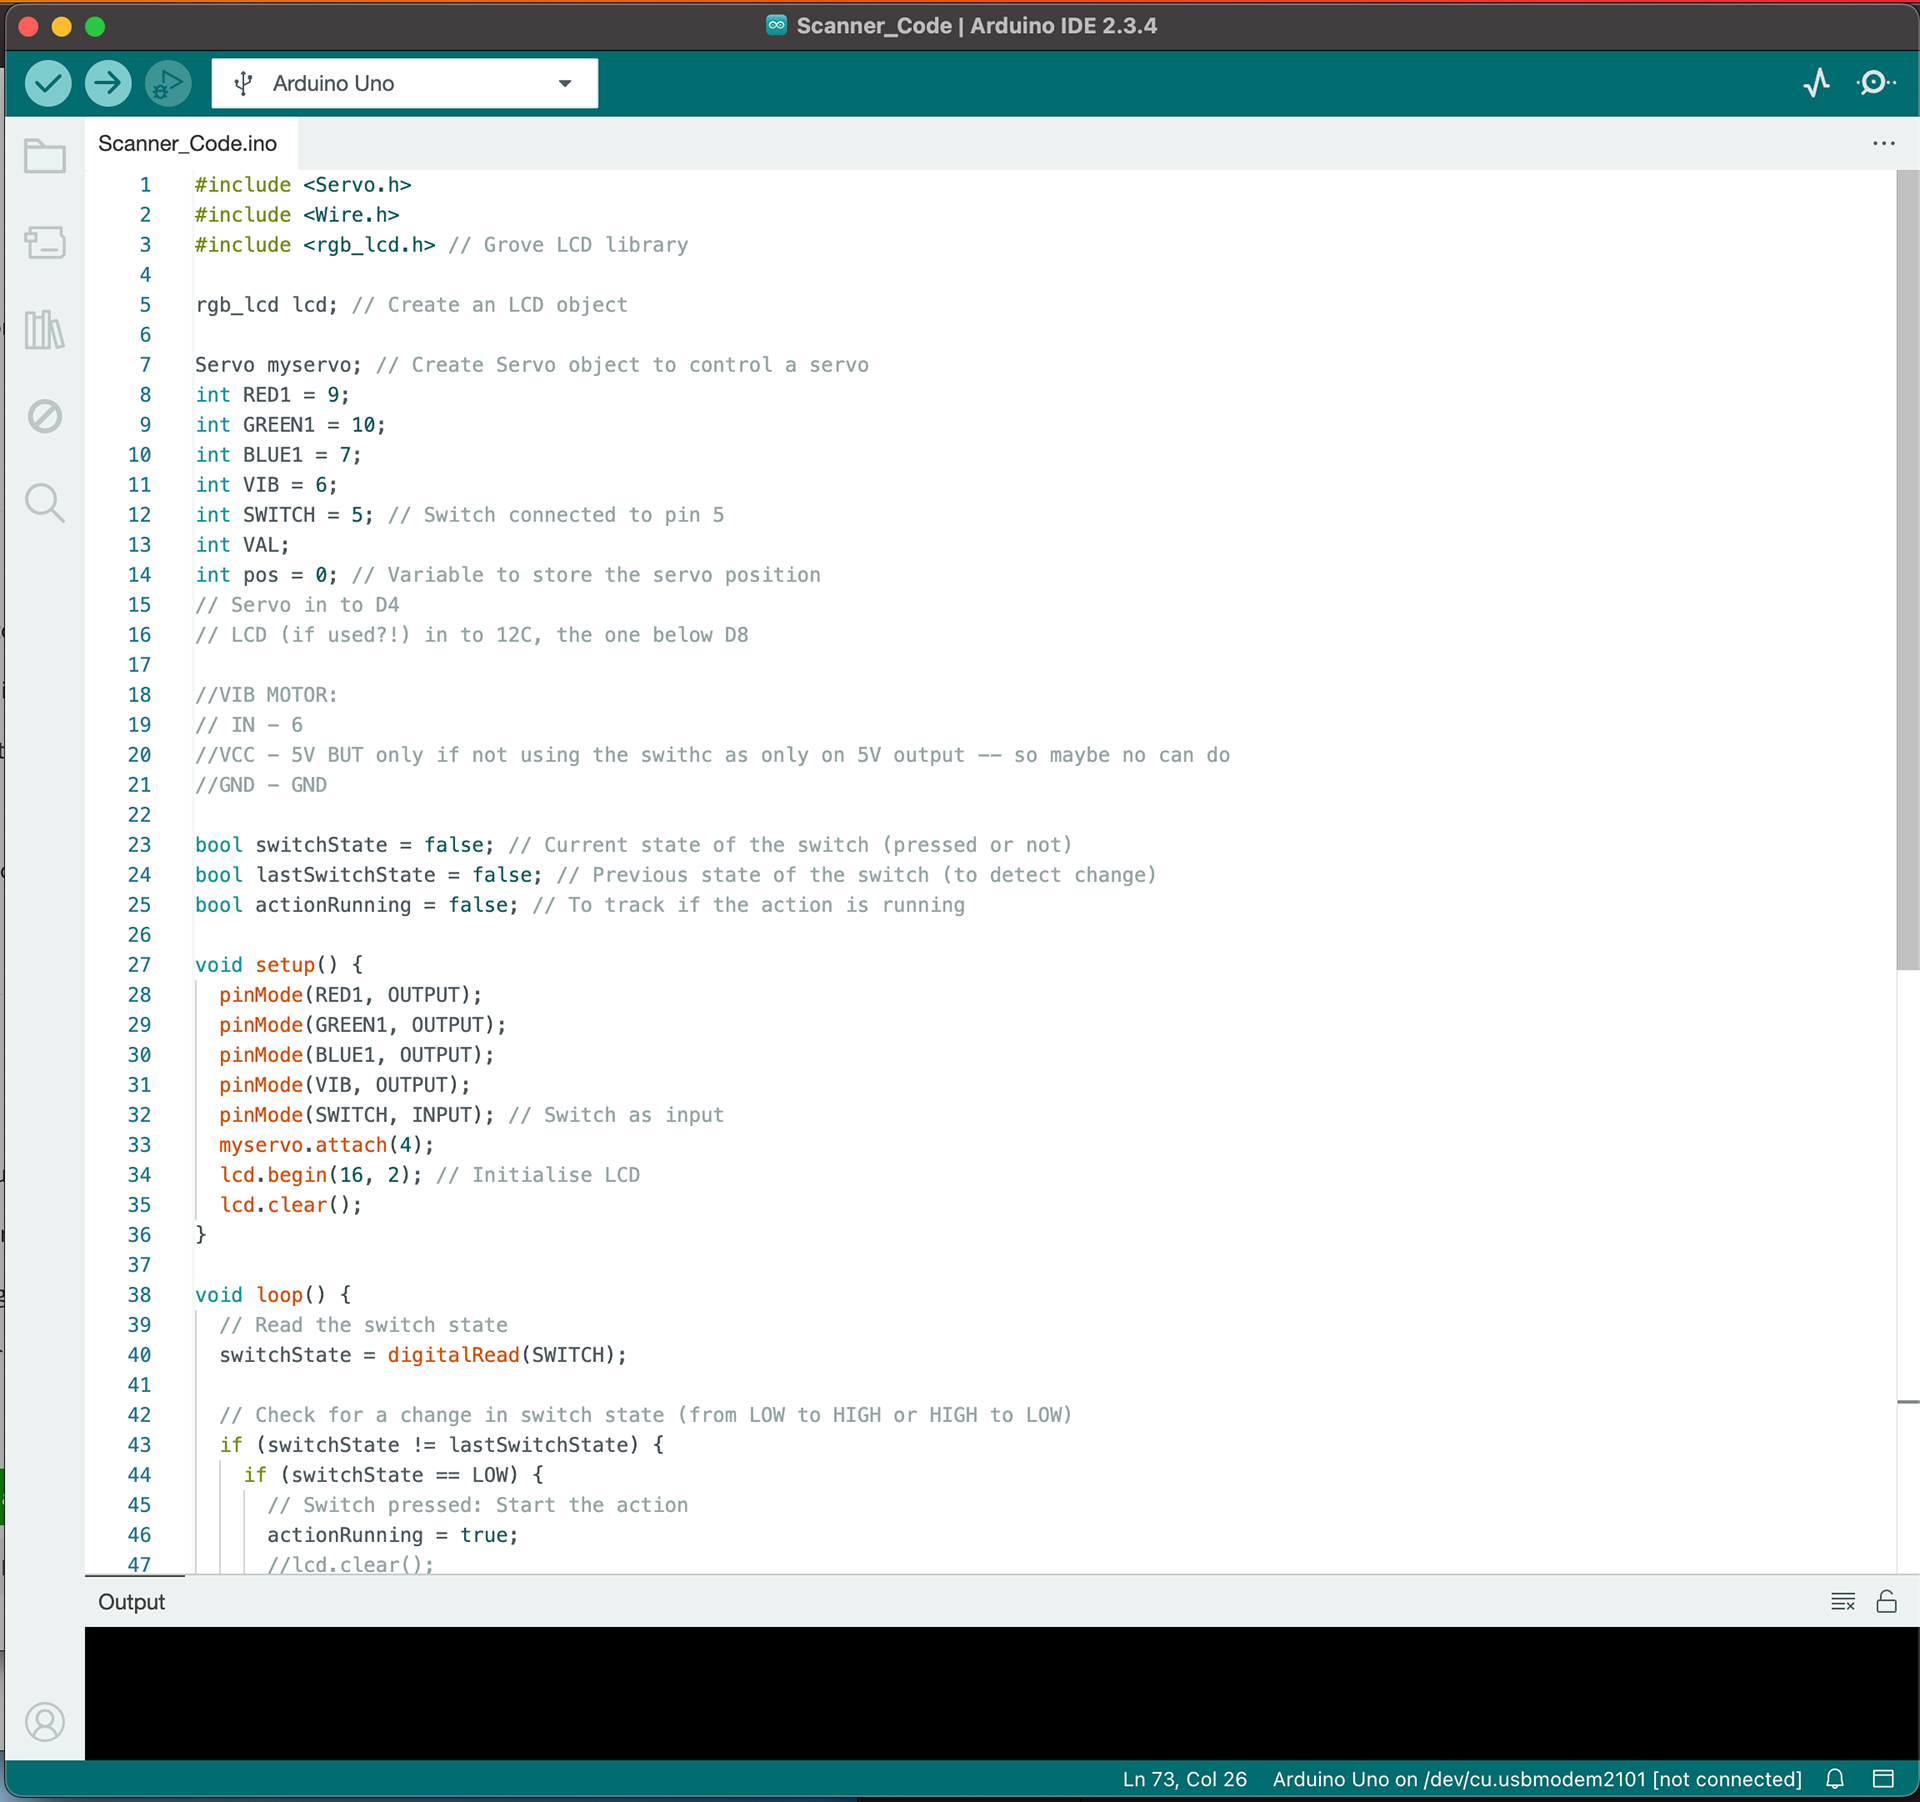
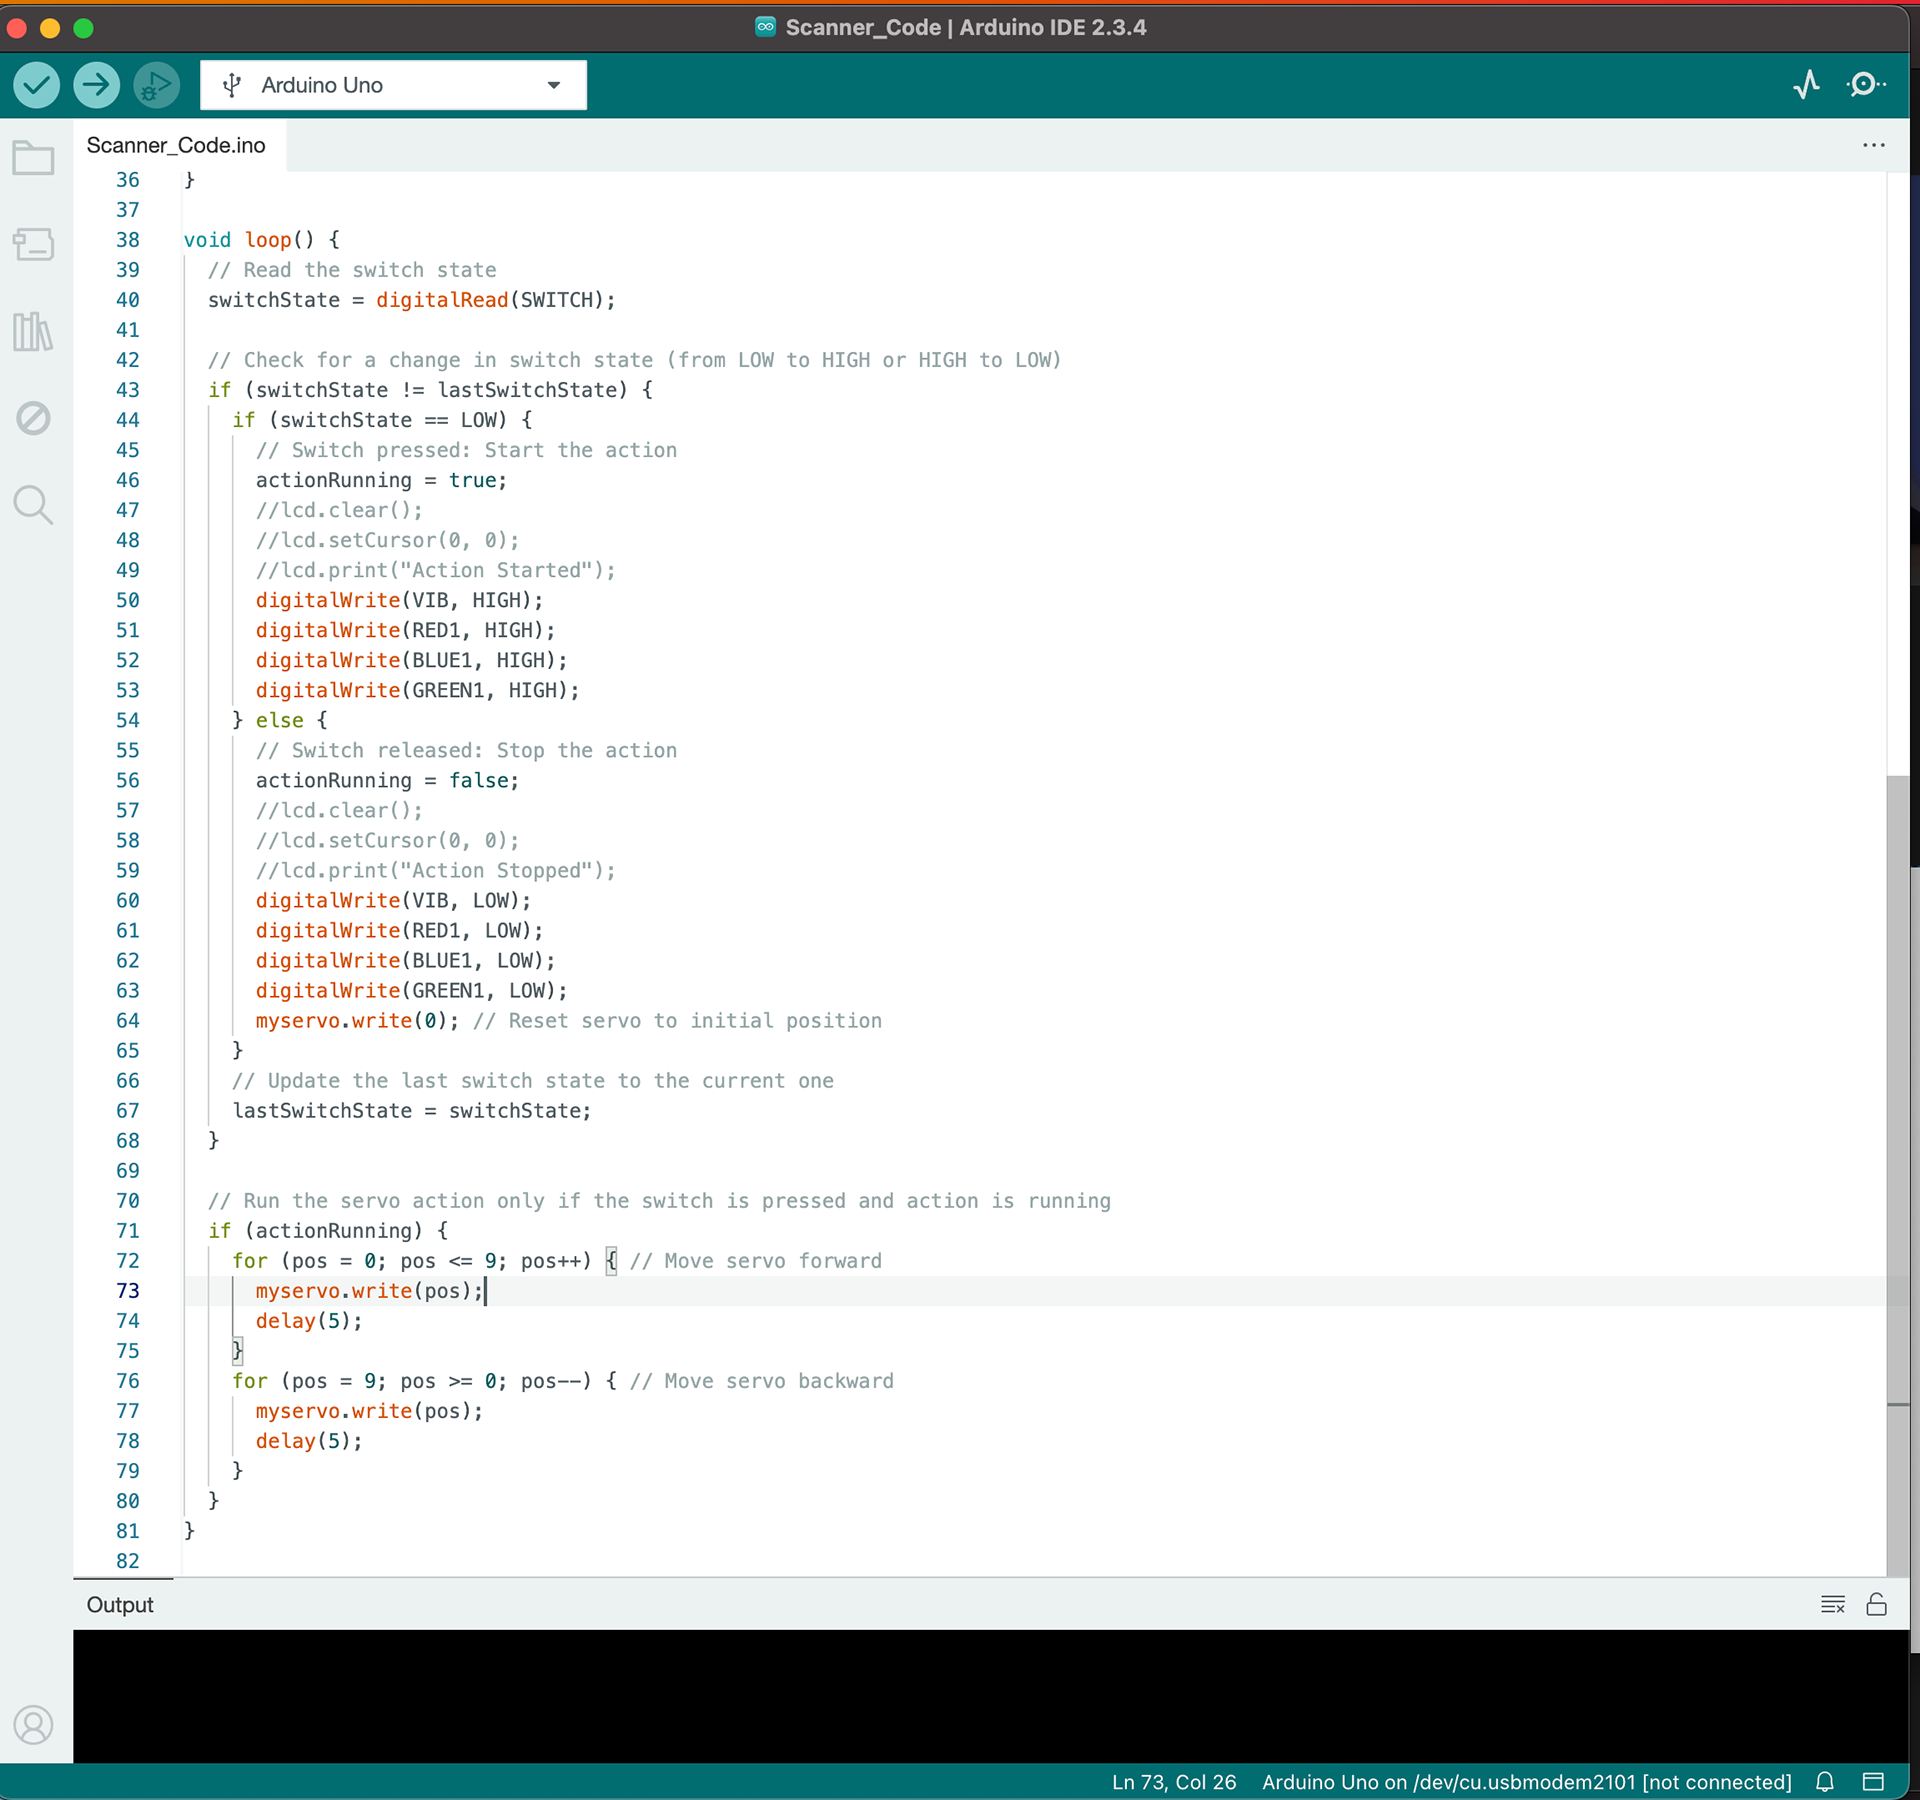
The code first connects up the Servo and the LCD screen, which I didn't end up using in the end. It then connects each component to the Arduino, telling it which component is connected to which pin(s). I also decided not to use the vibration motor, as it didn't add anything and the Servo seemed to work best on its own. I then set up a bool to test the state of the switch, where LOW=on and HIGH=off. If it detects that the switch has been pressed — i.e. that the ox has been placed on the scanning bed — the rest of the code runs. It turns the LEDs on to 100% (I tried strobing them, but just being solidly on worked better), and activates the Servo, which spins up and down very fast, jiggling the image. When it detects that the switch is no longer being pressed, the program stops and it jumps back to the start.
Schematic
My original schematic was handwritten on the lid I cut off of the box file:
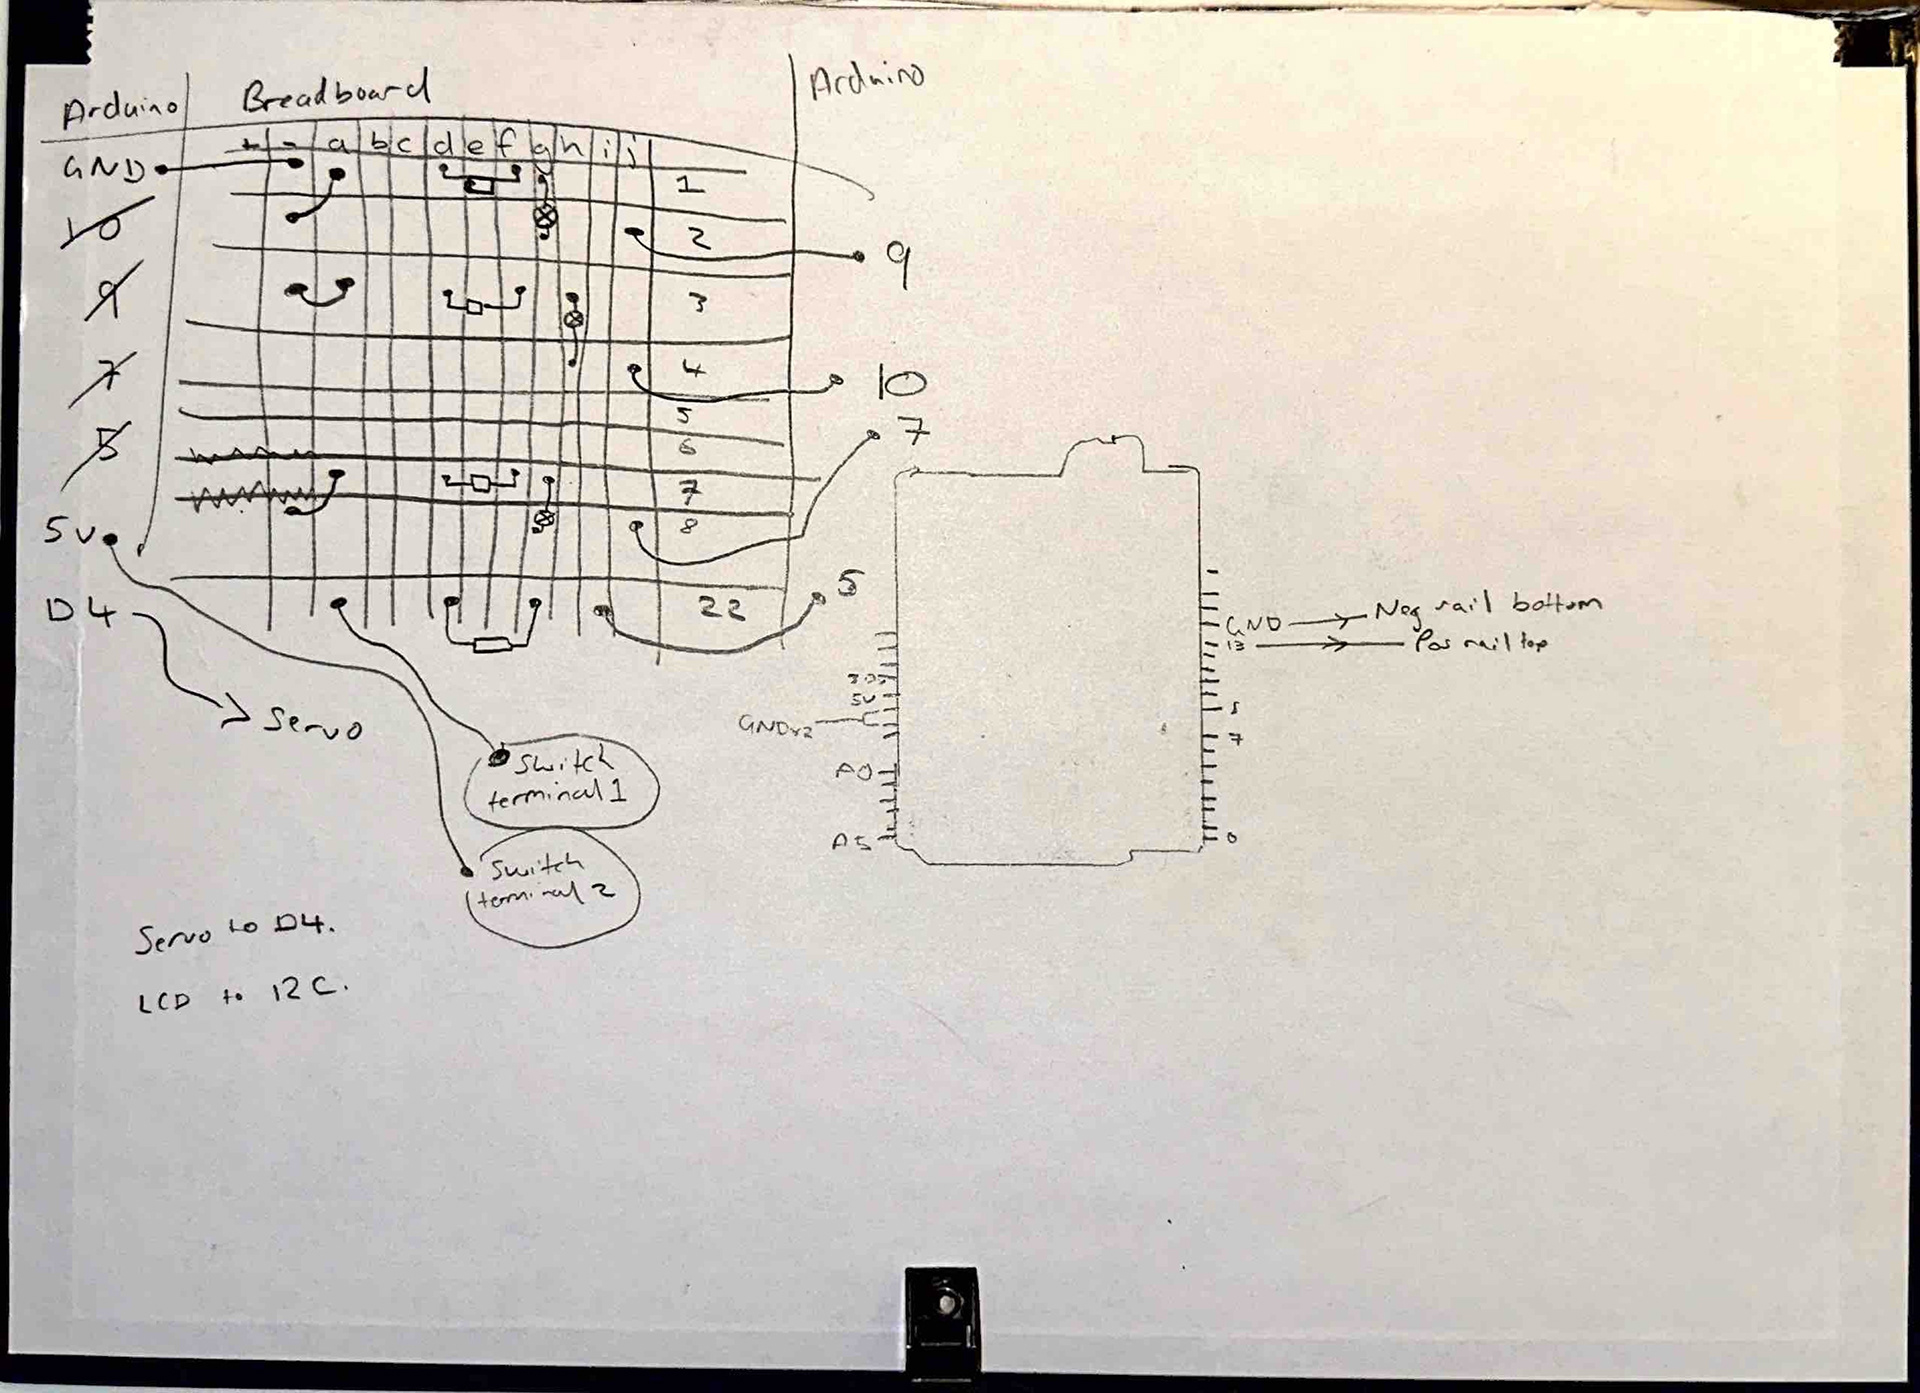
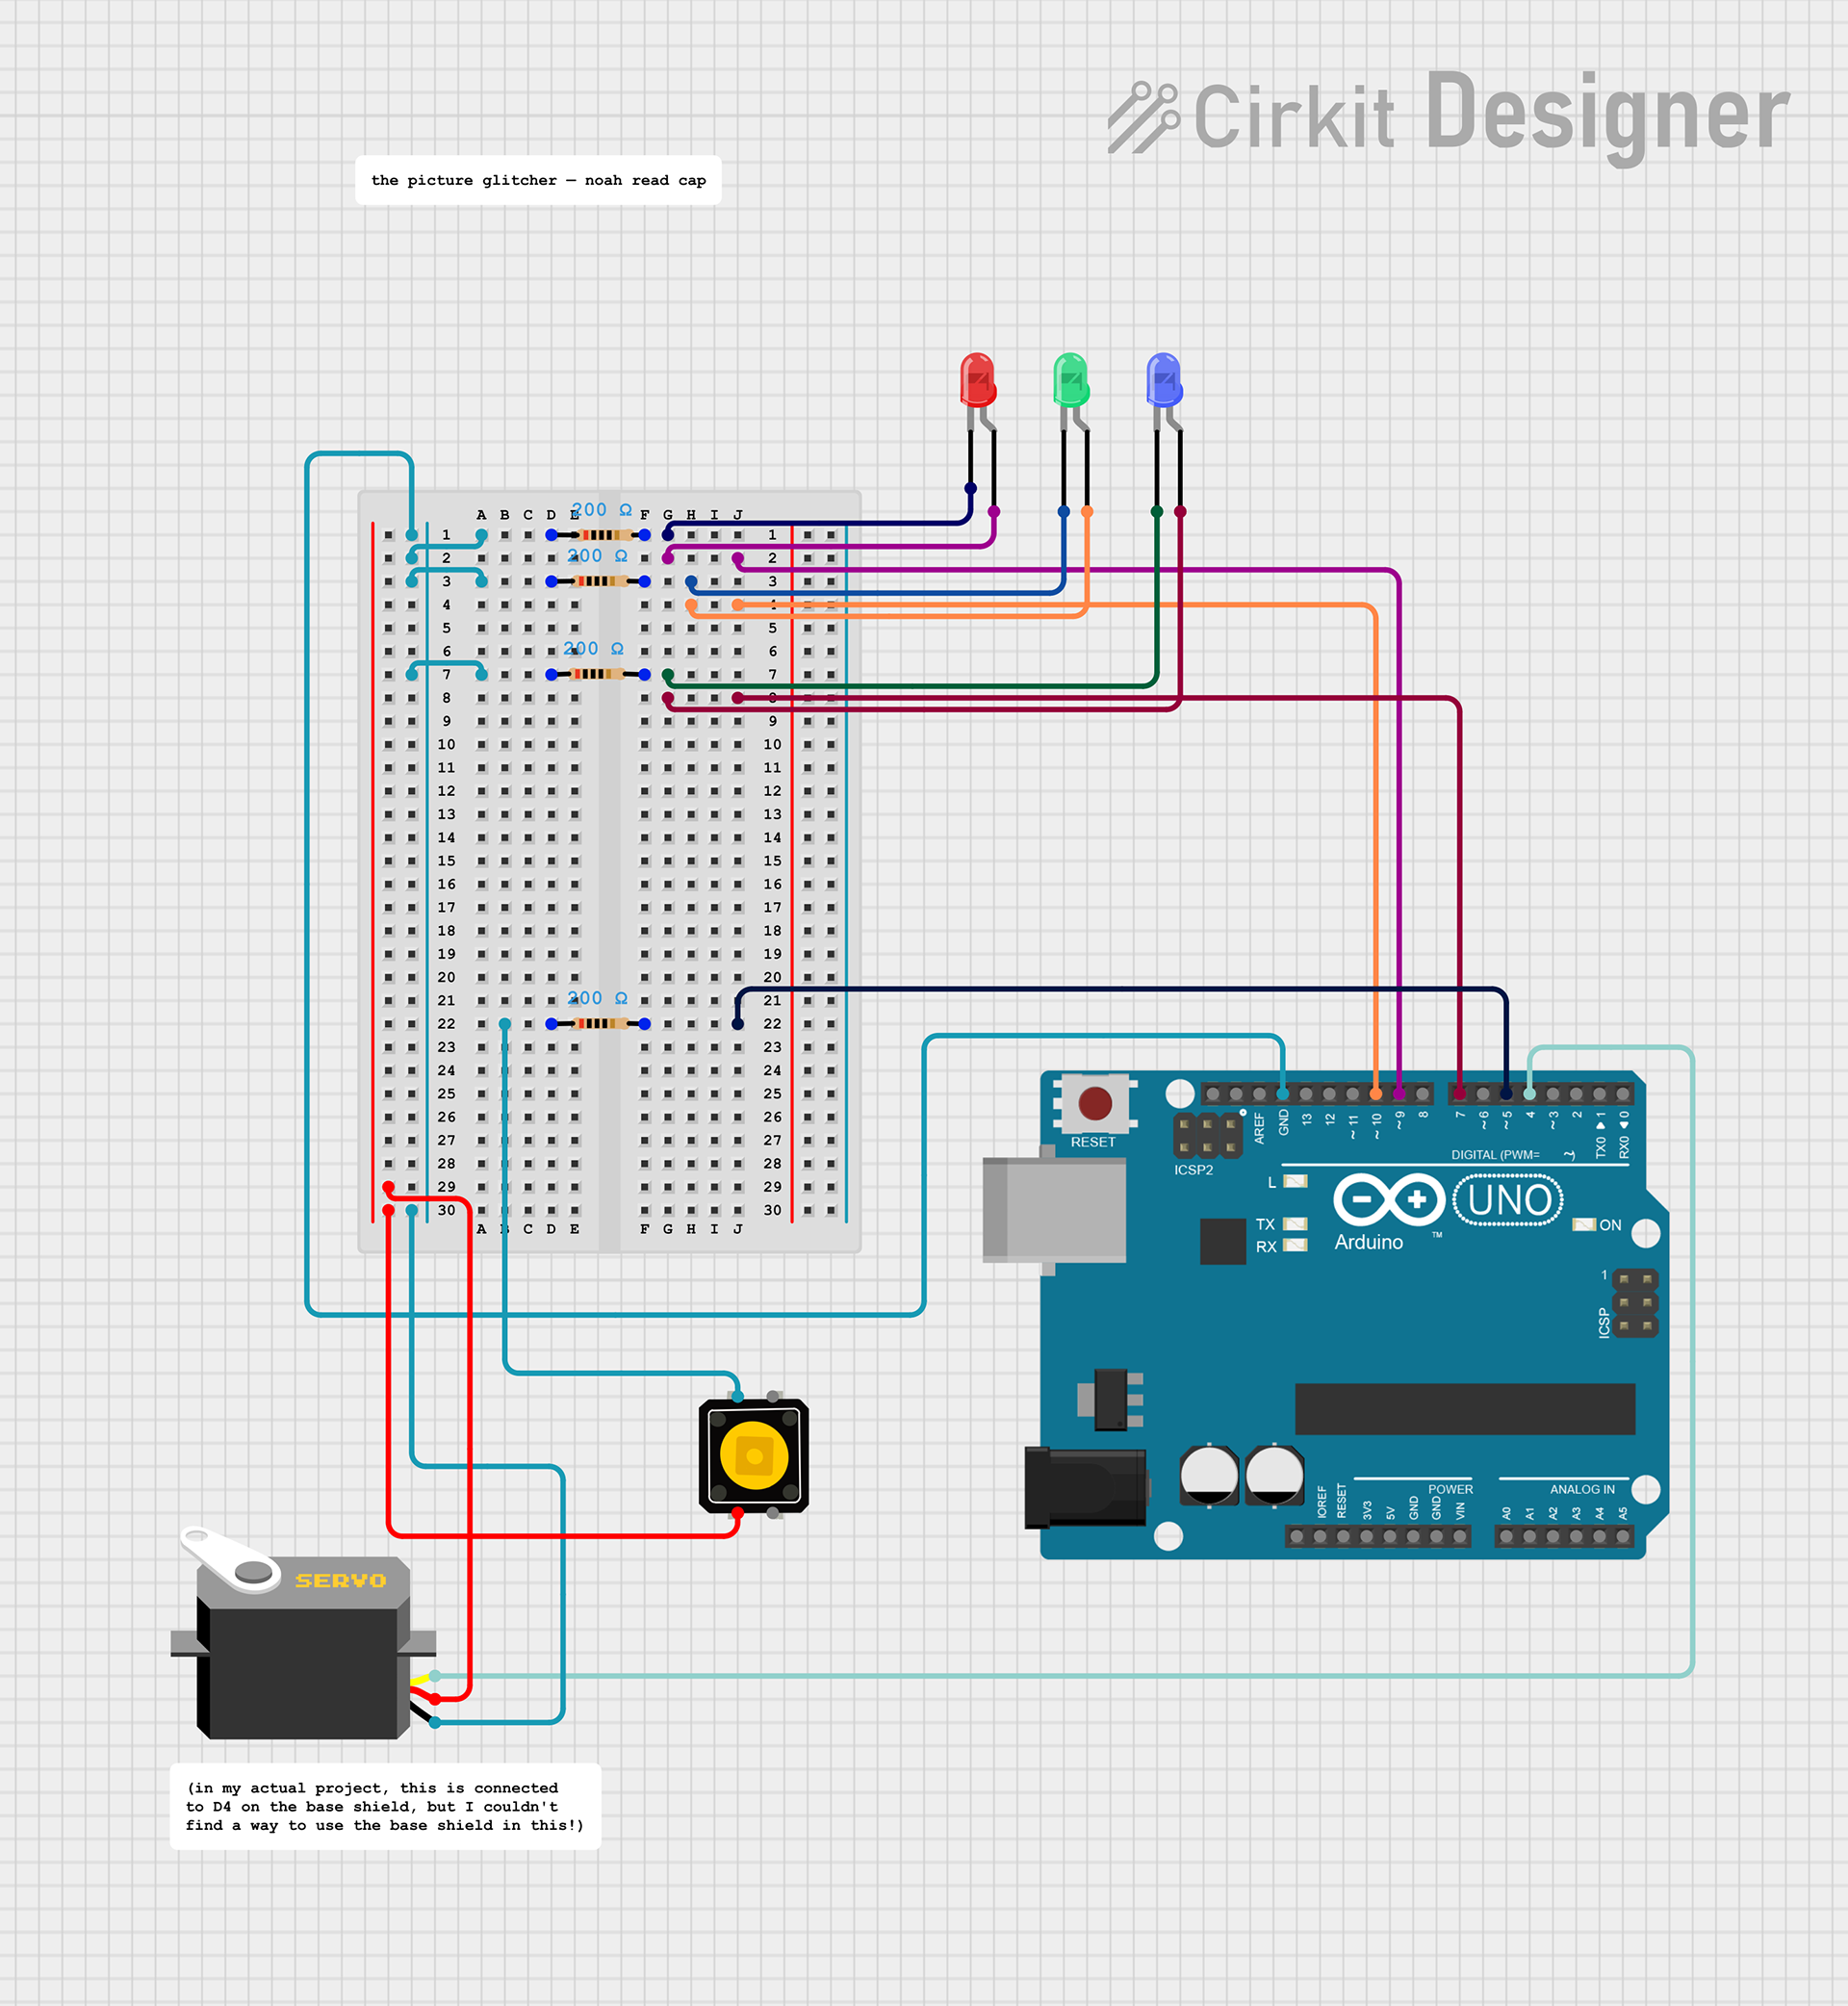
However I found an excellent website called Cirkit Designer, which I used to create a final schematic that is - hopefully - reproducible.
(The only thing I couldn't work out how to change was the resistance of my resistors.)
The working project
I ran the code a few times with different images. The images had to be physical photos, and I stitched the Servo to them with blutac to allow it to hold it whilst it jiggles. I also used a wad of gaffa-tape to allow the box to press down gently on the image.
Output
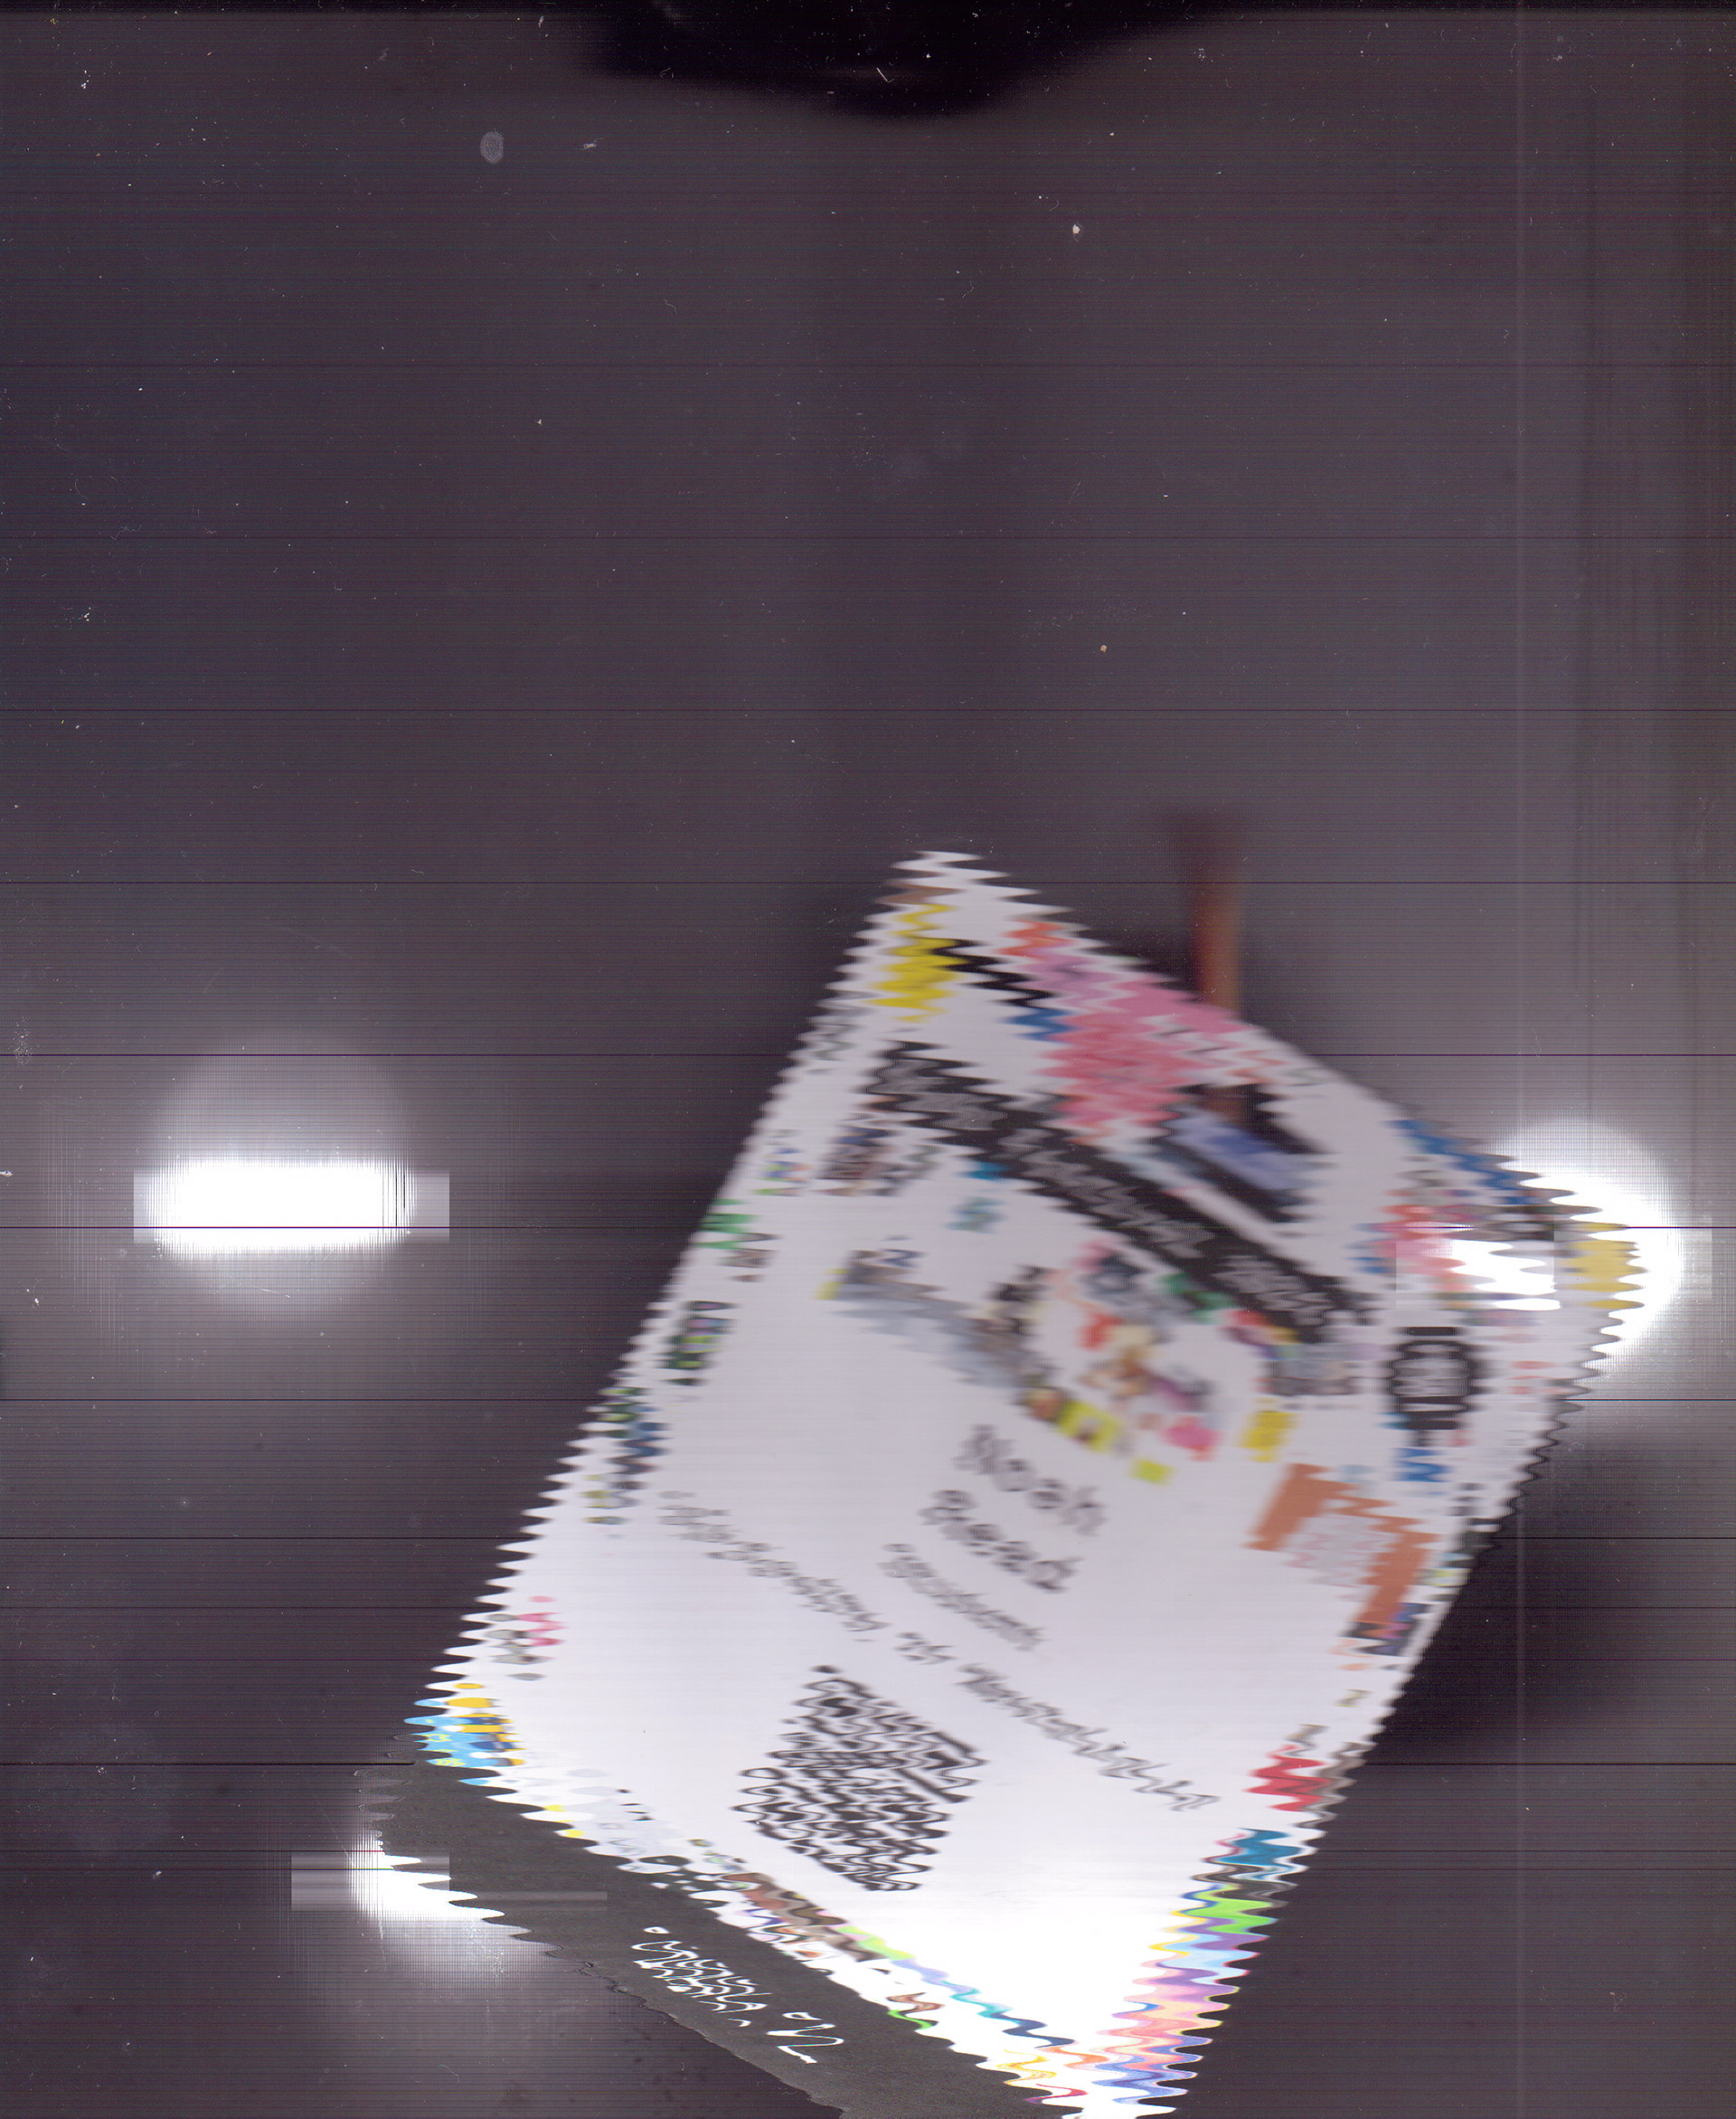
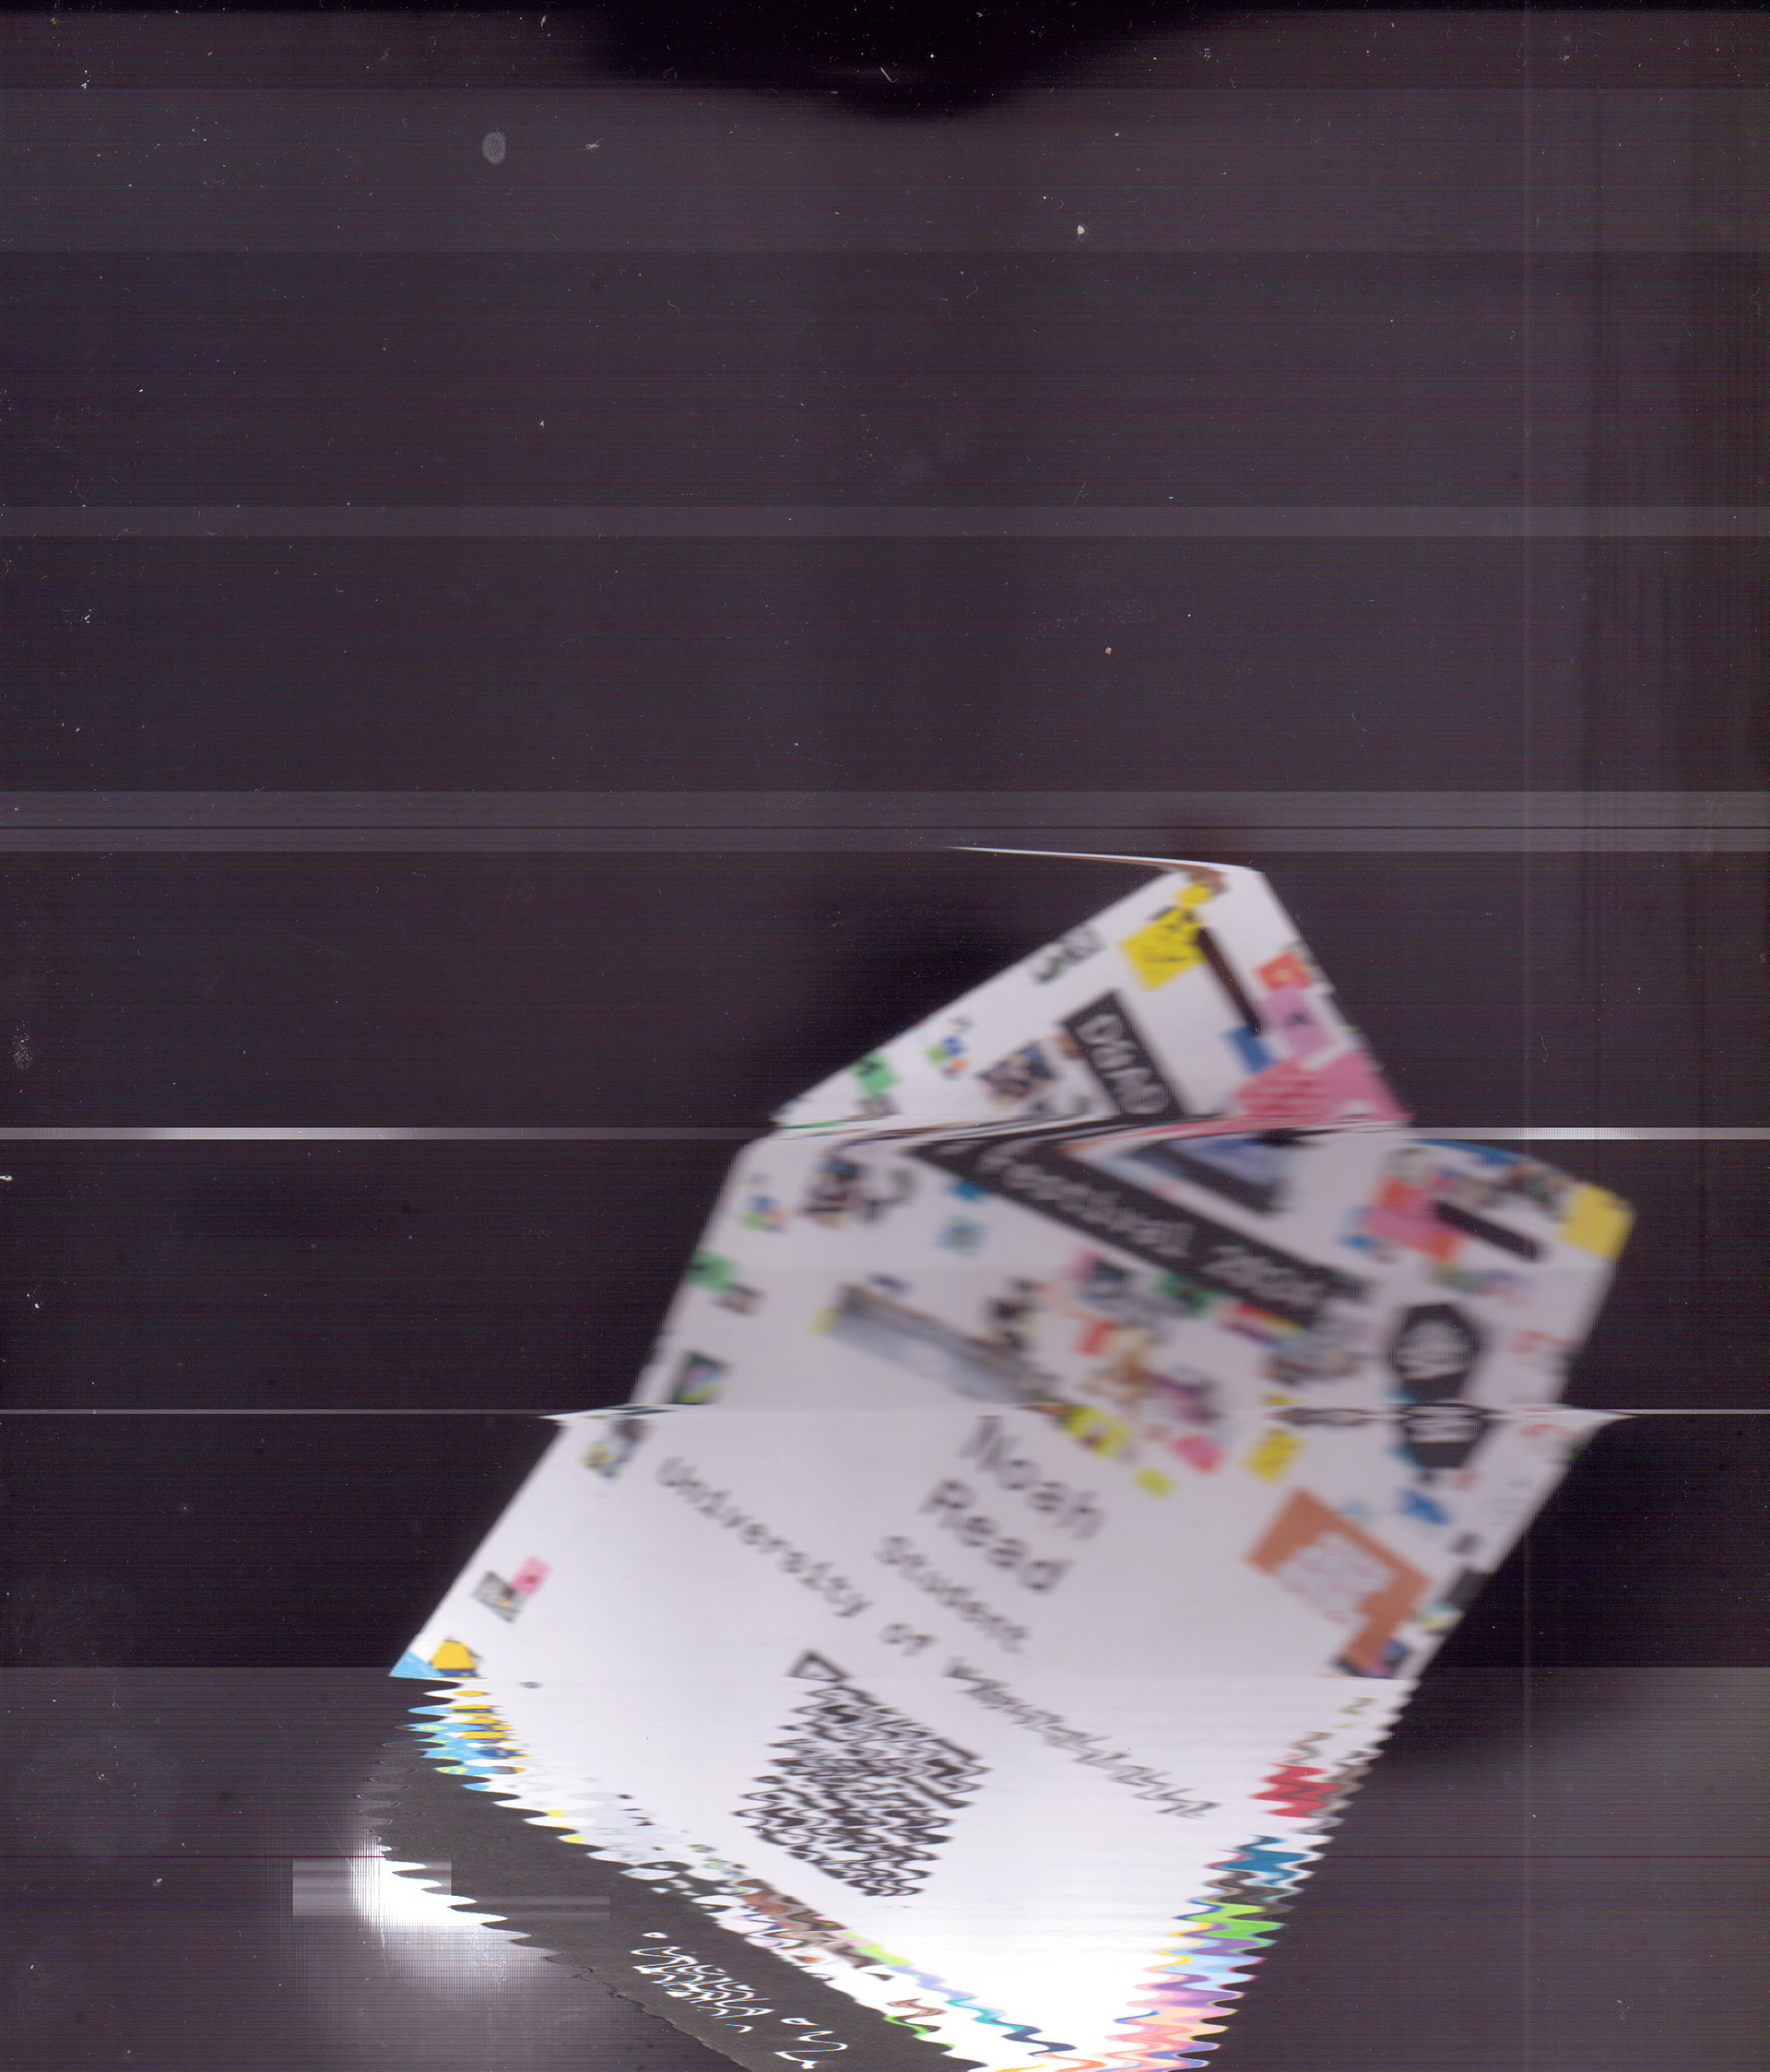
These are some of my output images — if I had more time, I would have tried printing some specific photos and comparing with how my processing code would have glitched them. I personally really like the analogue glitching, and the way it does it; the only slight downside is that it is a little bit too uniform sometimes, depending on where the Servo is attached to the image (corner vs centre, for example).
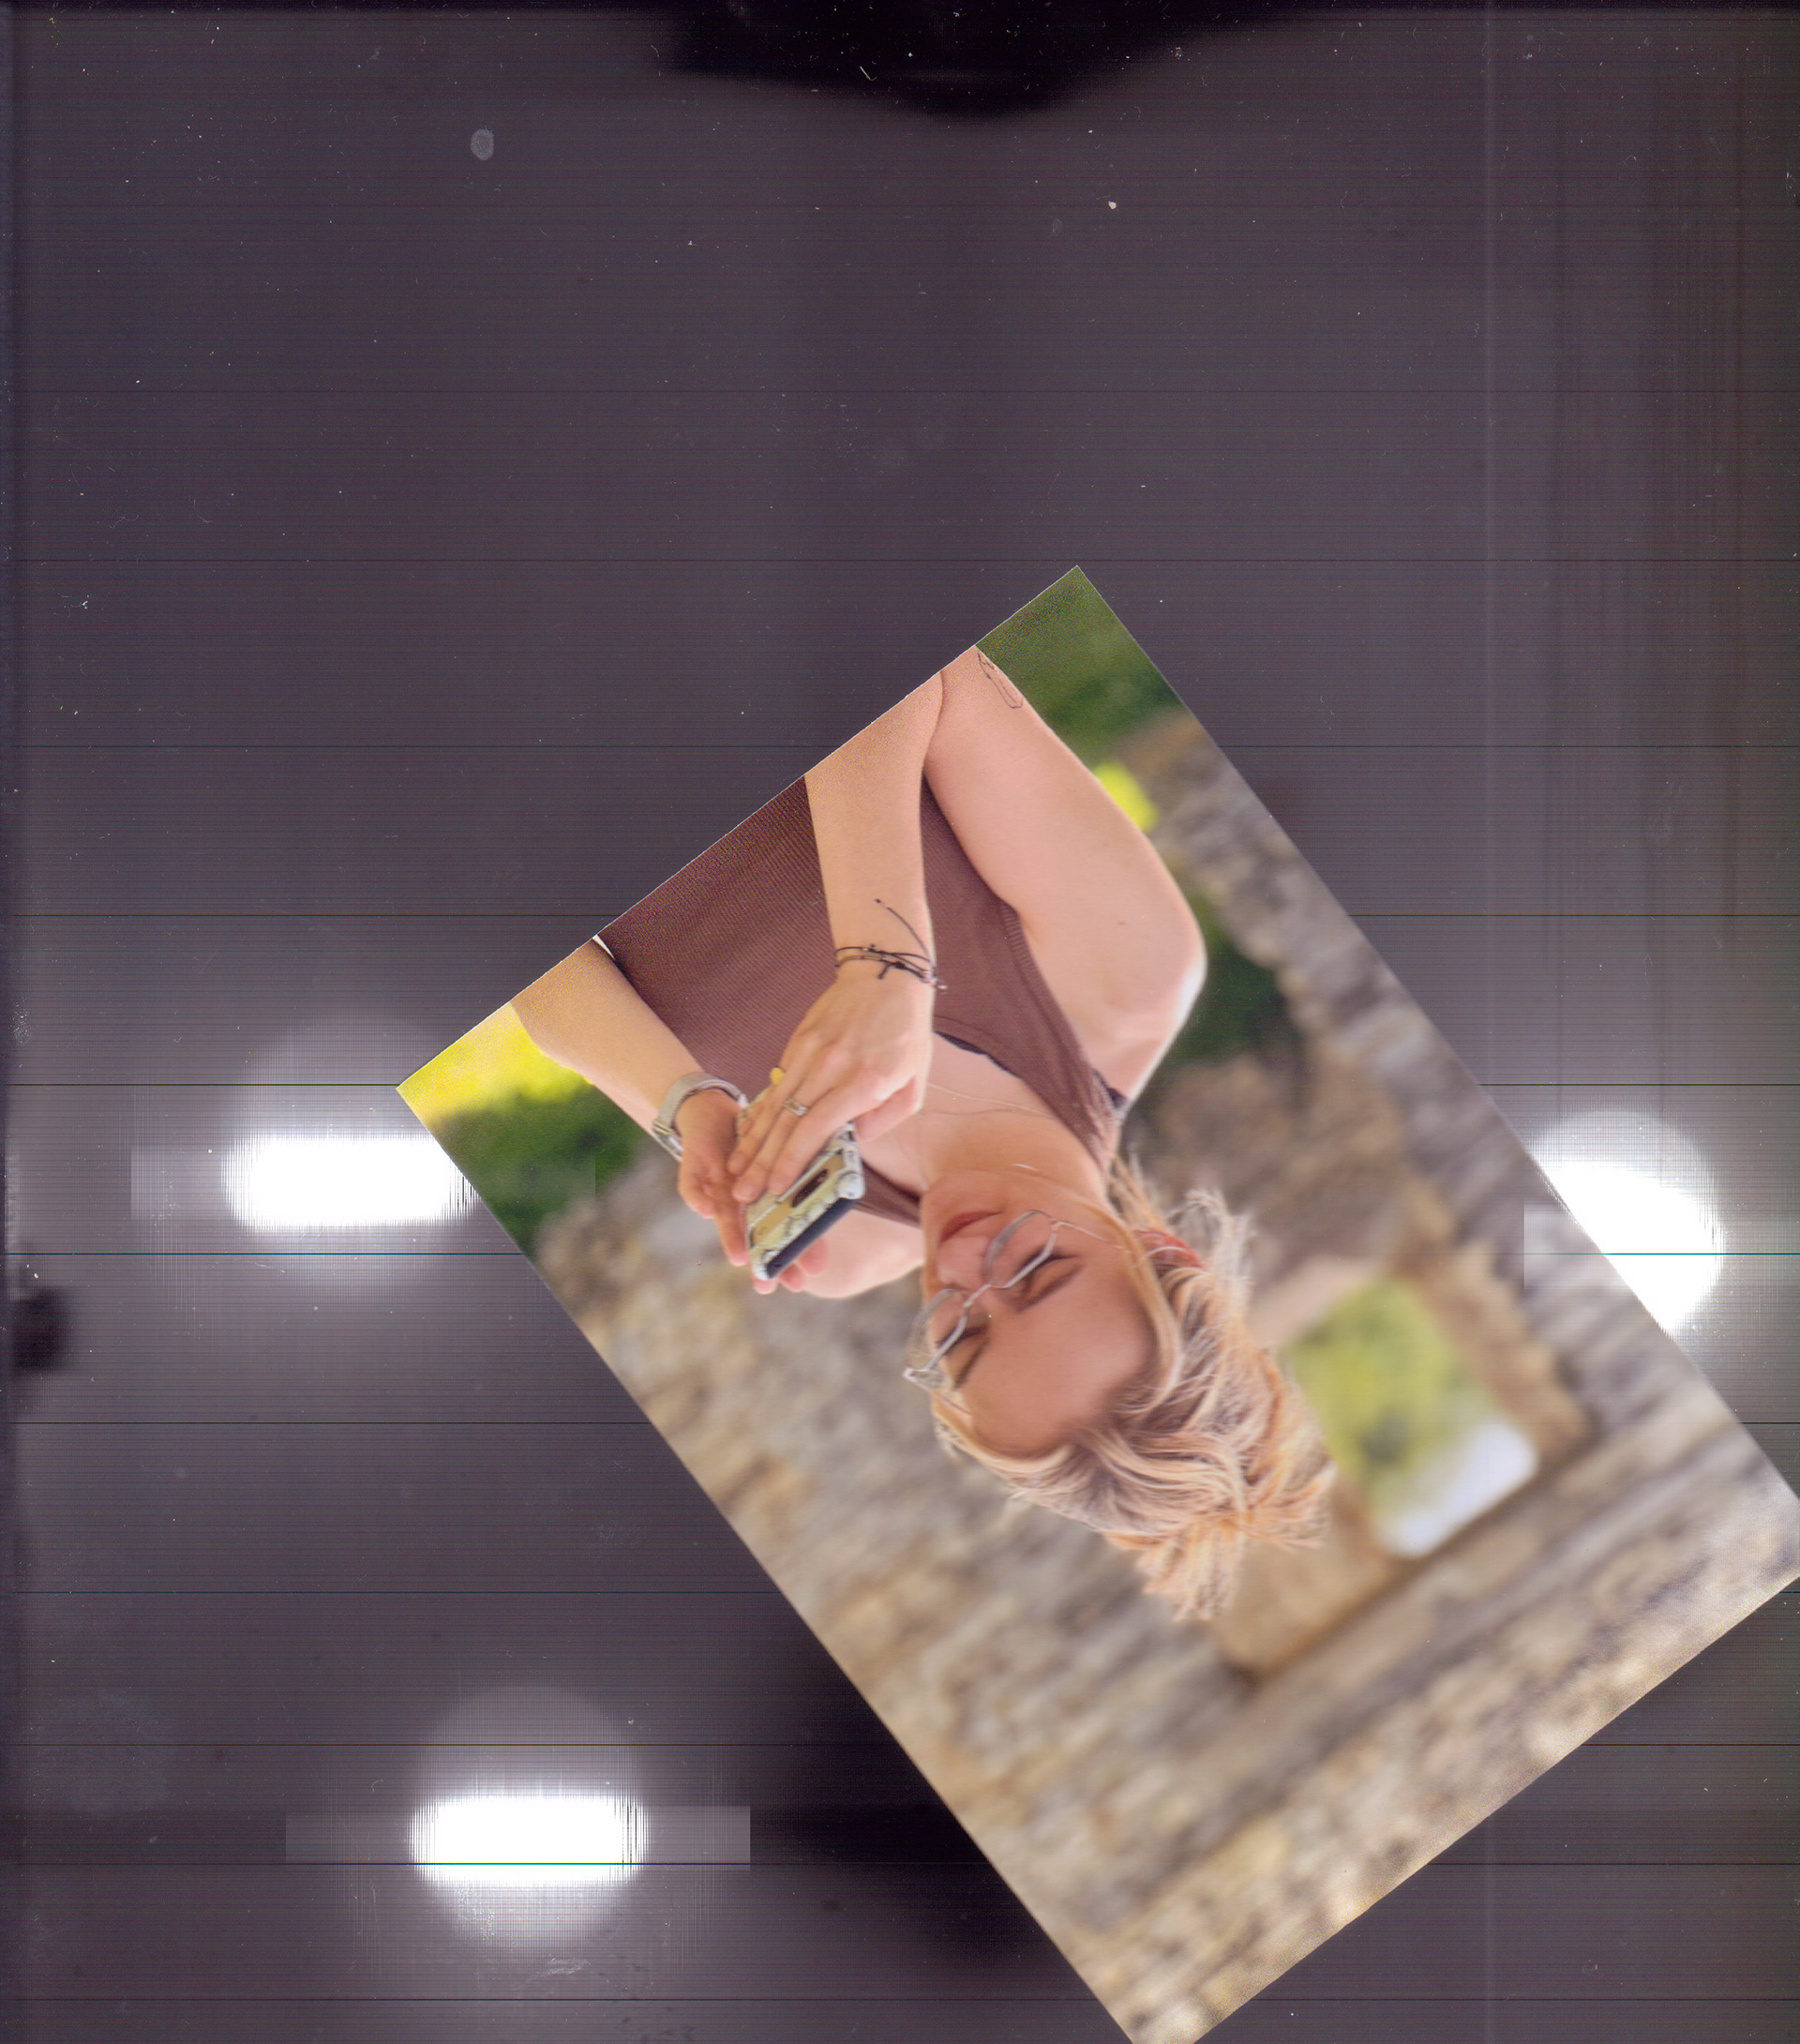
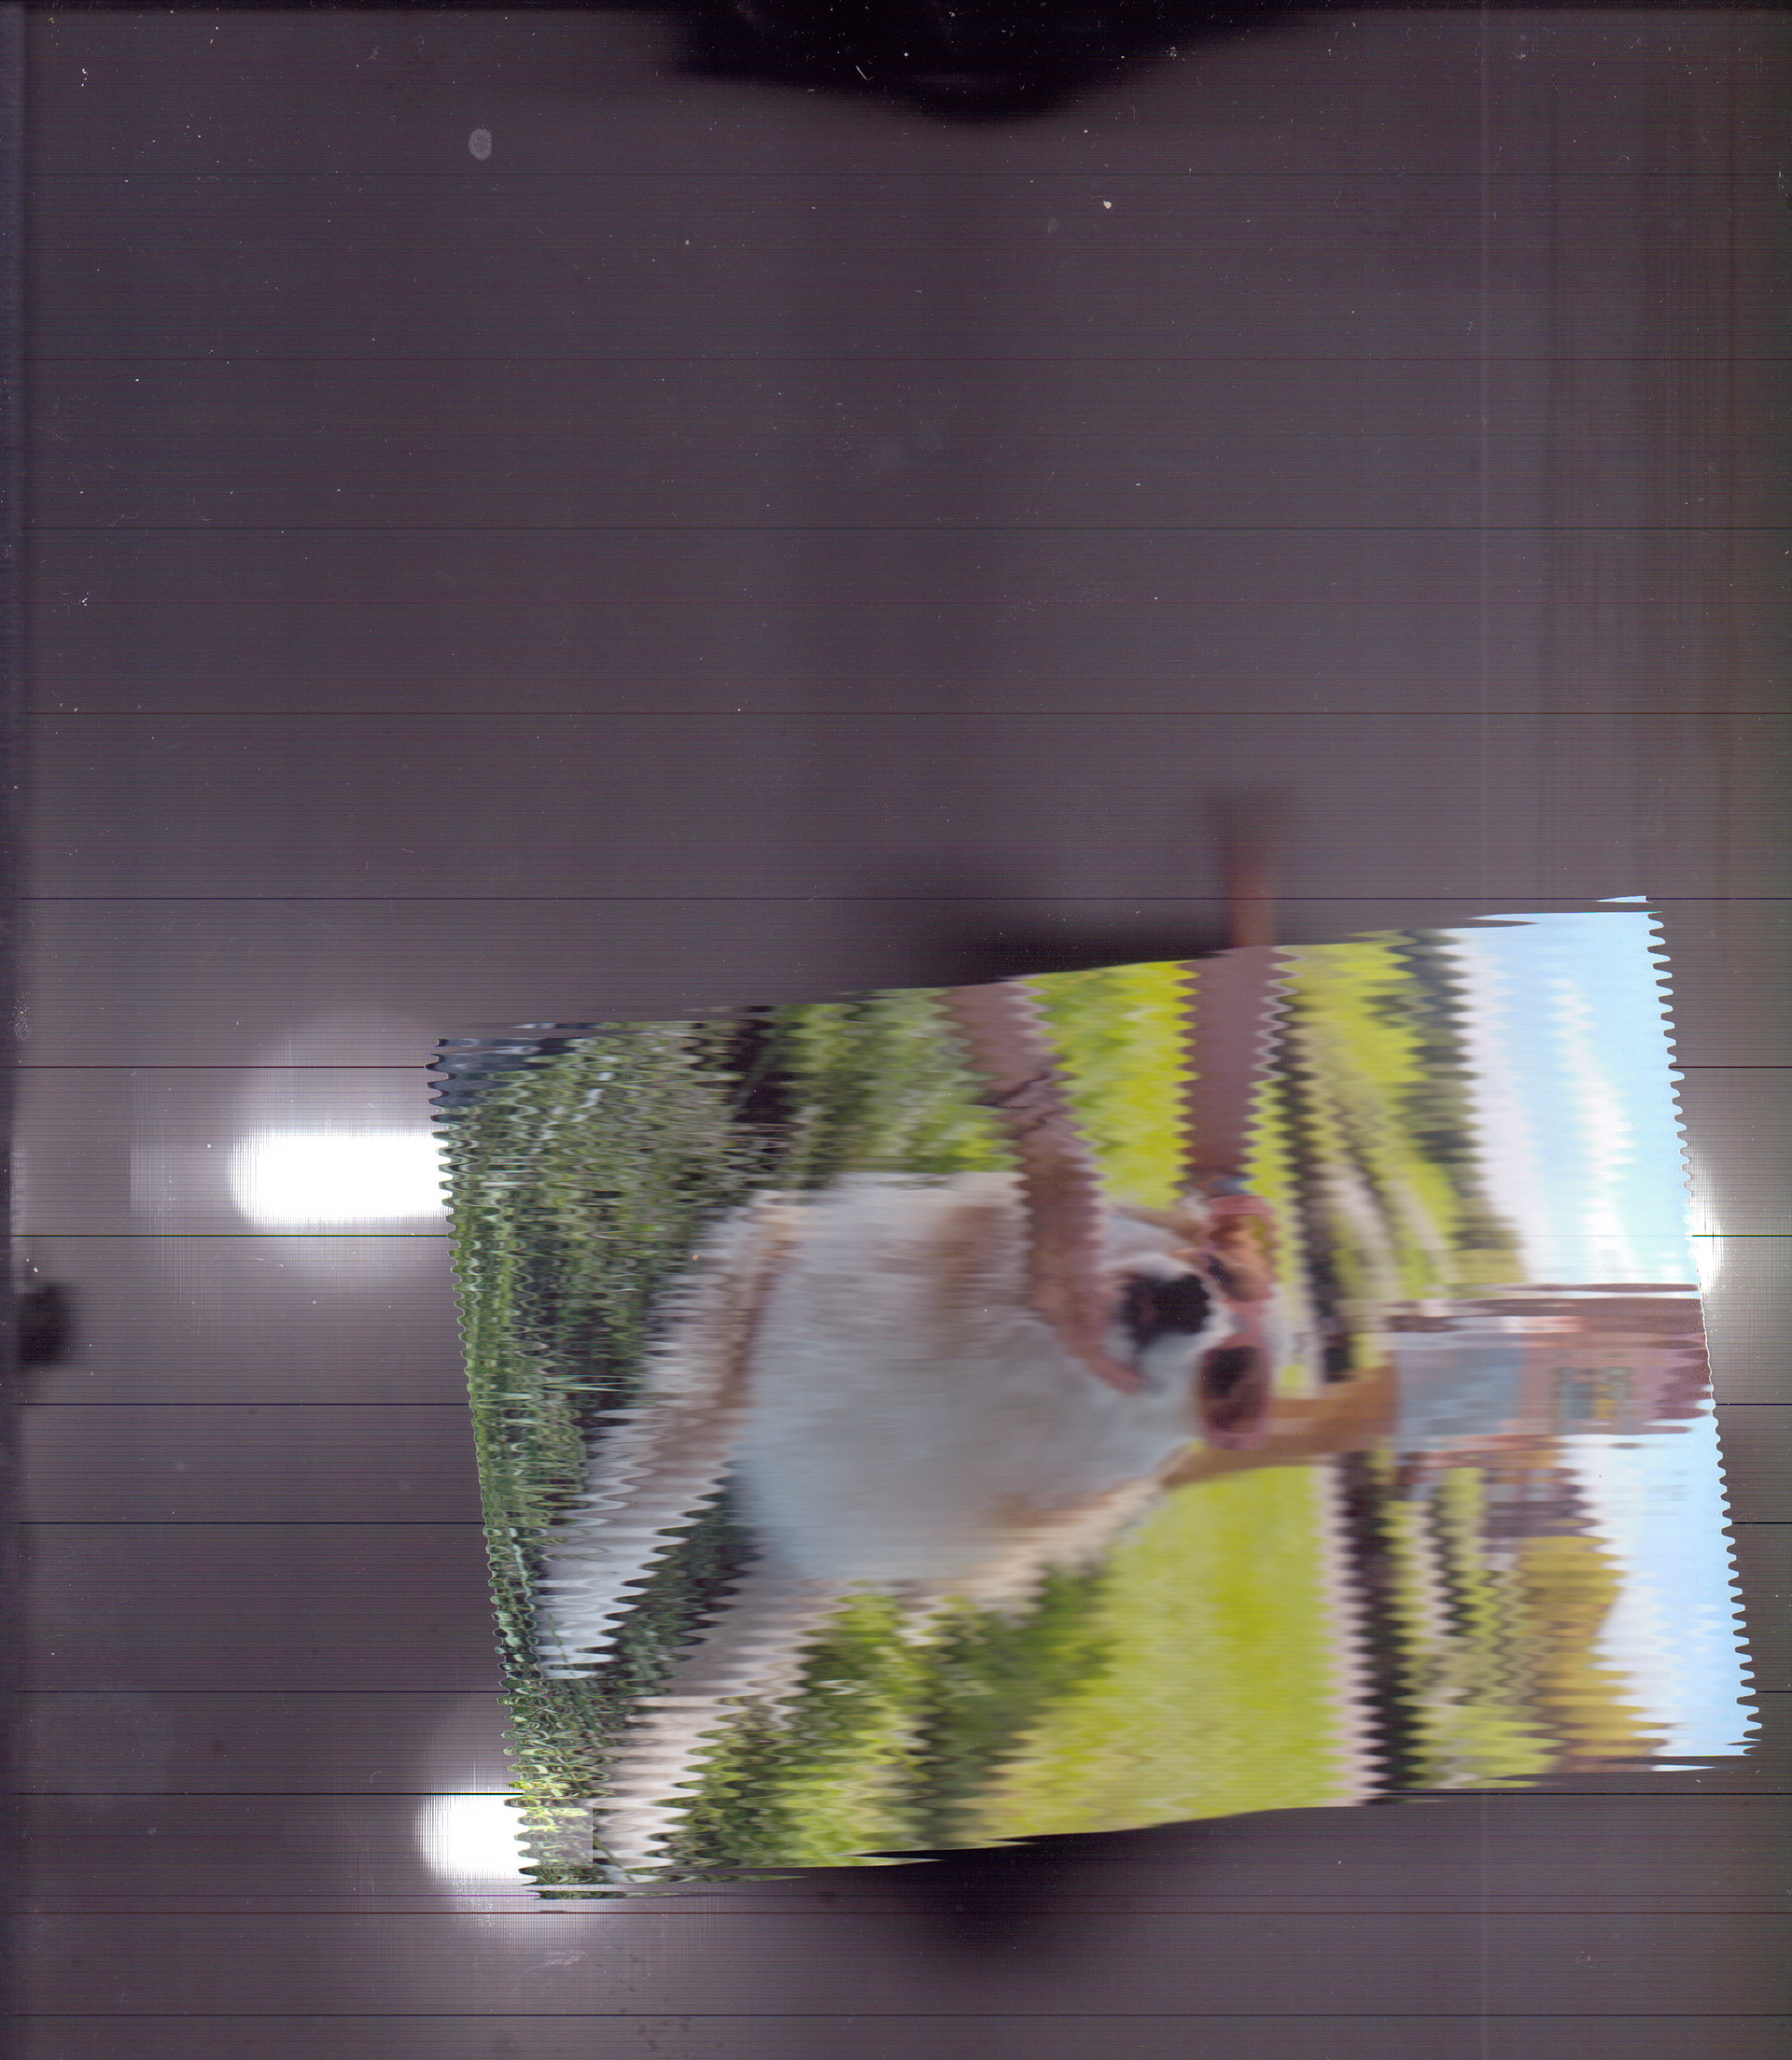
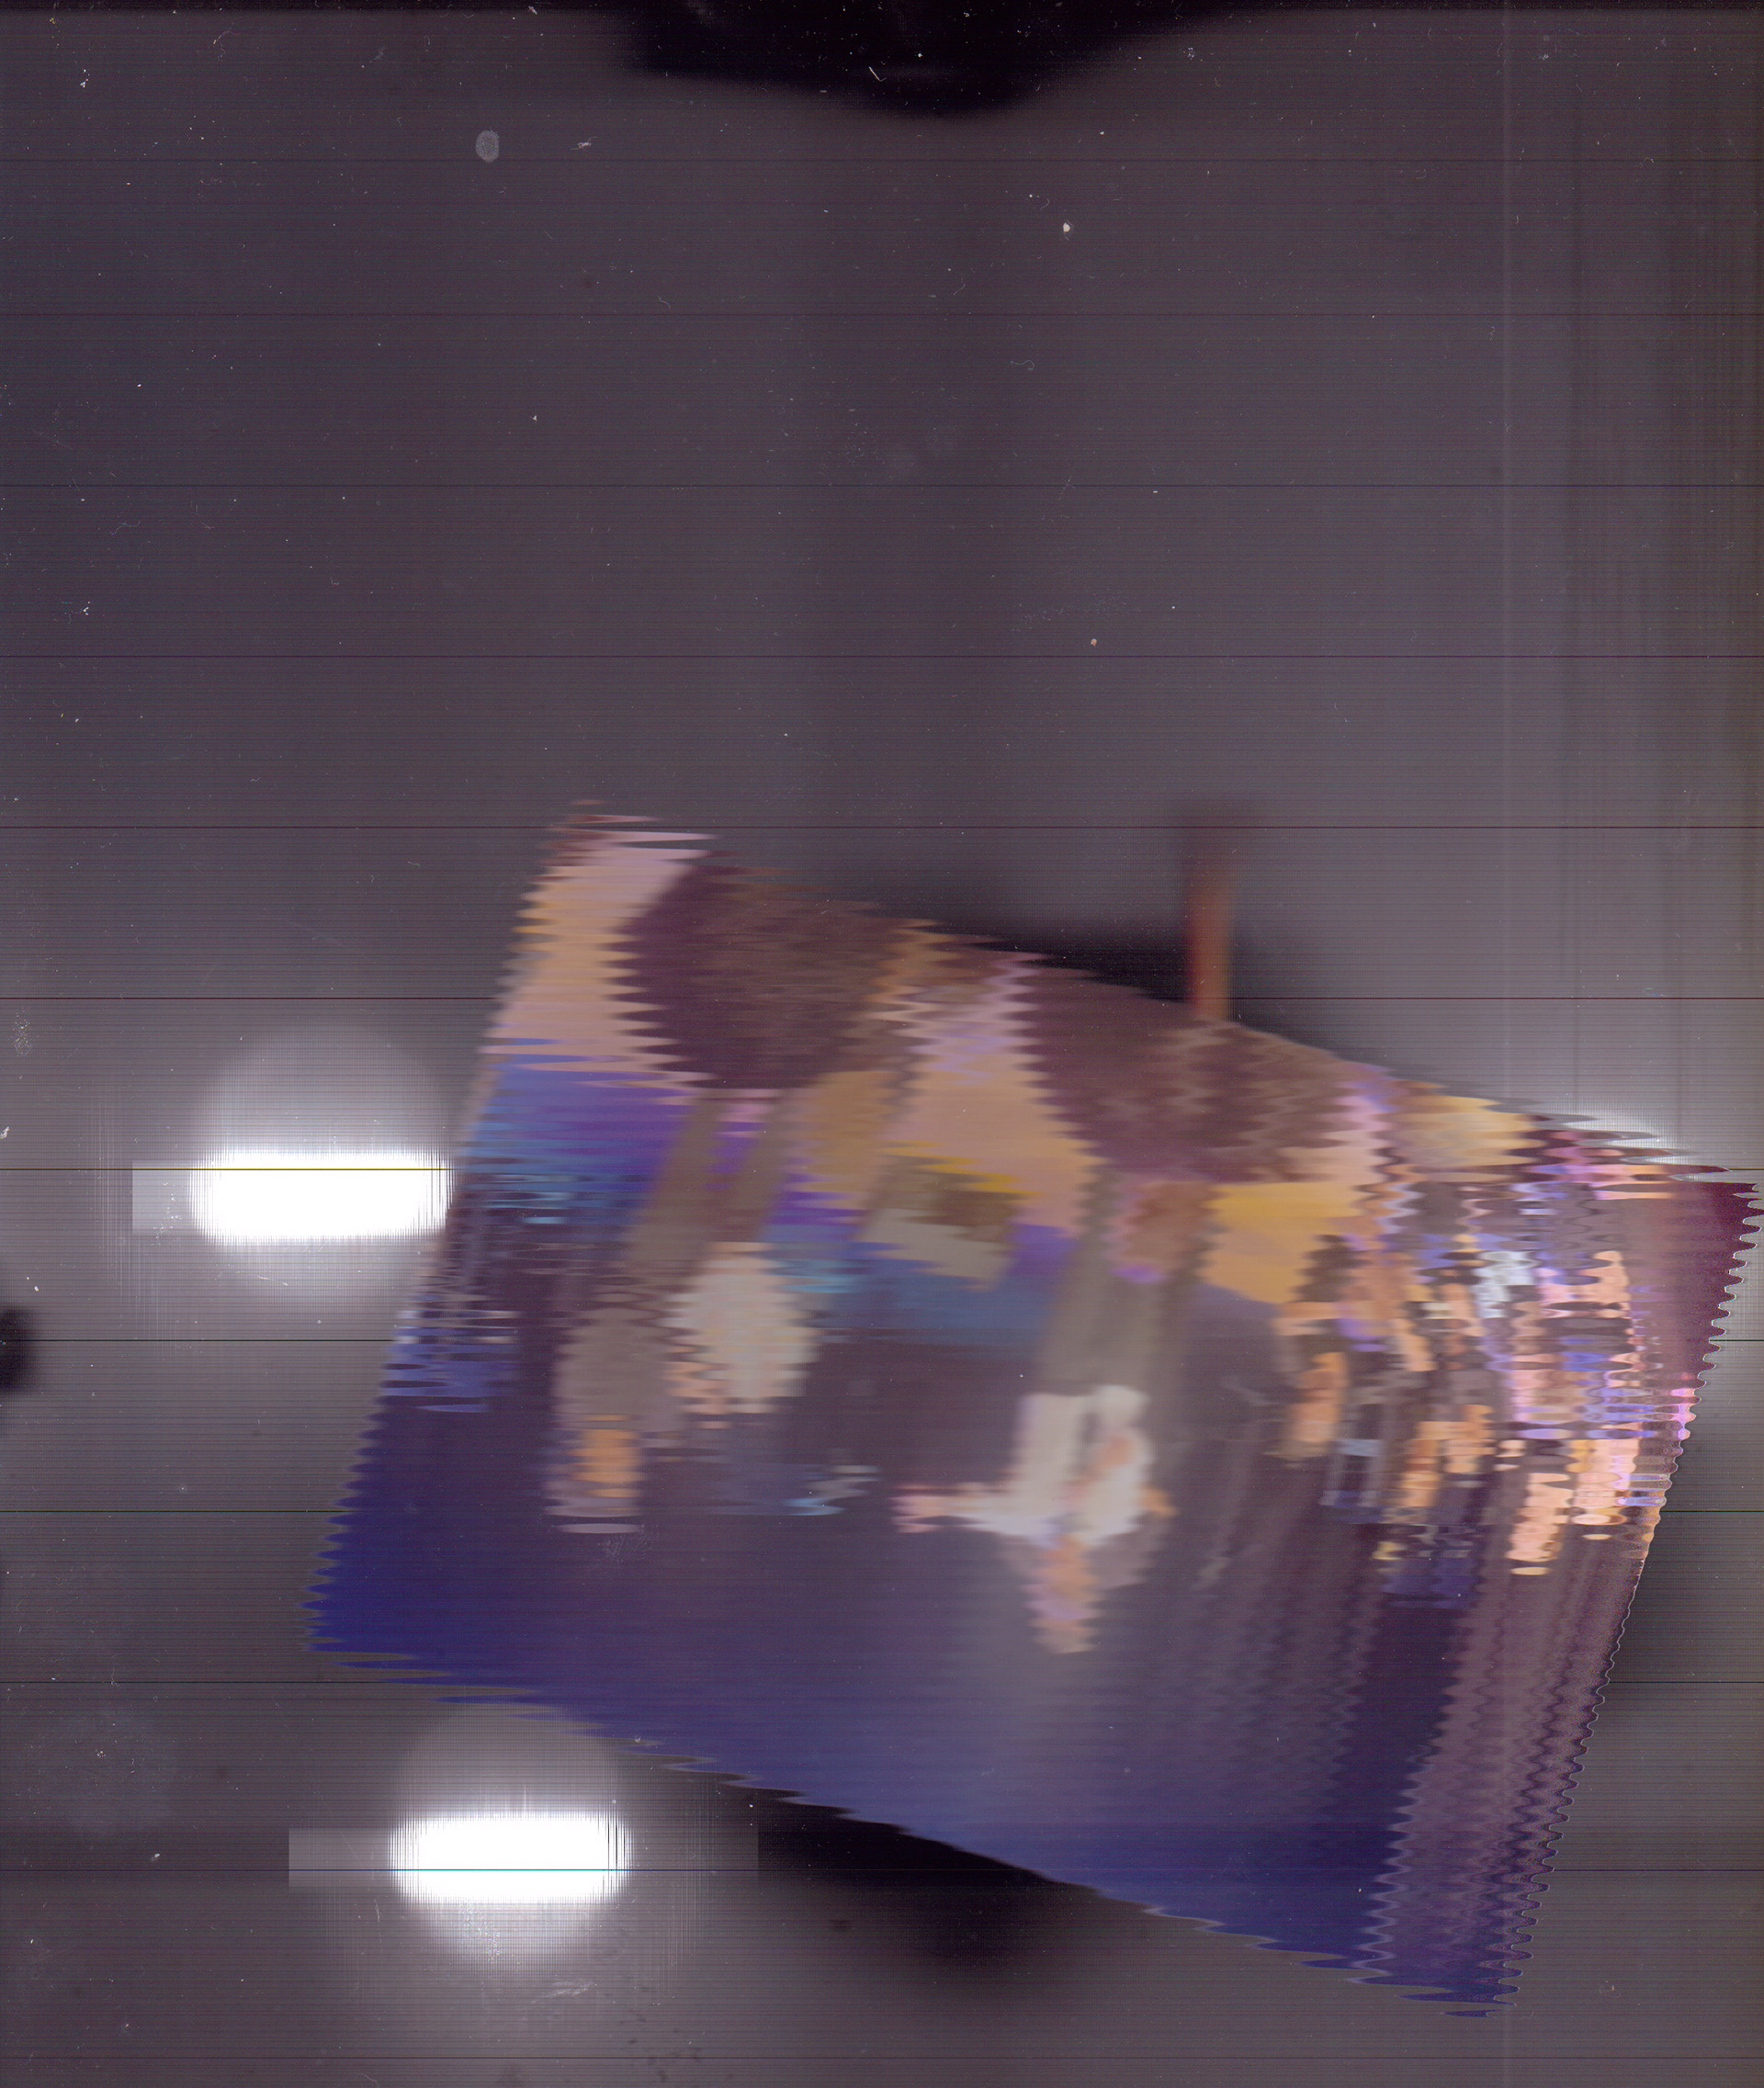
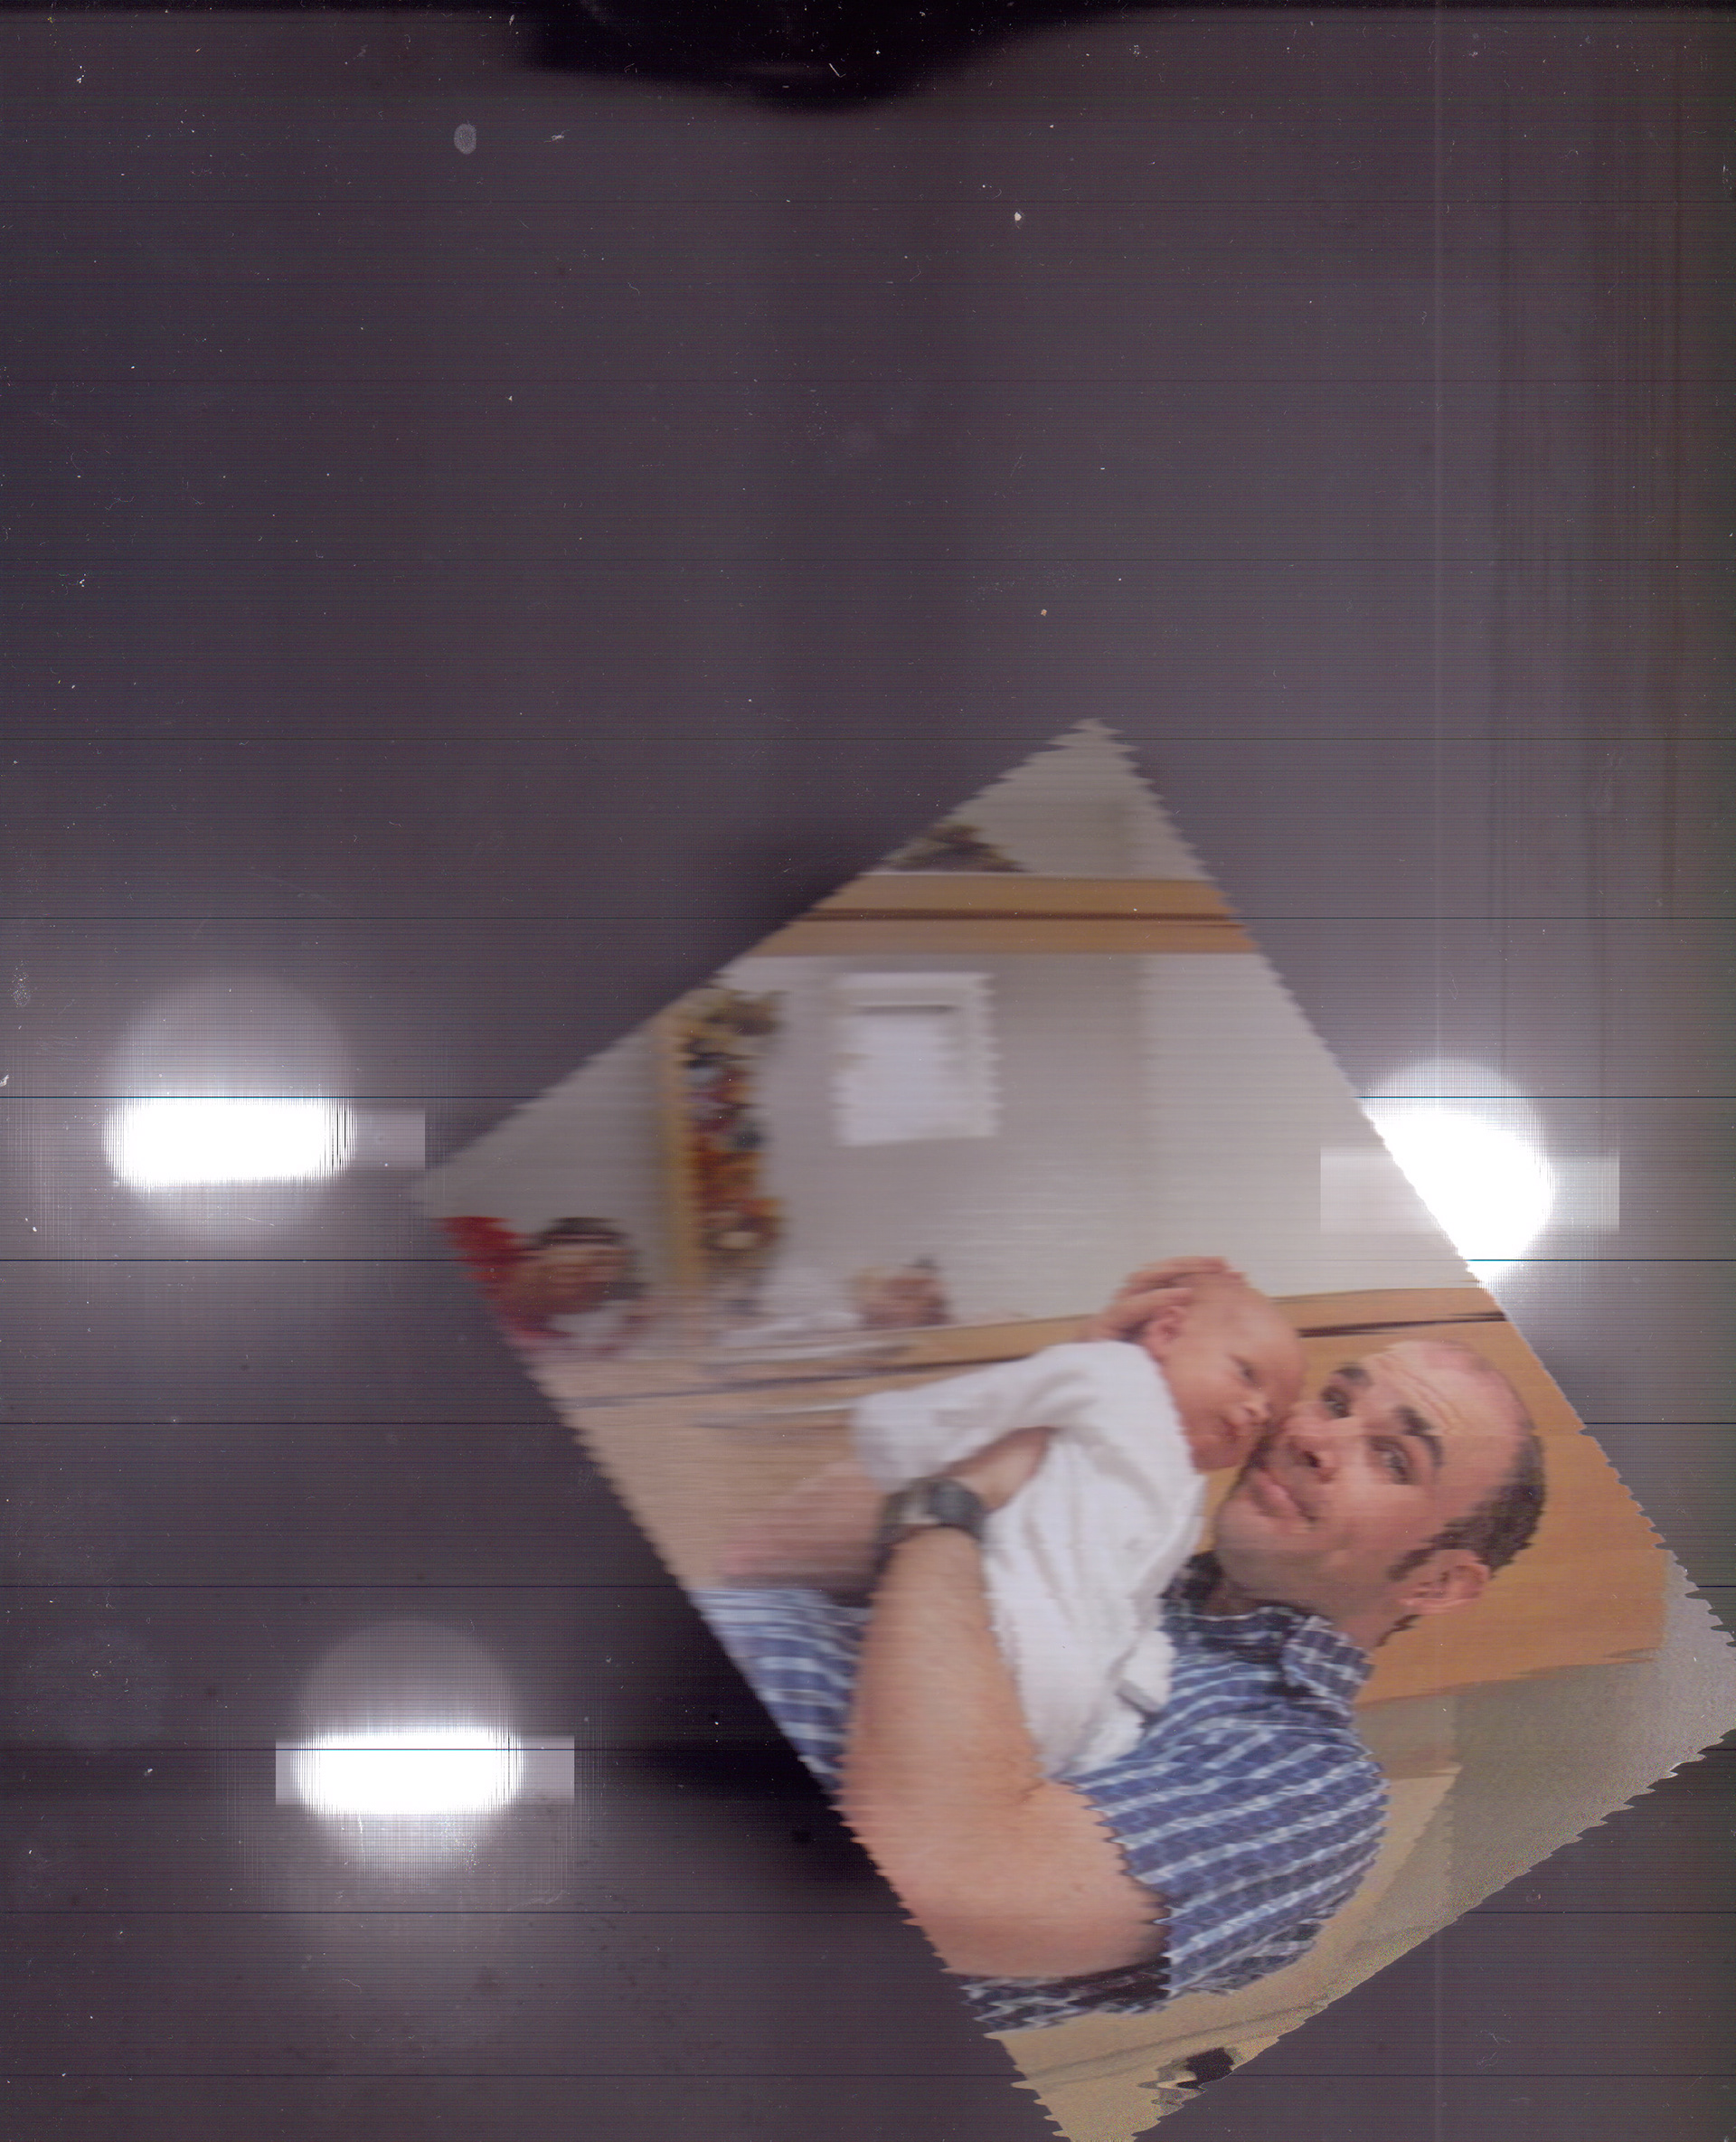
Evaluation
My personal favourite is the final image, of my D&AD pass from last year. I managed to position it on the Servo in just the right way to create the perfect glitching pattern. If I were to do this project again, one change I would make would be to add a second or third Servo, allowing it to move the image from multiple axes and create a more random glitching effect. I would also add more LEDs or an LED strip to see if I could create a light-leak effect — the three that I have tend to form more hot spots than effect the colour at all, which I had initially hoped they might. Playing with more LEDs would be interesting, to see what different effects it could make, acting more like how my Processing code extracted the RGB values and messed with them.
I also could potentially add a second section to the whole project, taking the scanned image and writing code to detect the corners and automatically crop it, or maybe add a digital glitch on top of the analogue one using my Processing code, or similar.
Additionally, it would be interesting to print the scan, and then try to glitch the image as ti prints, as I had originally thought, with hacking the printer or disturbing the print heads. The being said, I do like that it is a self-contained glitching machine that you can take and put on any scanner without having to destroy or hack or adapt the printer itself.
Overall, I am extremely happy with my finished project, and it definitely achieves my aims of creating an analogue glitching device, even if it does look a bit like a bomb.
—
I also just wanted to say that I have really enjoyed this module, so thank you — and thank you for all your help with it, and putting up with us!!!
I'm now going to bed as it is 4:03 in the morning of January 7th. I hope you had a wonderful Christmas, and happy new year!
— Noah :)

