

A Glitch Machine
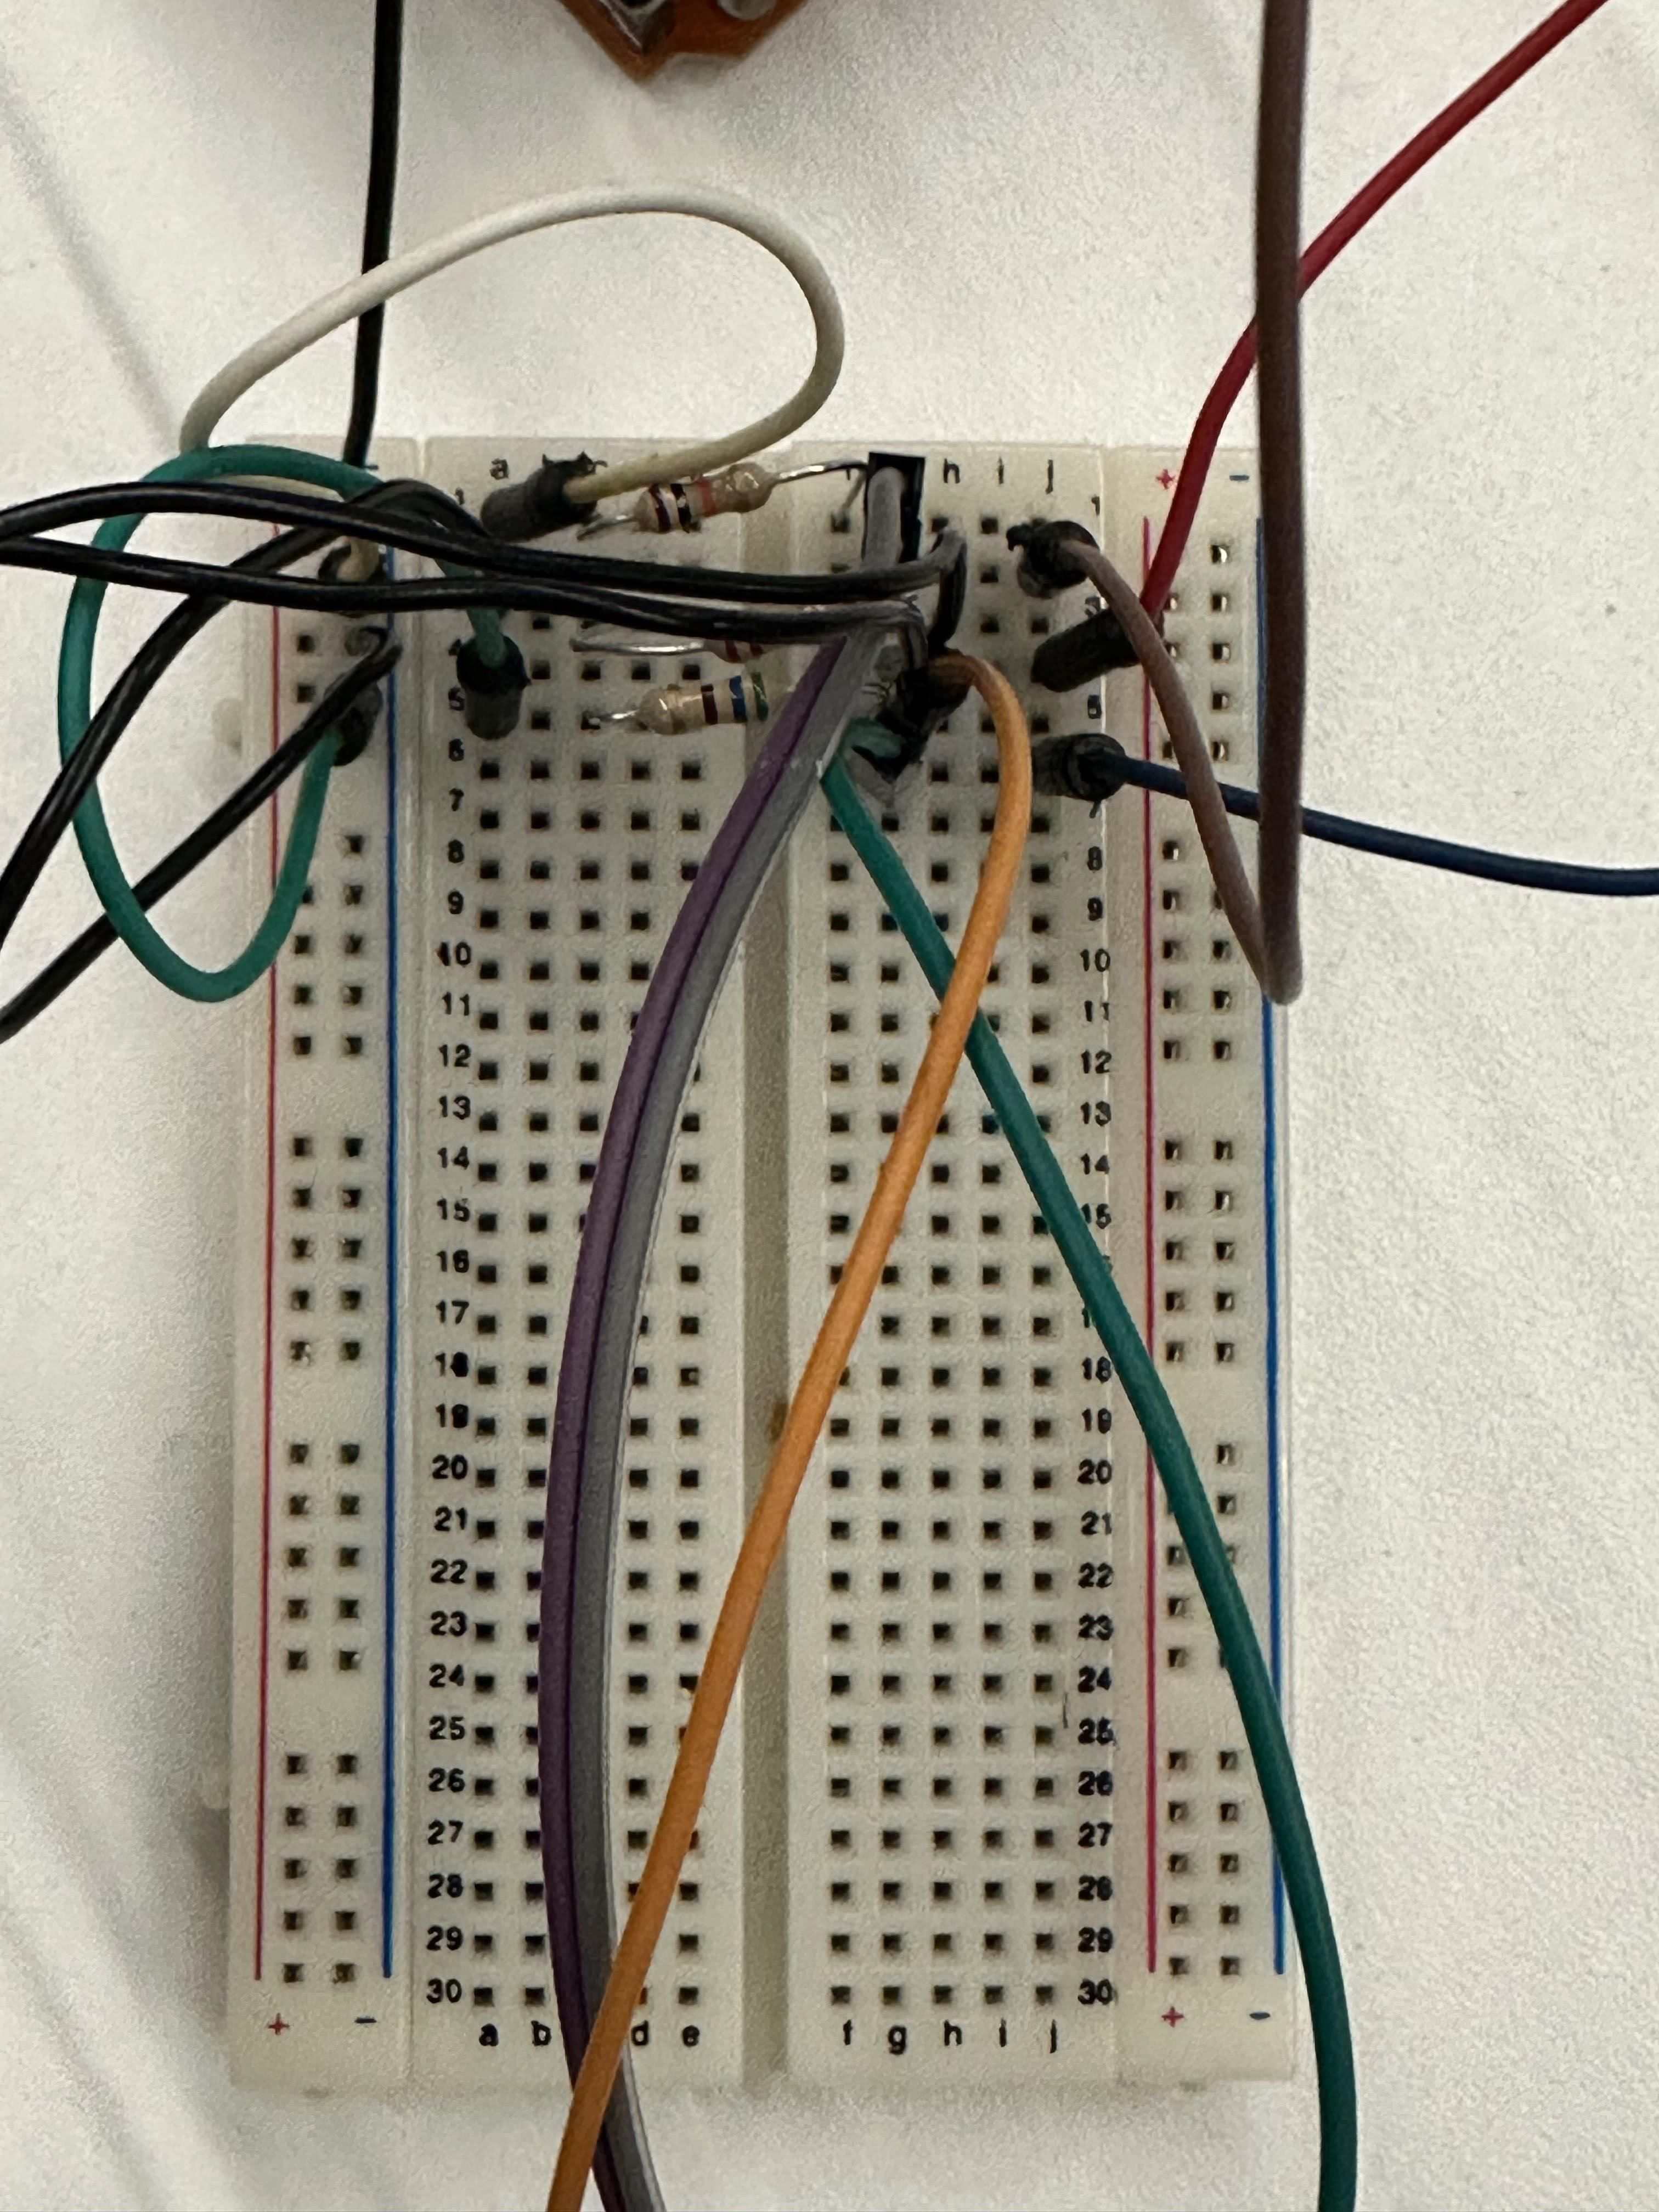
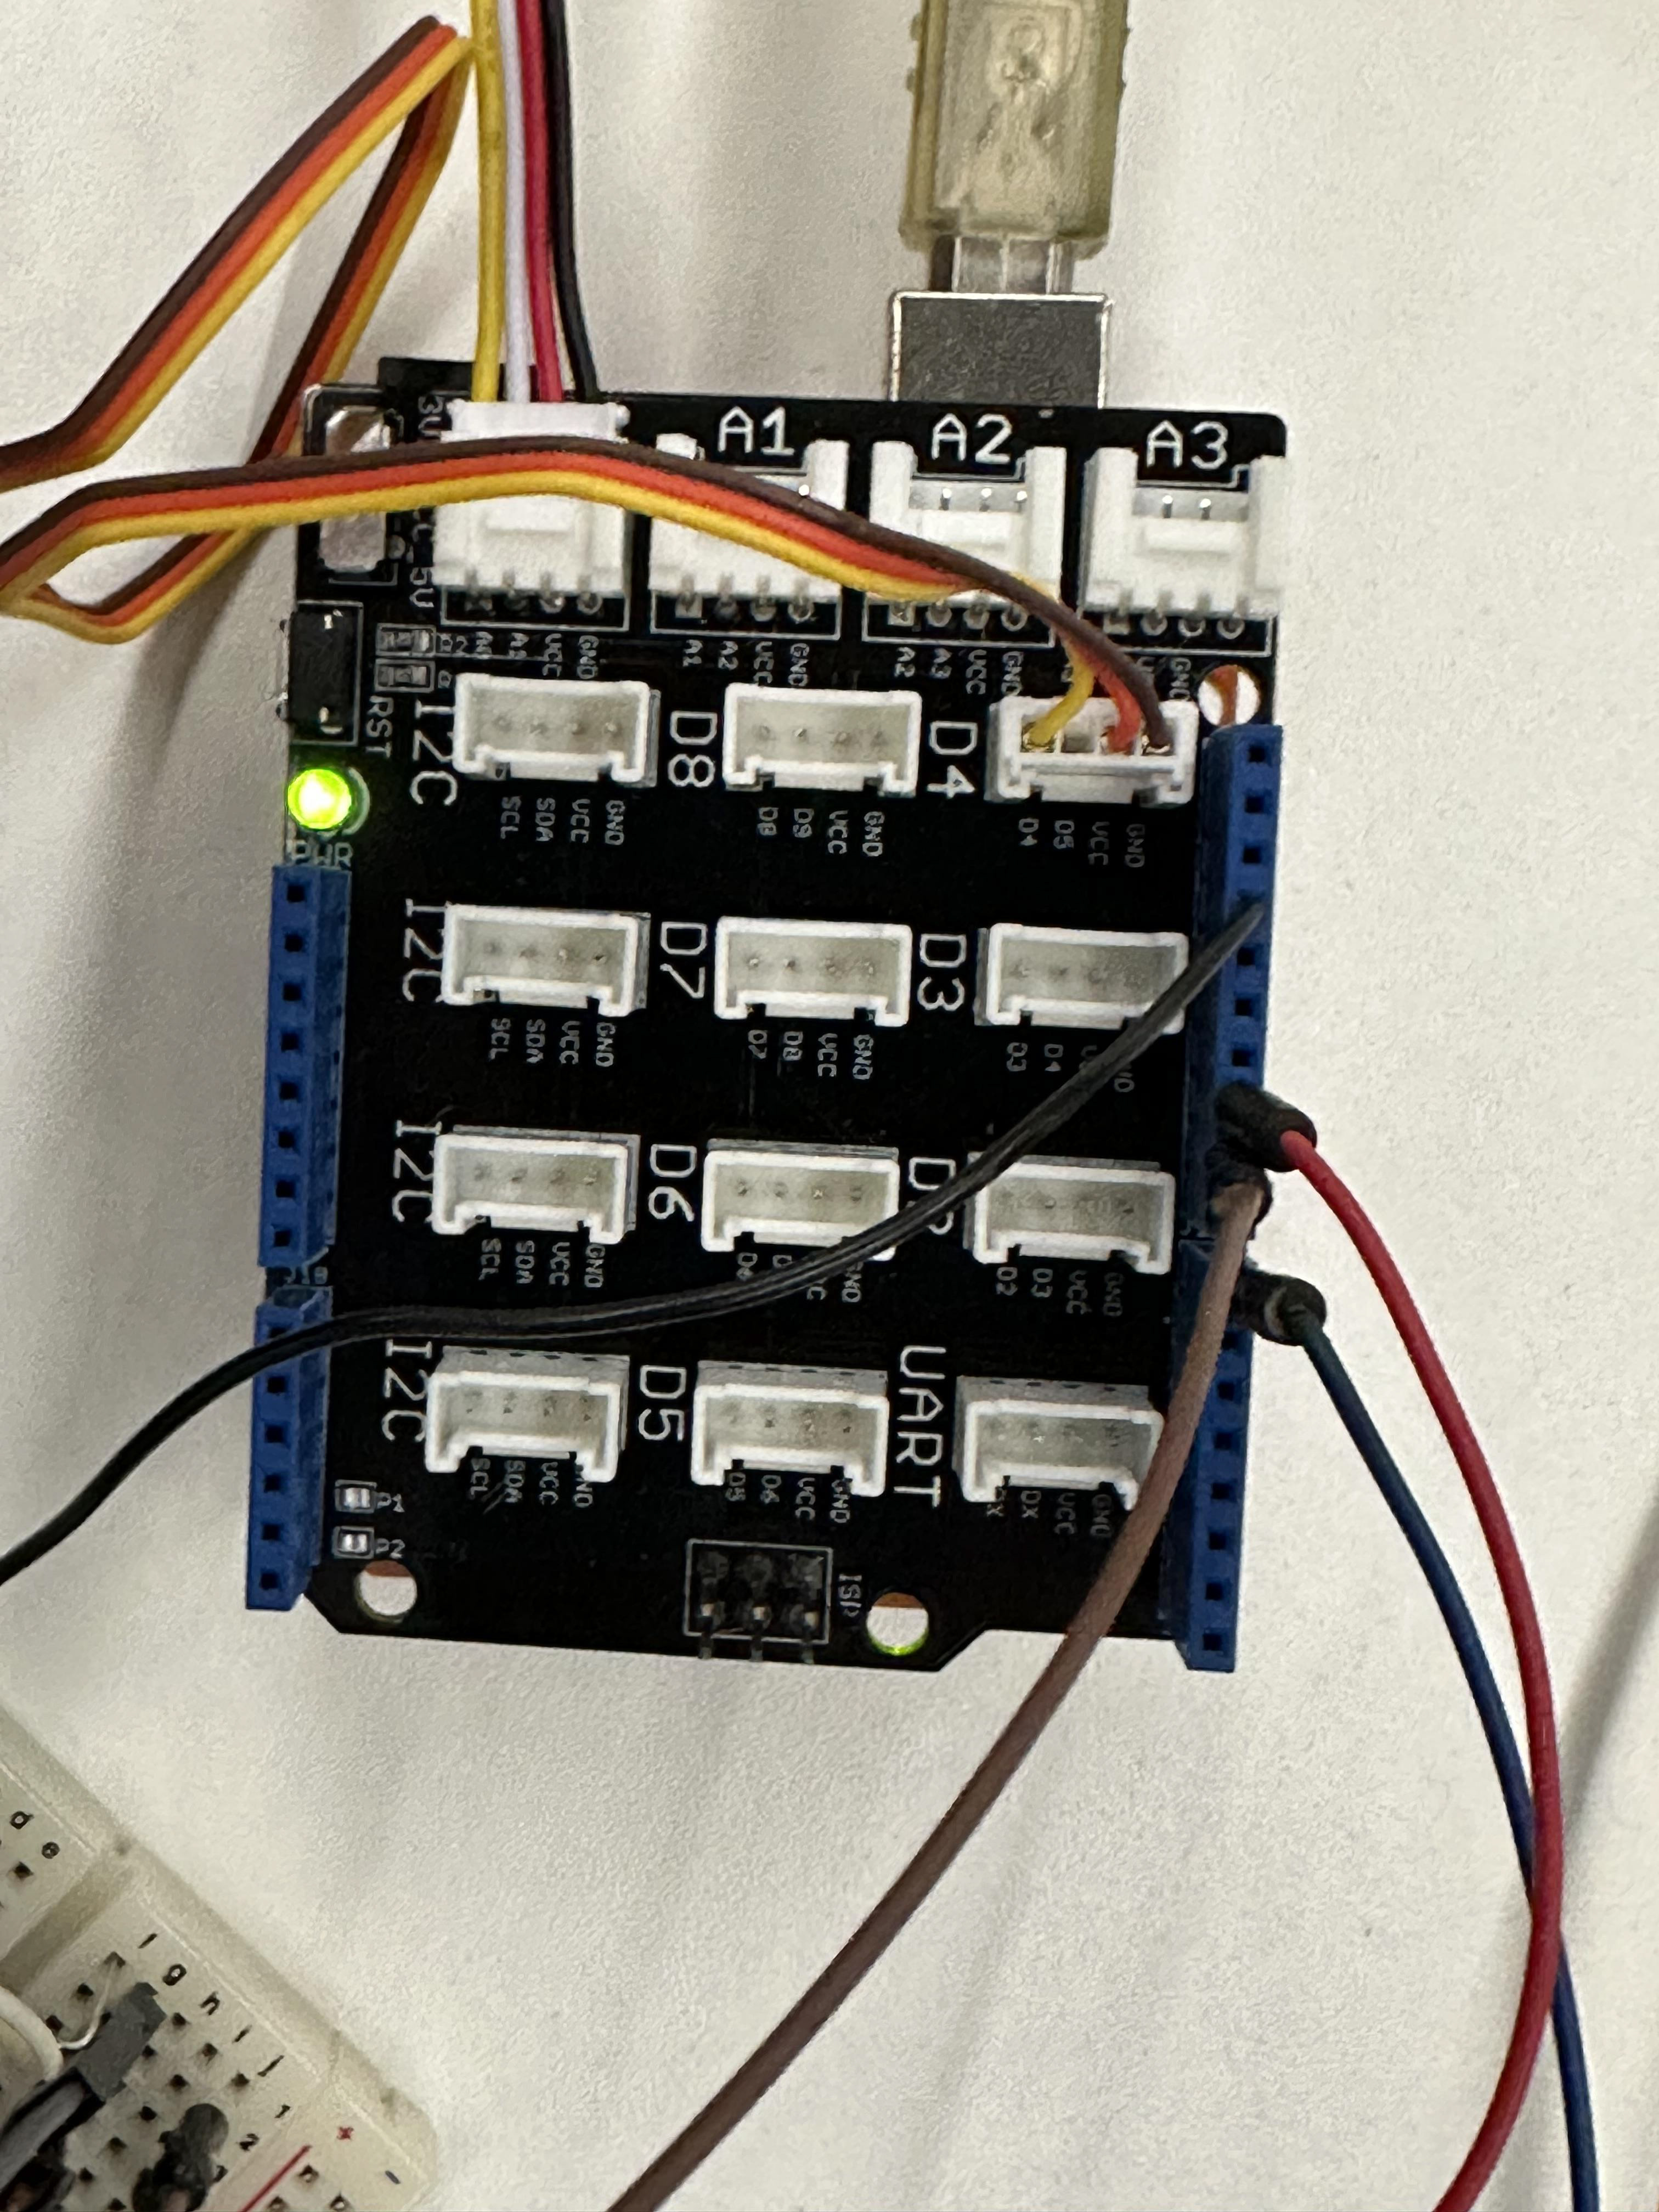
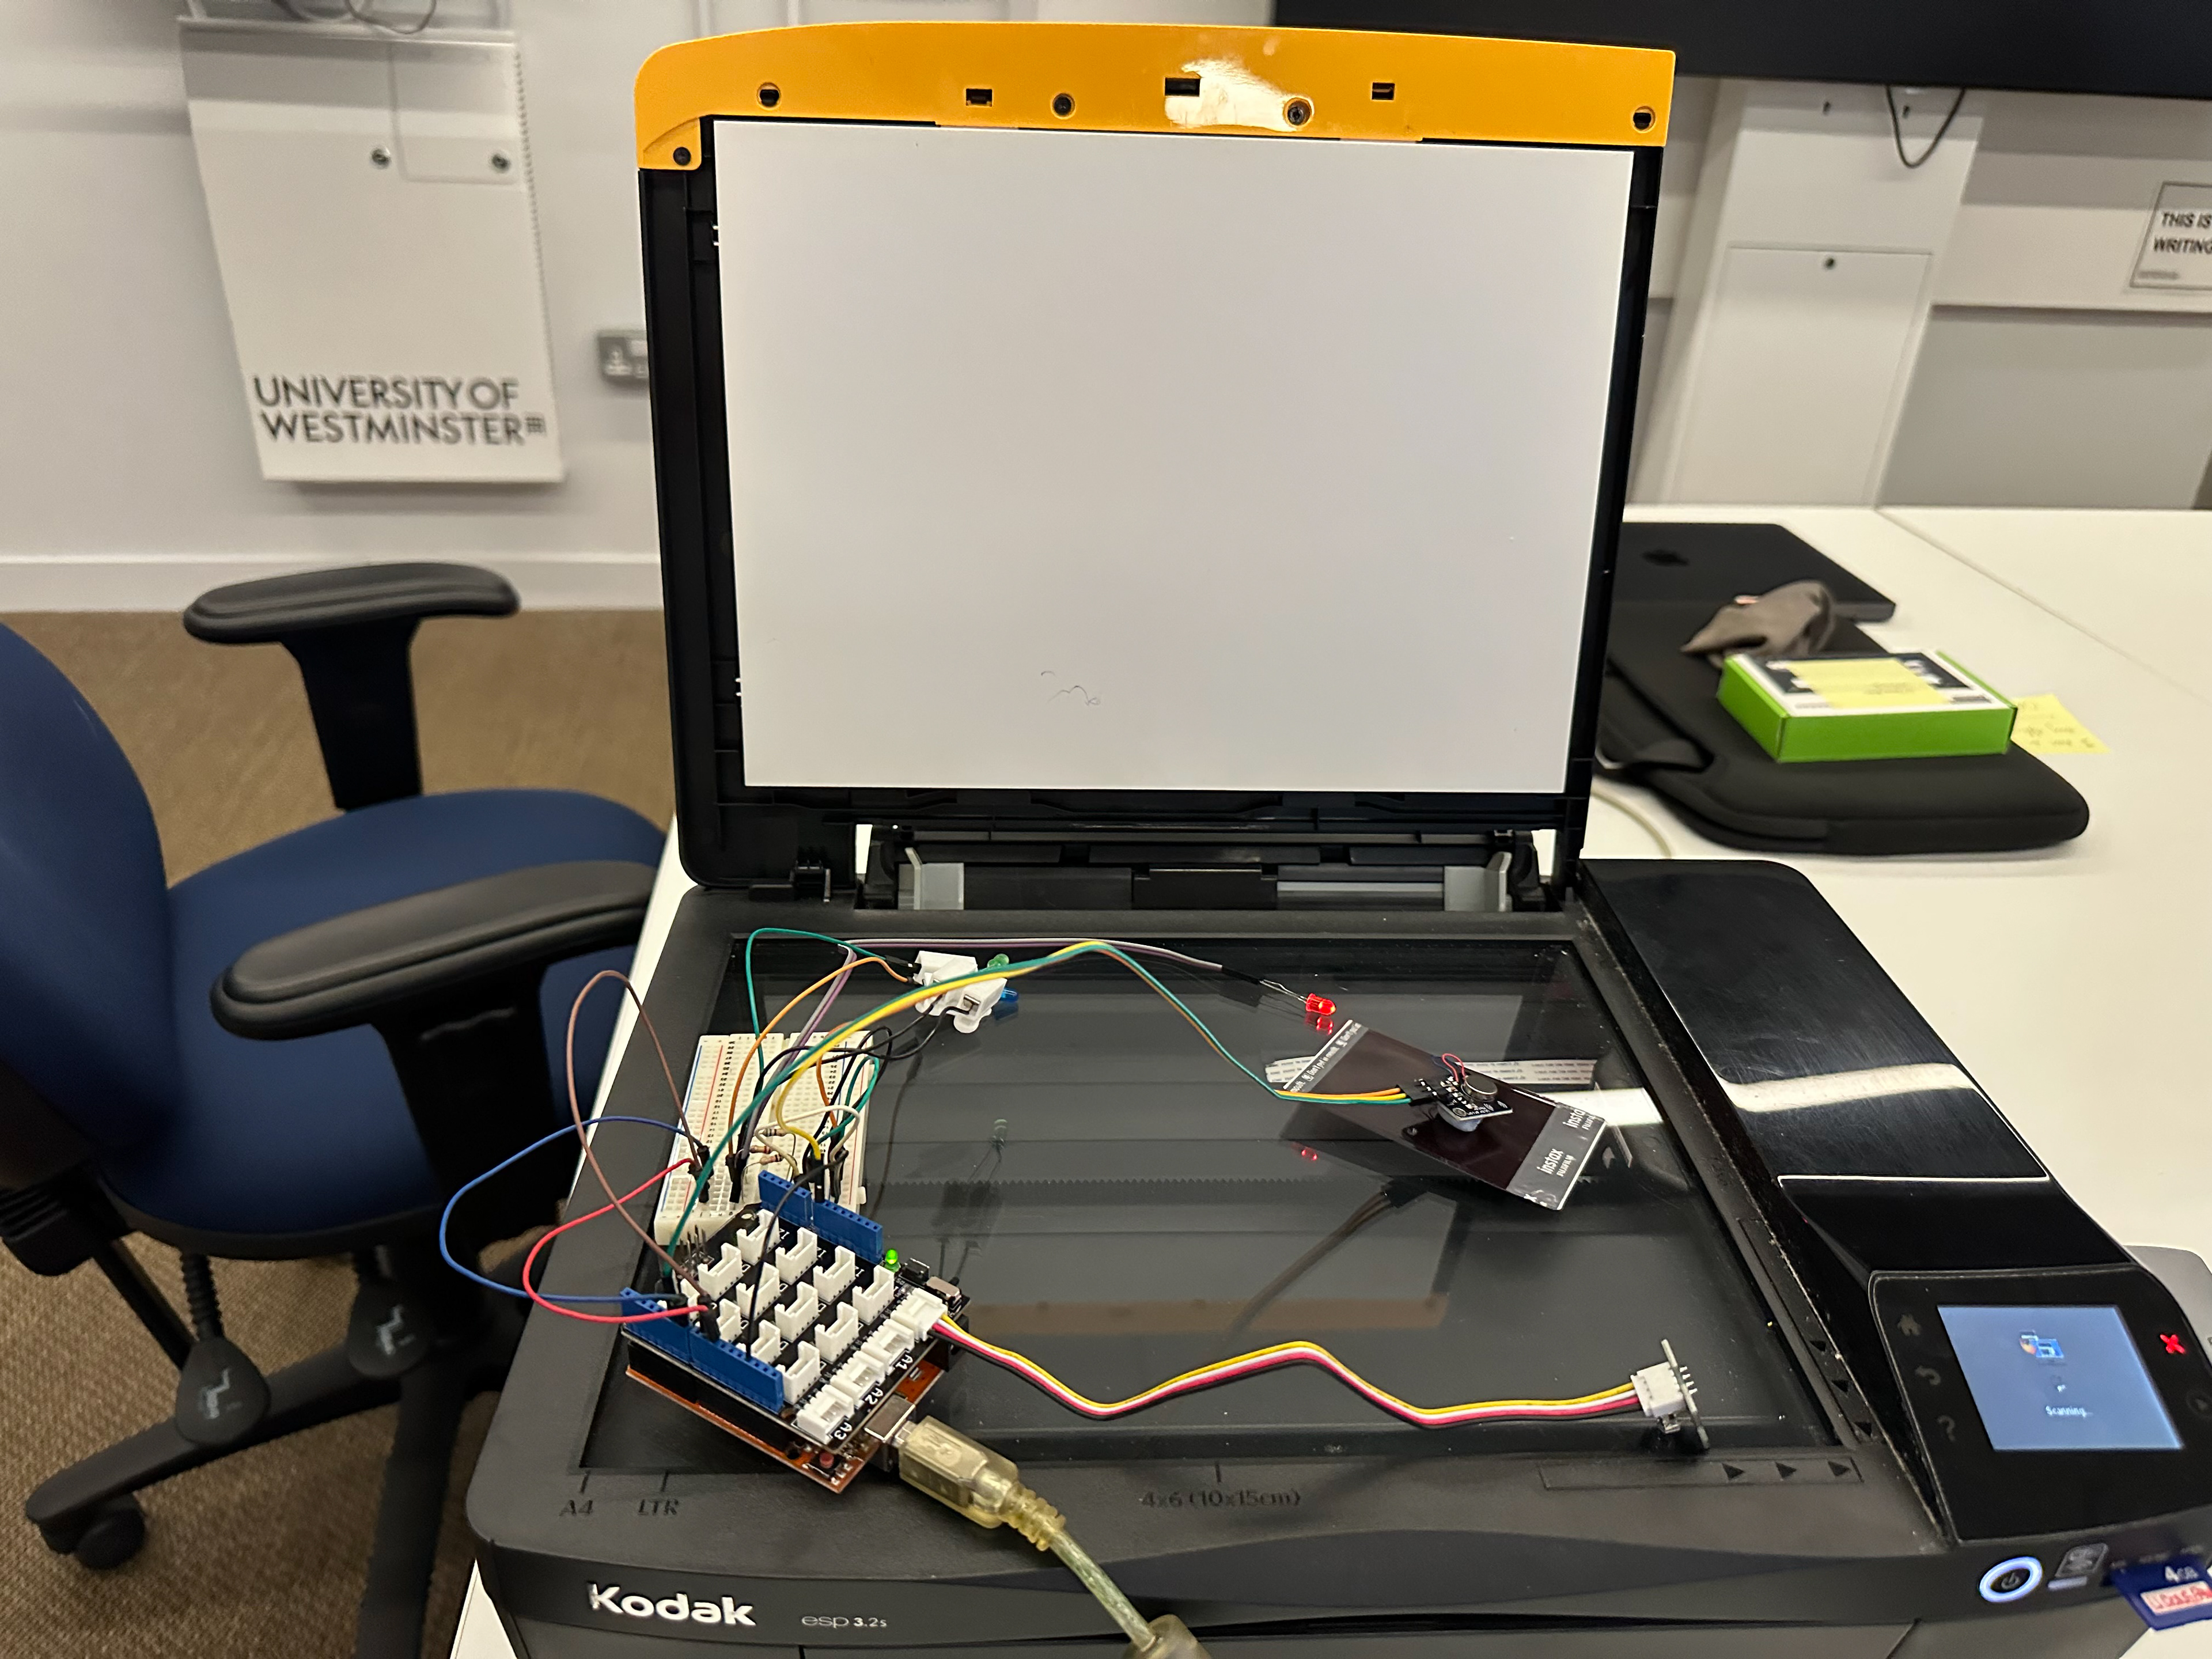
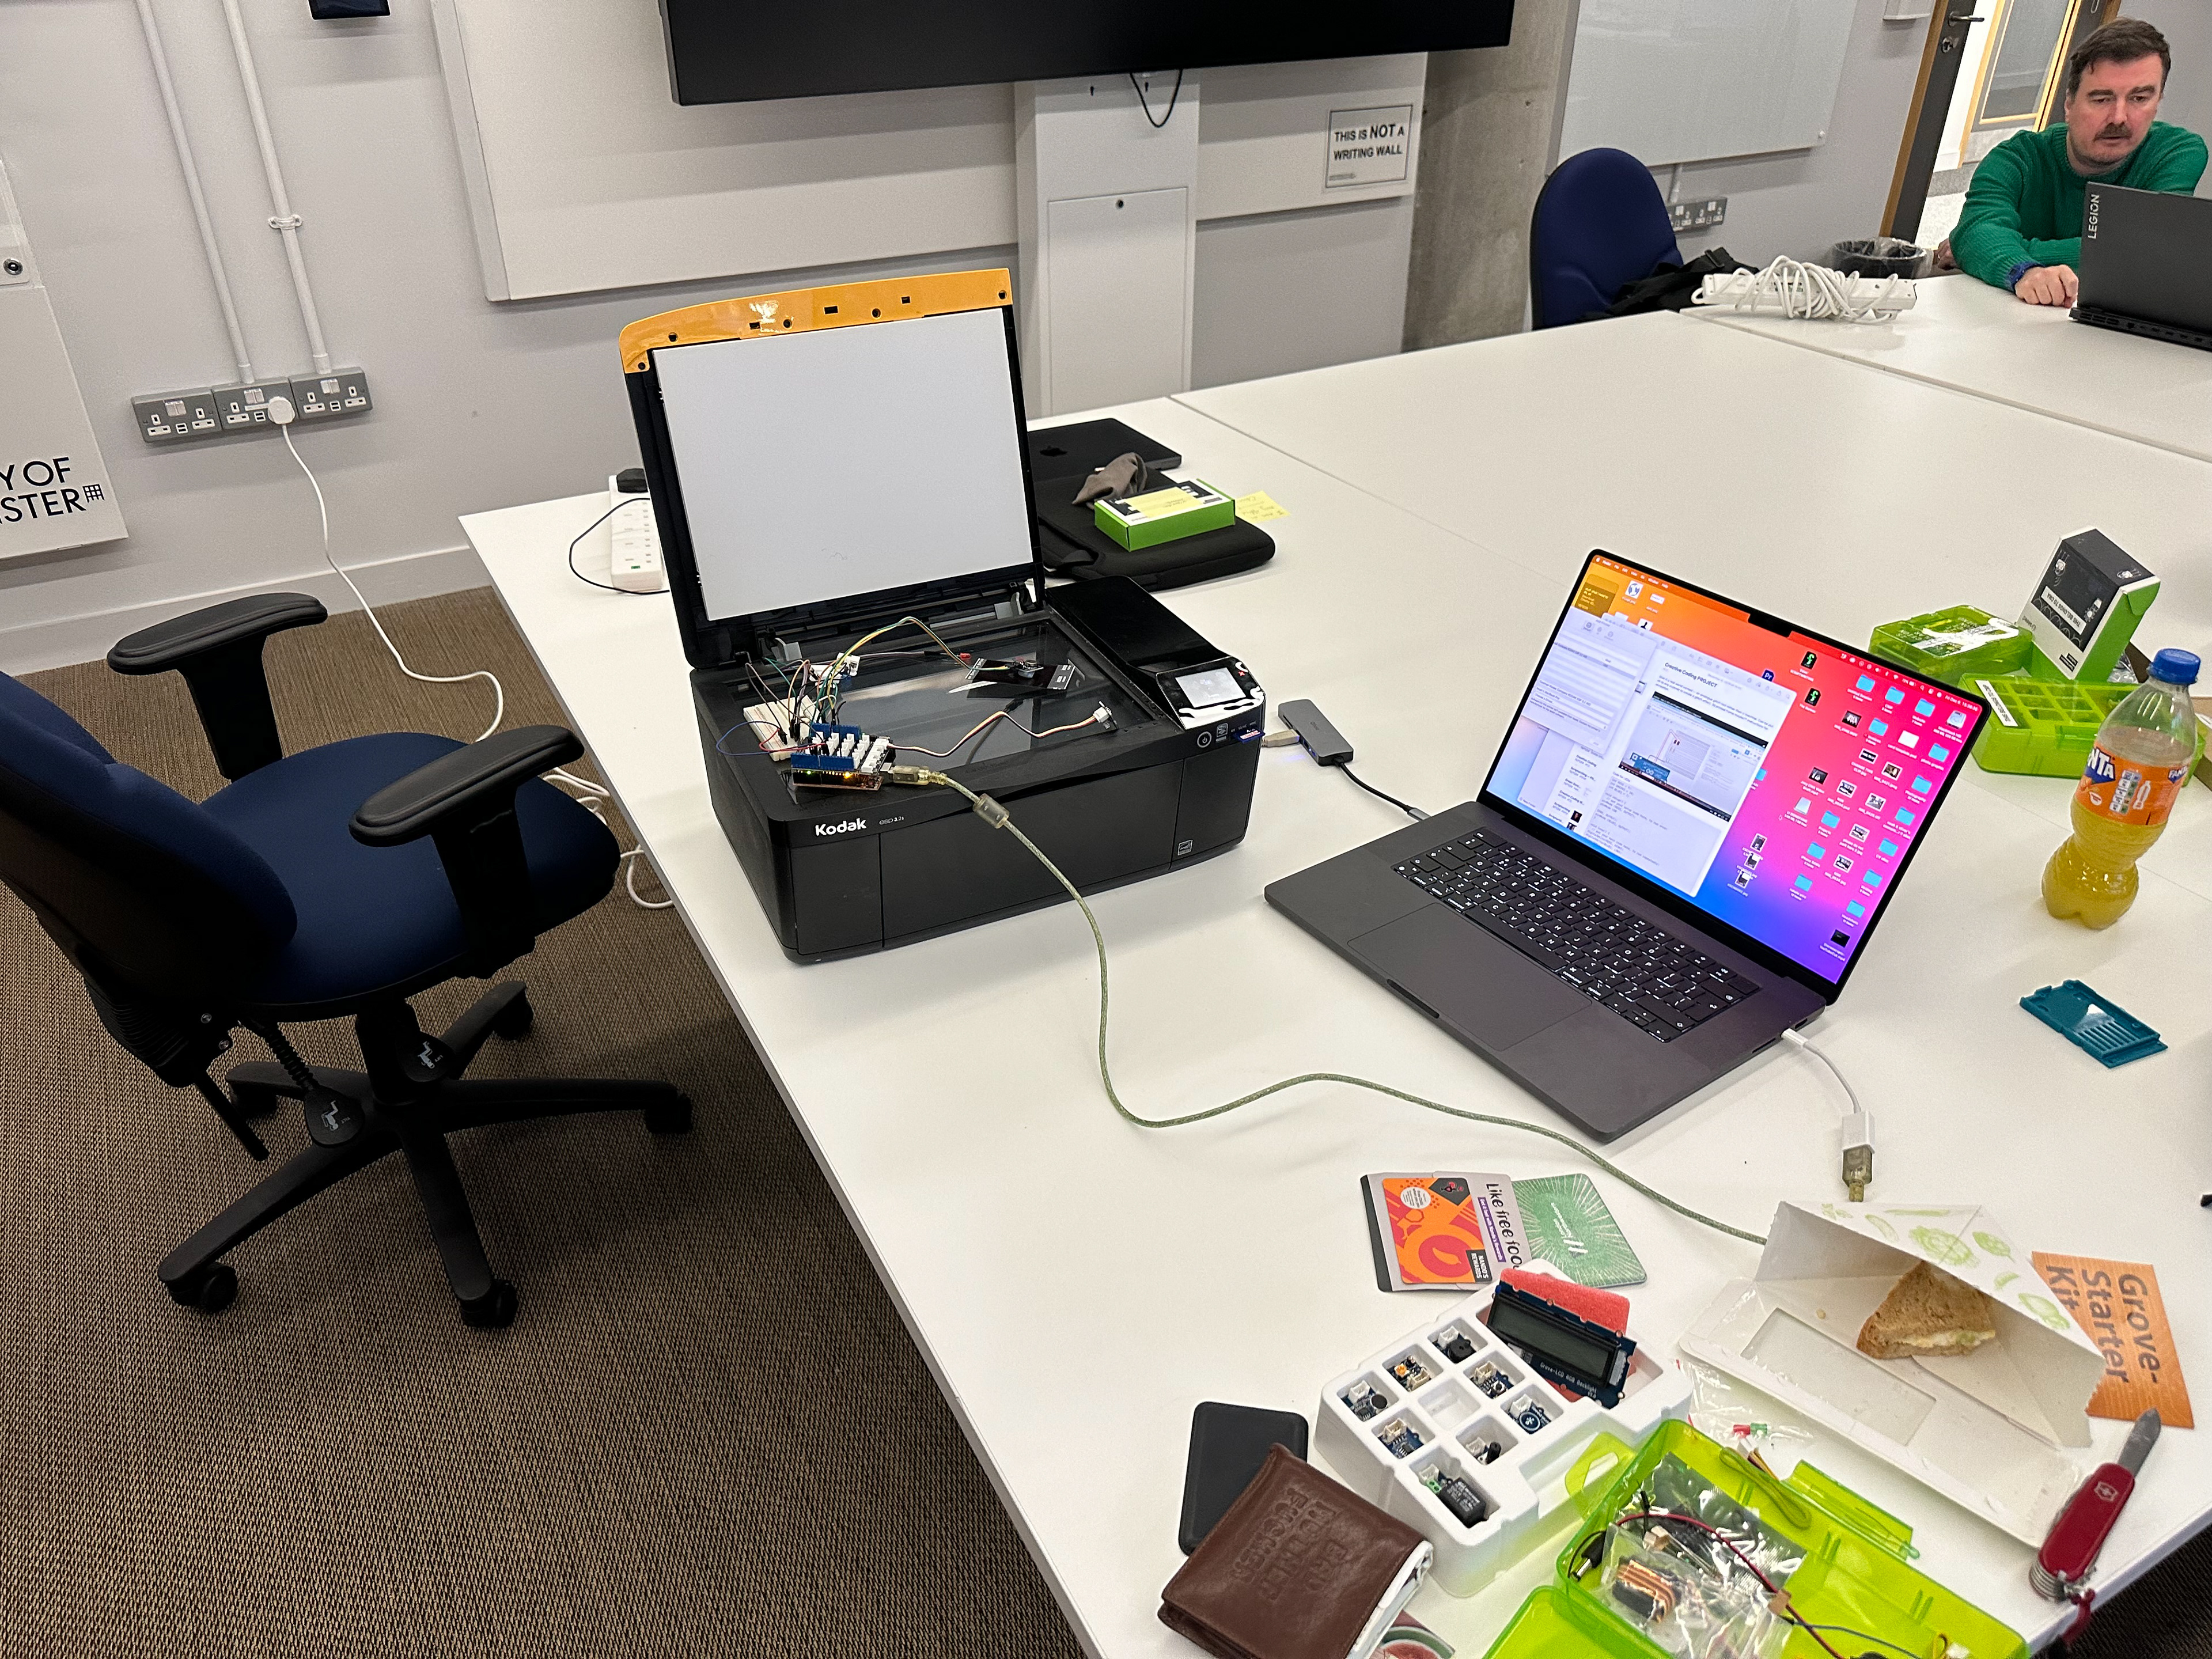
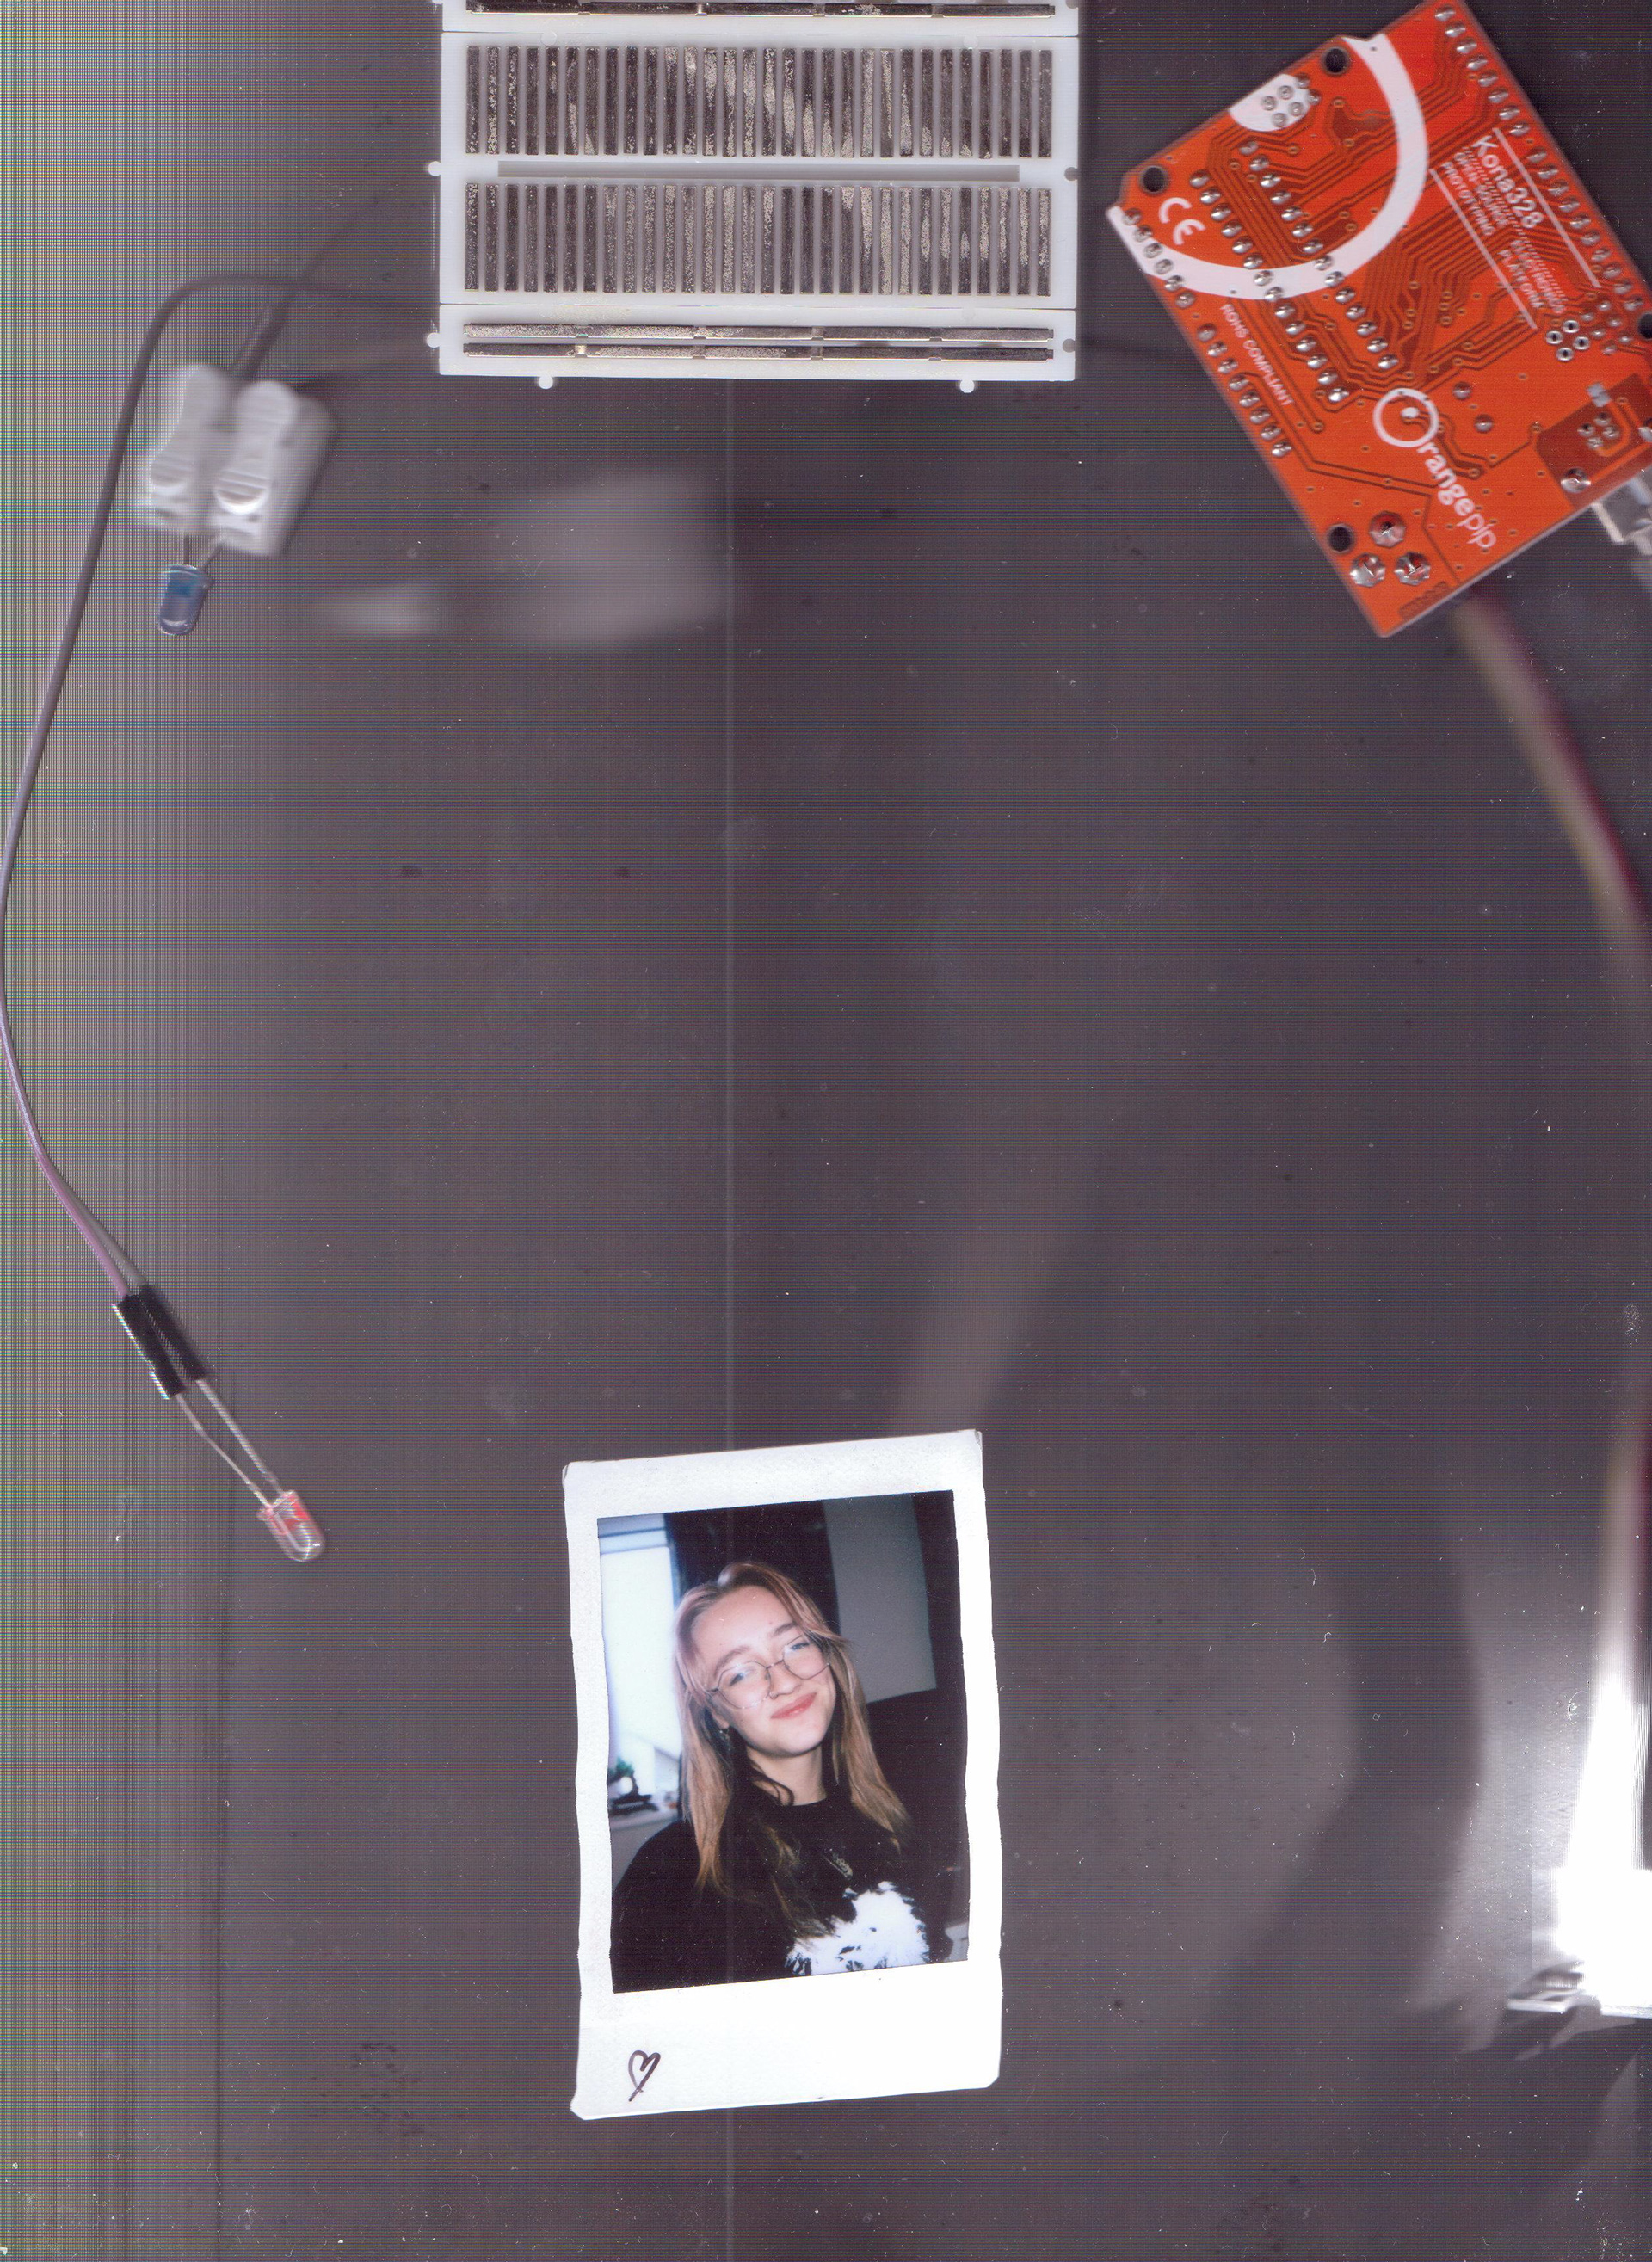
My final project will be - if all goes well - a physical, analogue glitching machine that can be placed on the scanning bed of any printer to glitch any physical image. I'll attached coloured LEDs and a motor or Servo to shake the image while it is being scanned. I started to put together an Arduino today to see what will work best.
Give it a real world context — an analogue glitch tool rather than a machine. Can be put on to any scanner to create a glitch effect. 3d printed frame maybe?? Instructions for recreation.
I don't know why this image is so squished
this also appears to be squished
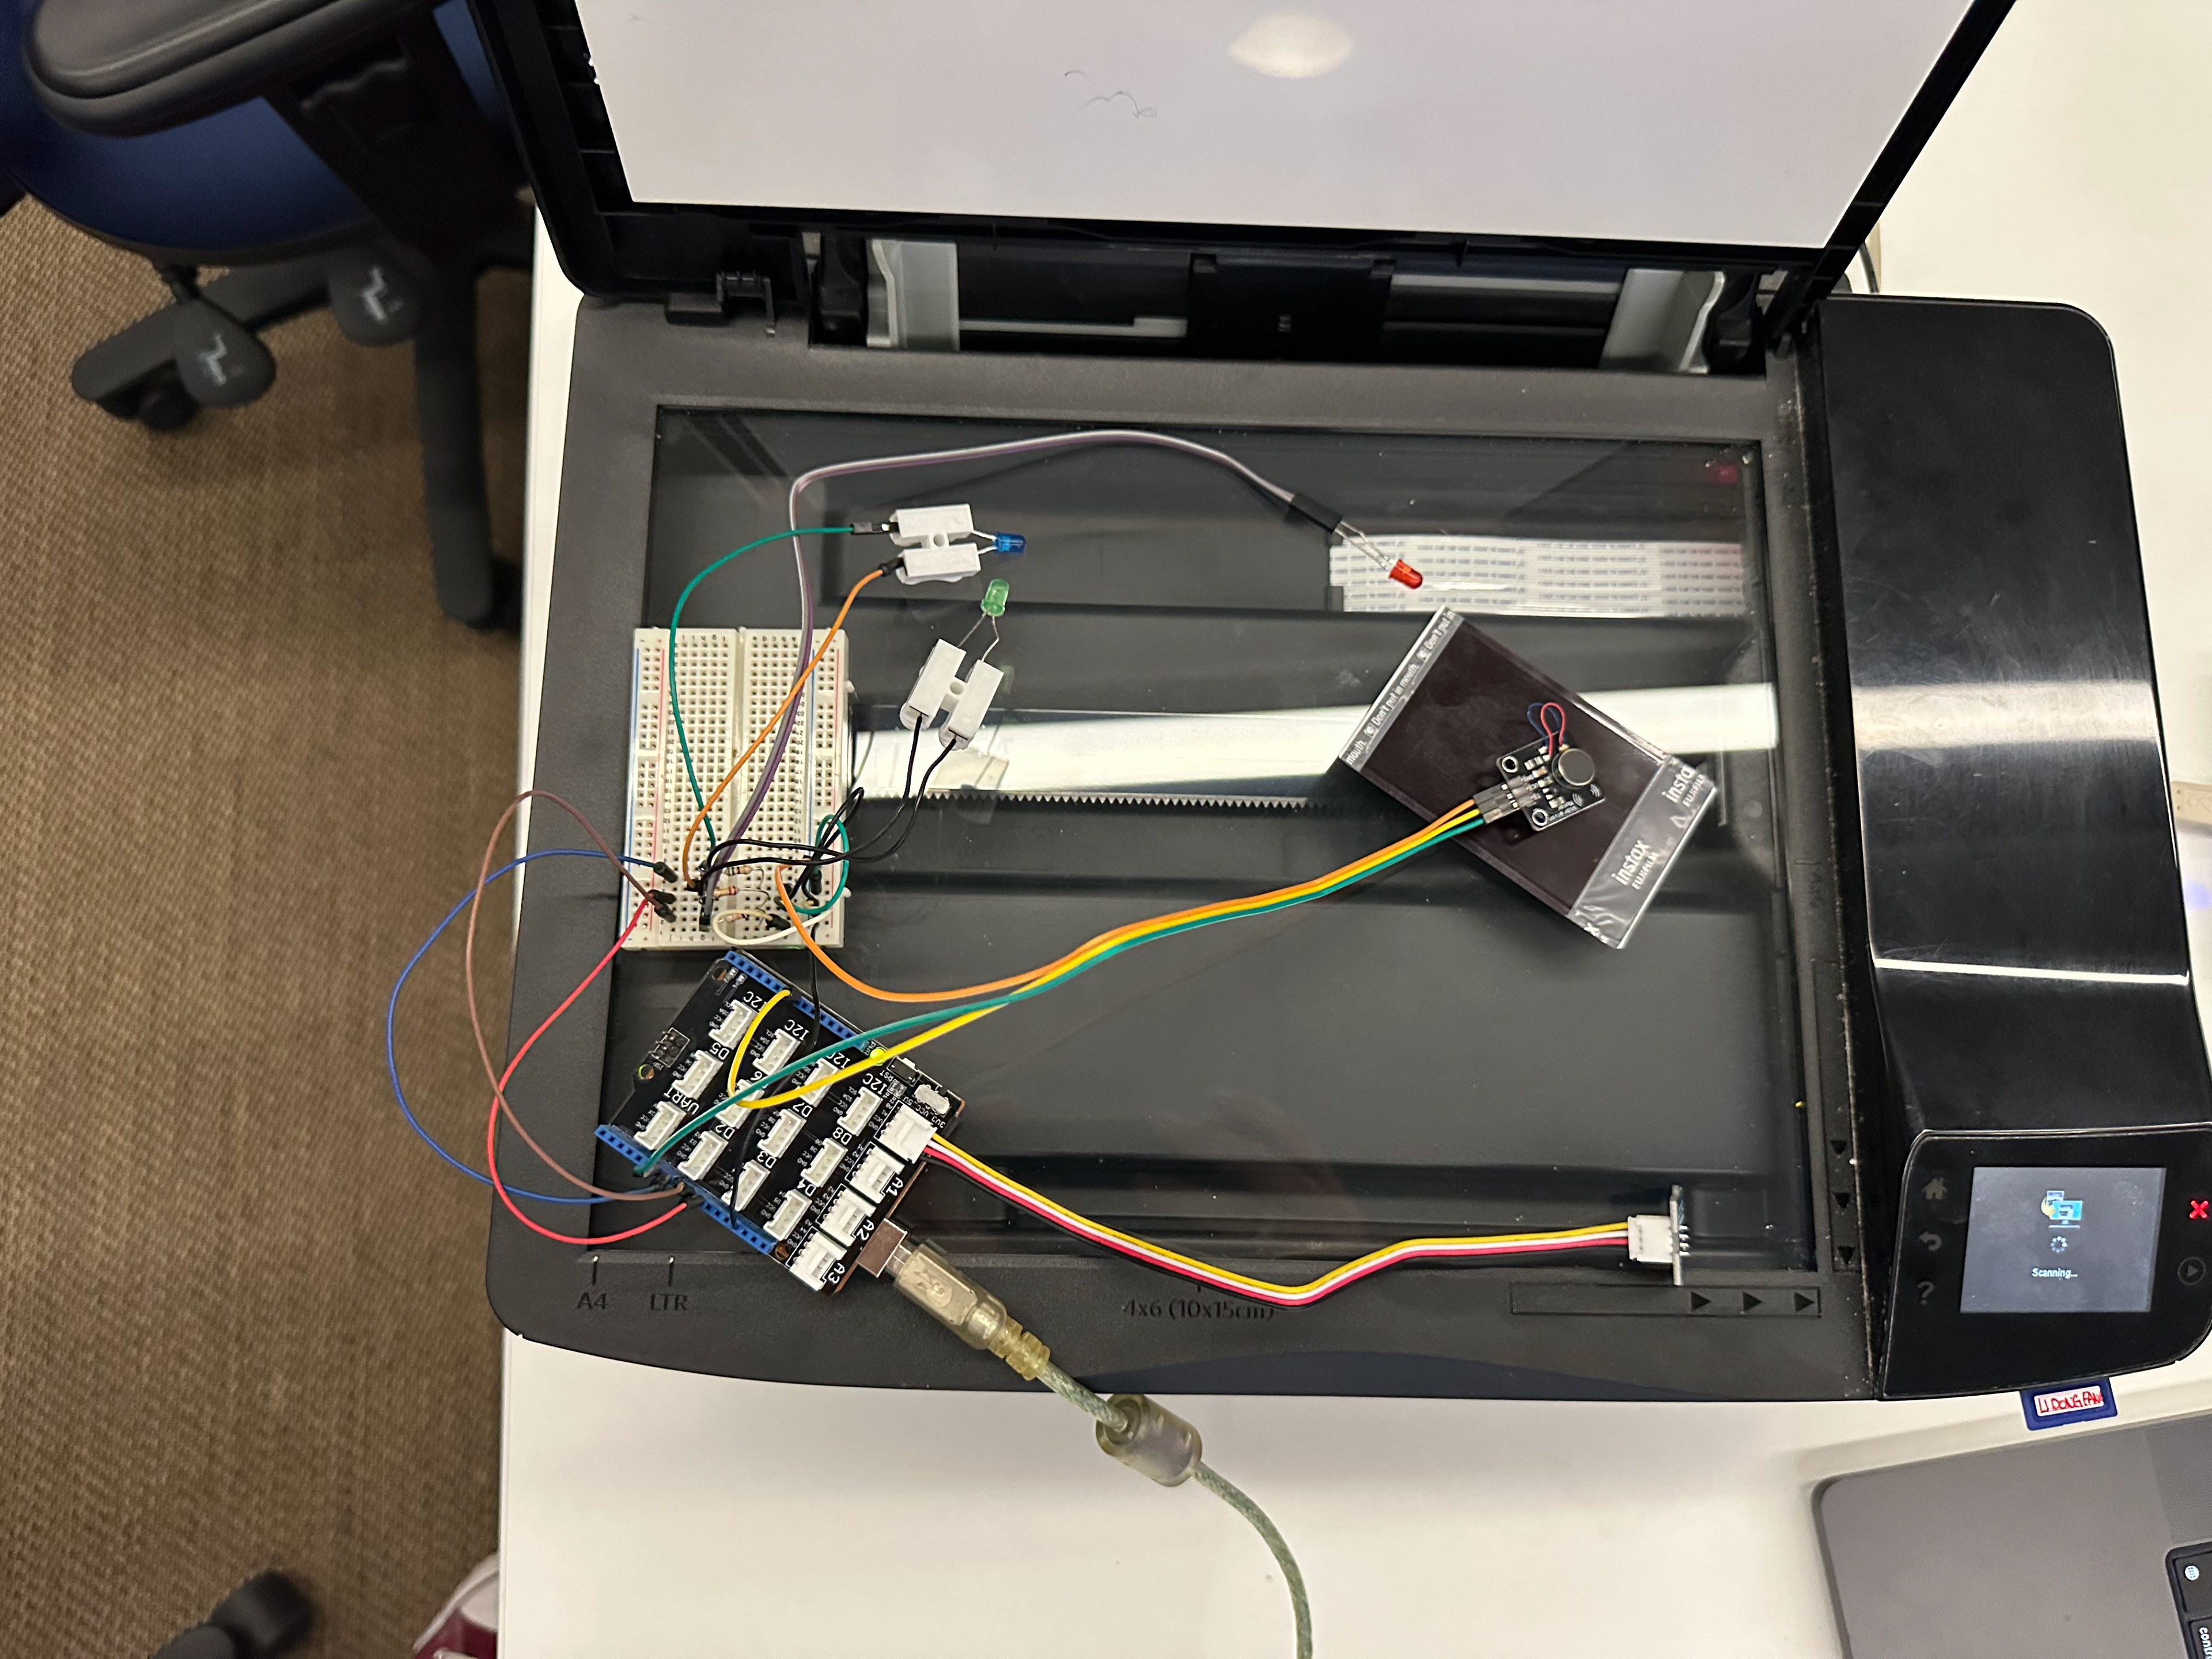

I used a photo of my girlfriend that I had in my wallet to try glitching first, and I think I got some pretty positive outputs:
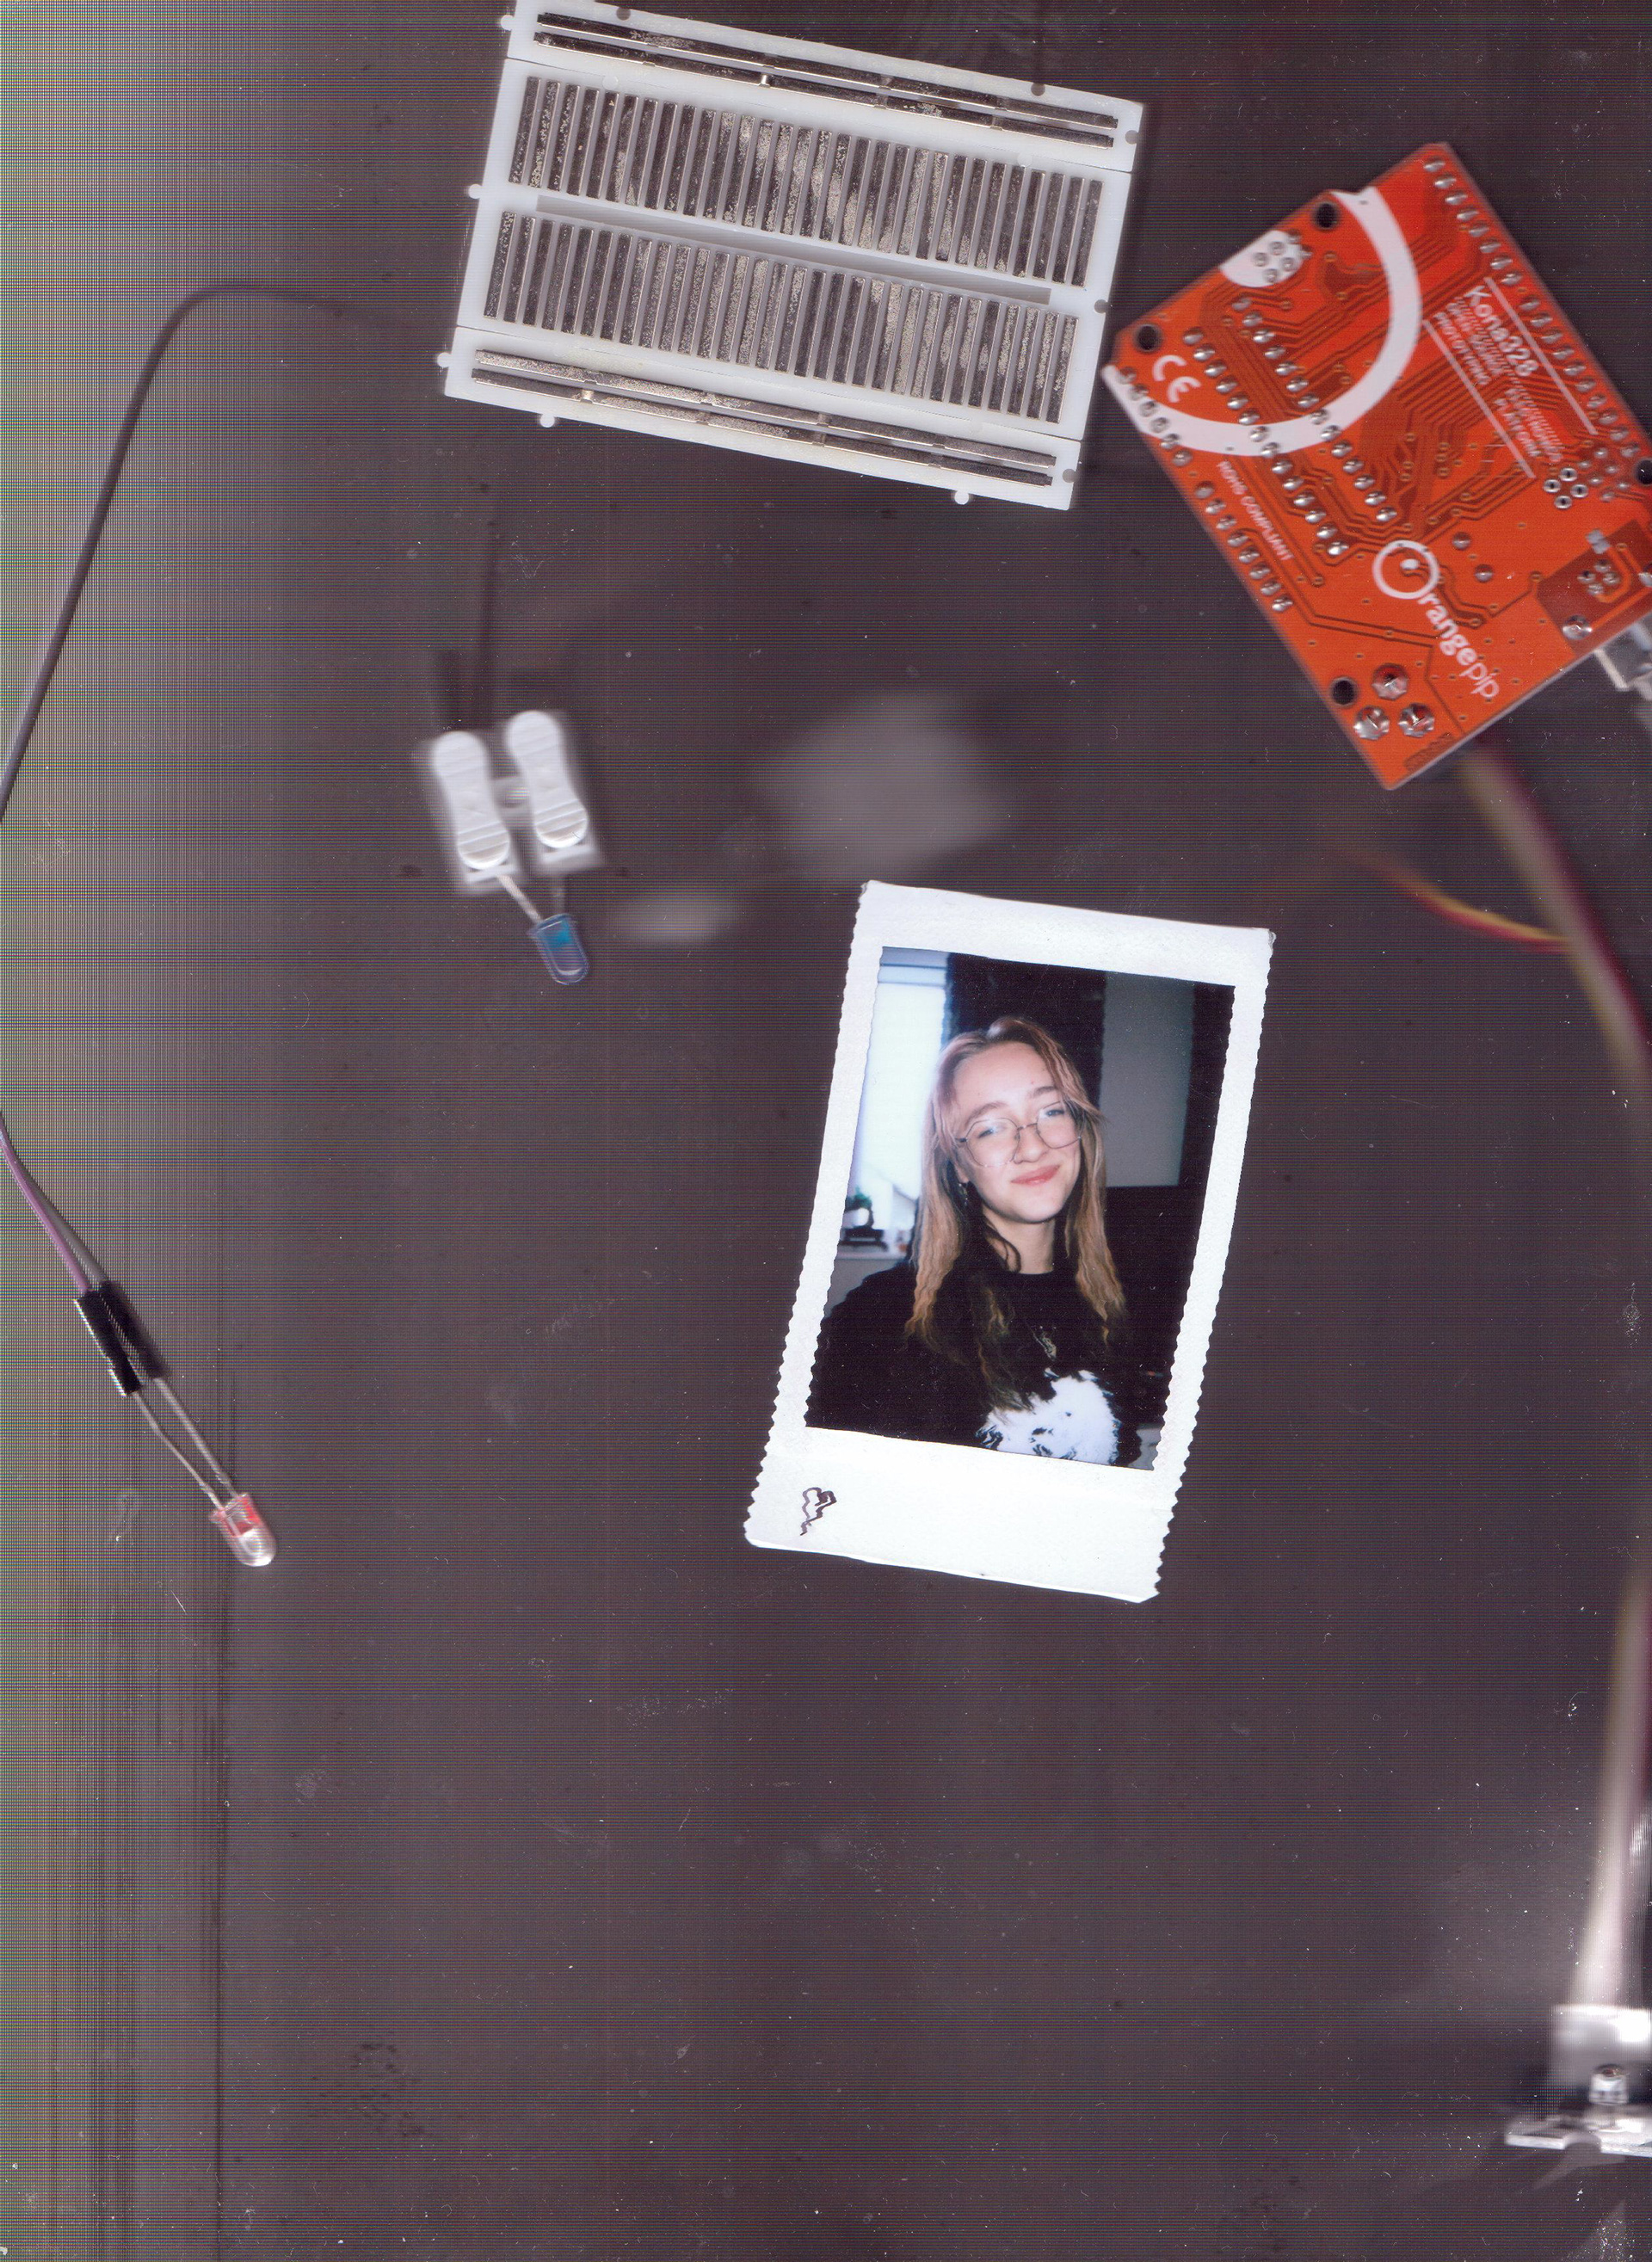
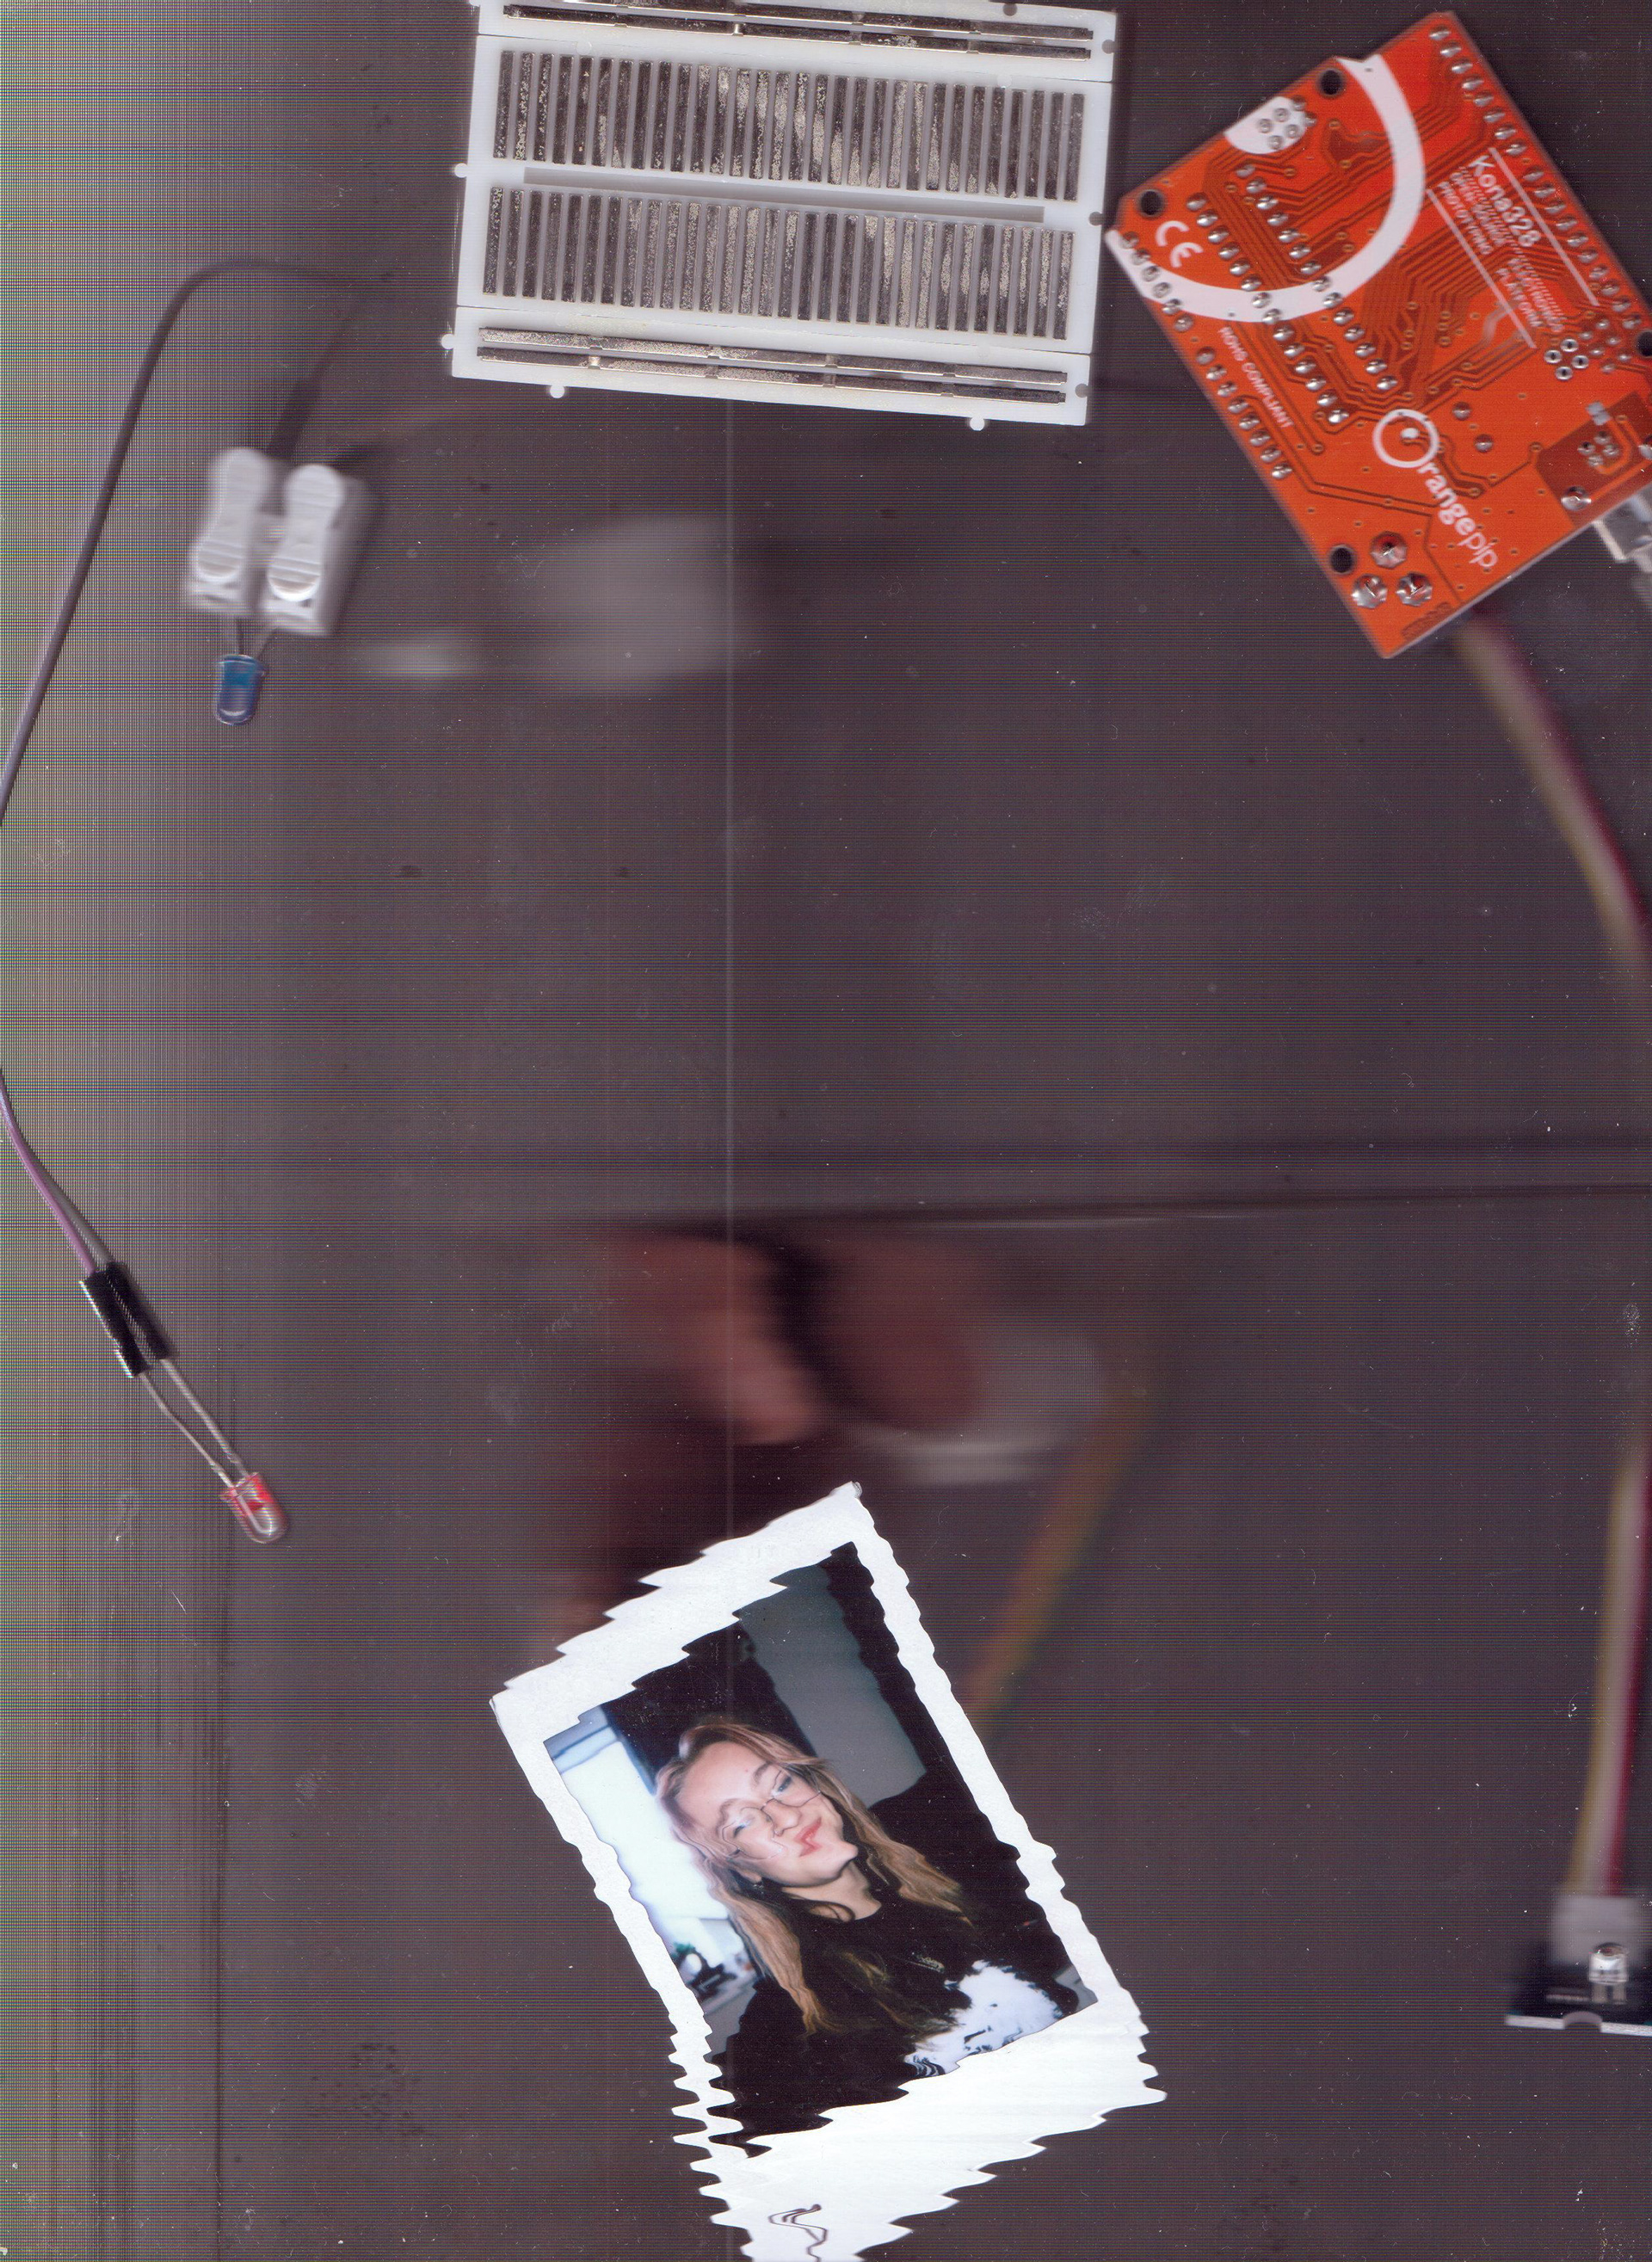
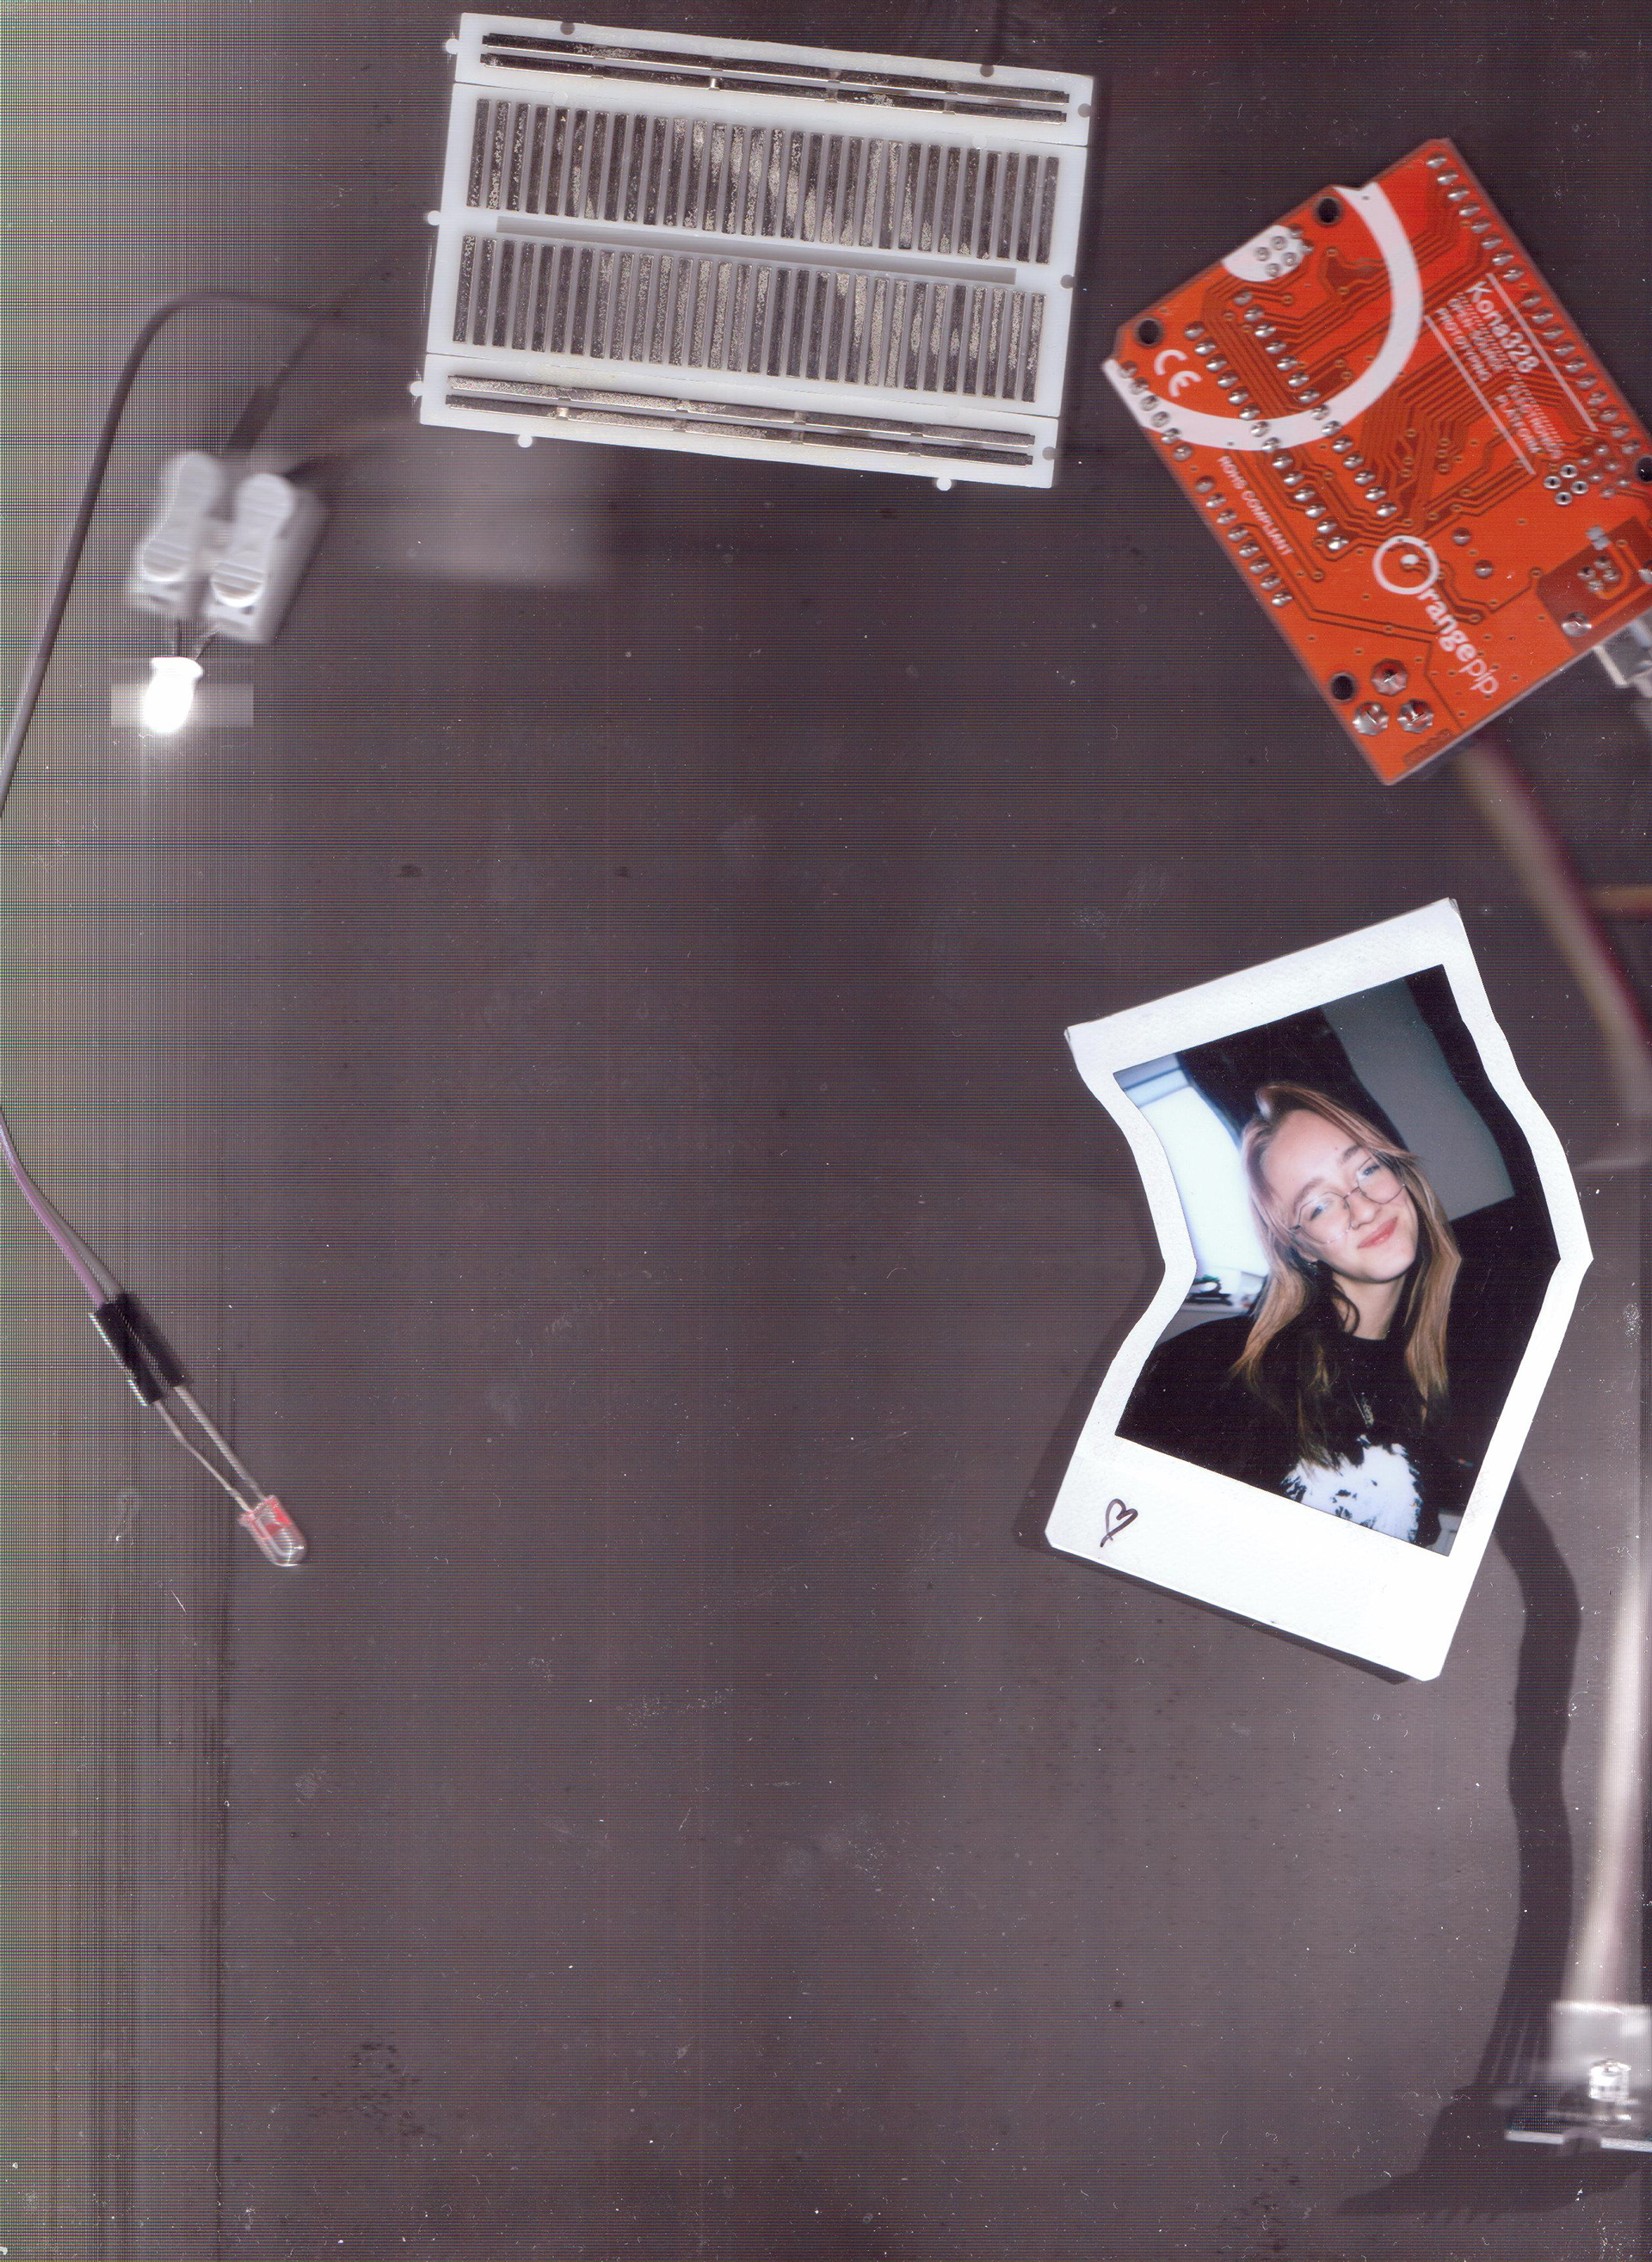
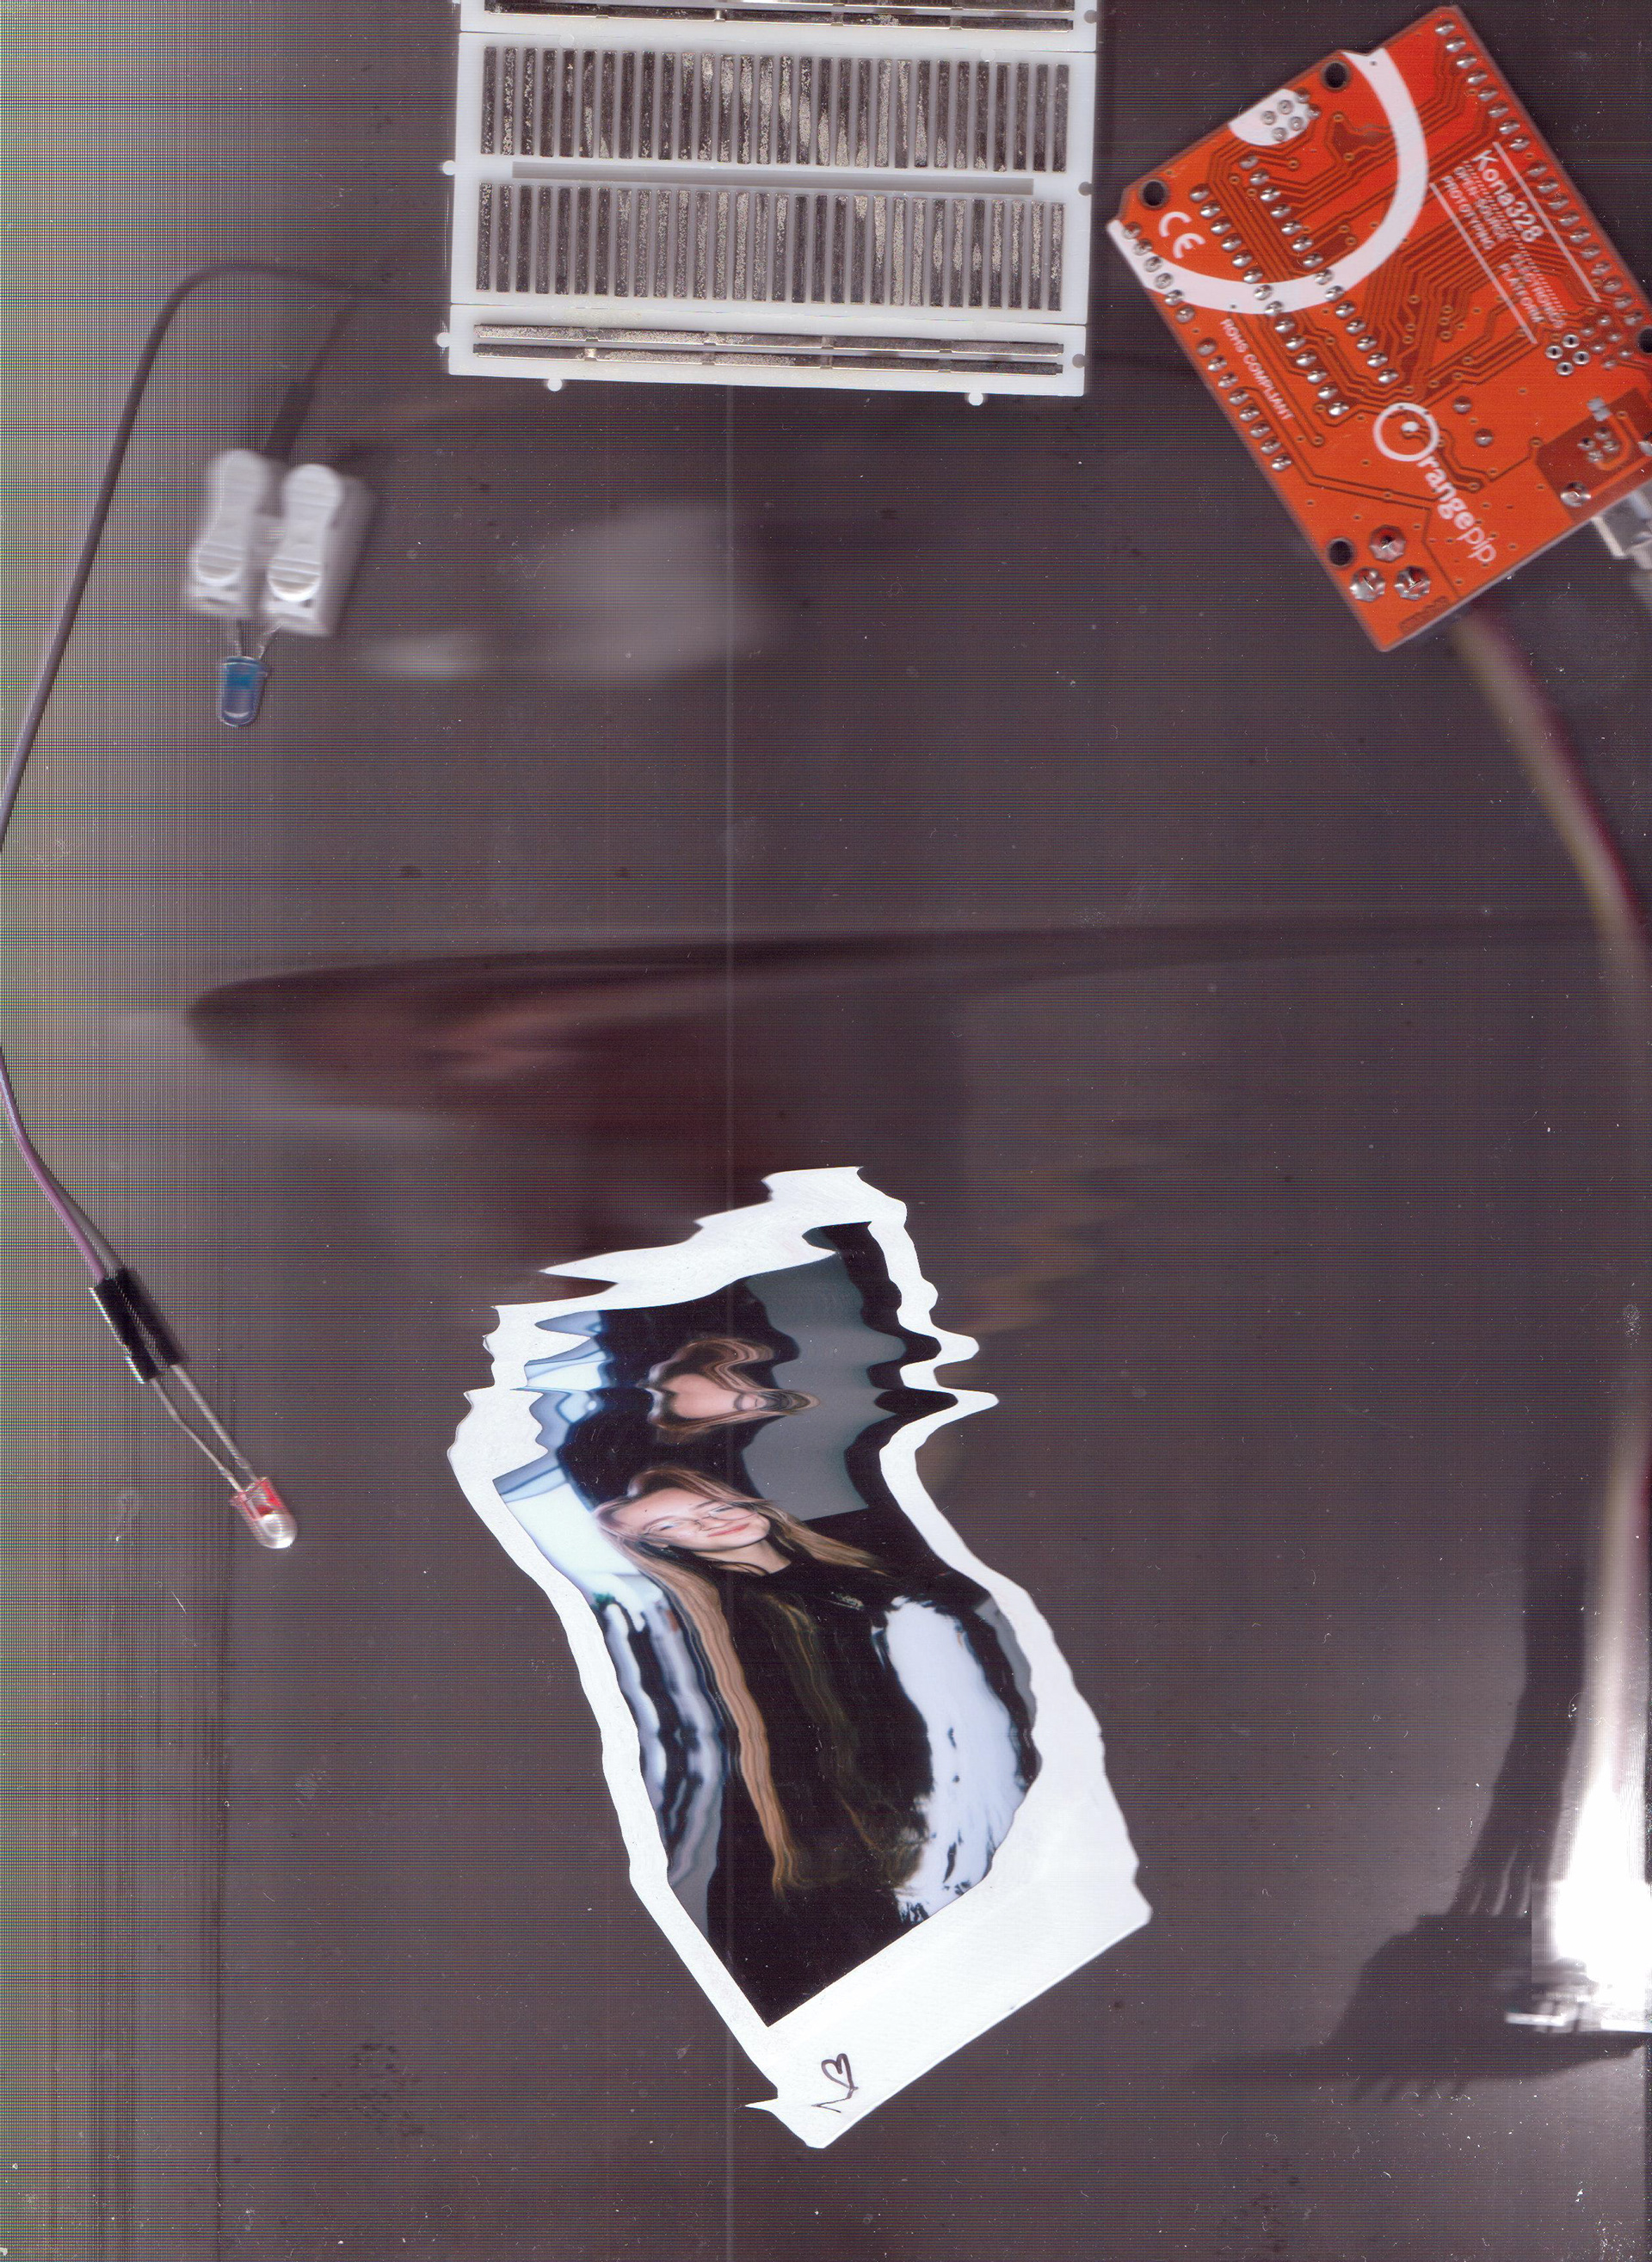
On some of them, myself and Chris moved the image ourselves by hand, so I think either larger movements, or more consistent movements, will get better results. The vibration motor on its own wasn't quite enough, I don't think.
I'm going to try and get the entire machine into a portable form factor, so it can pe placed on to any scanning bed and just start. I'll trying use a button or switch to activate it when its placed down — I tried using an LDR to activate it, but any ambient light will just set it off, so I think a pressure sensitive switch of some sort will work much better.
Arudiuio code bits
Code for LEDs
int RED1 = 9;
int GREEN1 = 10;
int BLUE1 = 7;
void setup() {
// put your setup code here, to run once:
pinMode (RED1, OUTPUT);
pinMode (GR
EEN1, OUTPUT);
pinMode (BLUE1, OUTPUT);
}
void loop() {
// put your main code here, to run repeatedly:
digitalWrite(RED1, HIGH);
digitalWrite(BLUE1, LOW);
delay(250);
digitalWrite(GREEN1, LOW);
delay(250);
digitalWrite(RED1, LOW);
digitalWrite(BLUE1, HIGH);
delay(250);
digitalWrite(GREEN1, HIGH);
delay(250);
}
Code for LEDs and Vibration Motor
int RED1 = 9;
int GREEN1 = 10;
int BLUE1 = 7;
int VIB = 6;
void setup() {
// put your setup code here, to run once:
pinMode (RED1, OUTPUT);
pinMode (GREEN1, OUTPUT);
pinMode (BLUE1, OUTPUT);
pinMode (VIB, OUTPUT);
}
void loop() {
// put your main code here, to run repeatedly:
digitalWrite(VIB, HIGH);
digitalWrite(RED1, HIGH);
digitalWrite(BLUE1, LOW);
delay(250);
digitalWrite(GREEN1, LOW);
delay(250);
digitalWrite(RED1, LOW);
digitalWrite(BLUE1, HIGH);
delay(250);
digitalWrite(VIB, LOW);
digitalWrite(GREEN1, HIGH);
delay(250);
}
Code for LEDs and Servo and Vibration Motor
#include <Servo.h>
Servo myservo; // create Servo object to control a servo
// twelve Servo objects can be created on most boards
int RED1 = 9;
int GREEN1 = 10;
int BLUE1 = 7;
int VIB = 6;
int LDR = A0;
int VAL;
int pos = 0; // variable to store the servo position
void setup() {
// put your setup code here, to run once:
pinMode (RED1, OUTPUT);
pinMode (GREEN1, OUTPUT);
pinMode (BLUE1, OUTPUT);
pinMode (VIB, OUTPUT);
Serial.begin(9600);
myservo.attach(4);
}
void loop() {
// put your main code here, to run repeatedly:
// if (LDR) // if LDR detects light above a threshold then do this
VAL = analogRead(LDR); // assigning LDR value to VAL
Serial.println(VAL); // printing VAL
if (VAL > 450)
{
digitalWrite(VIB, HIGH);
digitalWrite(RED1, HIGH);
digitalWrite(BLUE1, HIGH);
digitalWrite(GREEN1, HIGH);
for (pos = 0; pos <= 9; pos += 1) { // goes from 0 degrees to 180 degrees
// in steps of 1 degree
myservo.write(pos); // tell servo to go to position in variable 'pos'
delay(5); // waits 15 ms for the servo to reach the position
}
for (pos = 9; pos >= 0; pos -= 1) { // goes from 180 degrees to 0 degrees
myservo.write(pos); // tell servo to go to position in variable 'pos'
delay(5); // waits 15 ms for the servo to reach the position
}
}
}